5 Chapter 5. Adding Shapefiles to a Project’s Geodatabase
Introduction
ArcGIS® Pro is a project-based GIS. As discussed in prior chapters, a geodatabase is automatically created in the project’s file folder when setting up a new project. This chapter provides instruction for adding shapefiles to the geodatabase directly.
What is a geodatabase? A geodatabase is a container in which GIS data files (vectors, rasters, and spreadsheets) are stored. A geodatabase is a convenient place to store all data related to one project. In some cases, using geoprocessing tools is quite intensive and fails to process the data (particularly with large files). Using a geodatabase as the processing workspace helps facilitate a successful process. Geodatabases can be set up with specific parameters, for example, if a particular projection is needed for the project.1
Should you add the shapefiles that you plan to use to the project folder’s geodatabase? We recommend this step for multiple reasons. First, importing a shapefile into the project’s geodatabase imports a copy of the shapefile. The original shapefile stays in its original folder. Should you run into an error and the shapefile in use is corrupted, the unaltered original shapefile is still available. Second, because ArcGIS® Pro is a project-oriented GIS, importing shapefiles into the geodatabase places the actual shapefiles used within that project, keeping all the data assets together.
Getting Started
Open an ArcGIS® Pro project as directed by your instructor—either the project saved from the previous chapter, or you may be directed to start a new project. We begin with the project from the last chapter.
If Catalog View is not open, click on the View tab and Catalog View. This will add a new tab next to the Map tab and activate it (Figure 5.1).
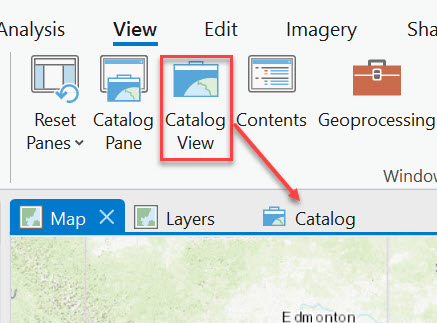
Figure 5.1. Catalog View
A list of items—Maps, Toolboxes, Databases, for example, appear in the Catalog window. Please note that the Map tab (and the Layers tab from a previous chapter) is still present, and you can toggle back and forth between the Map window and the Catalog window. Figure 5.2
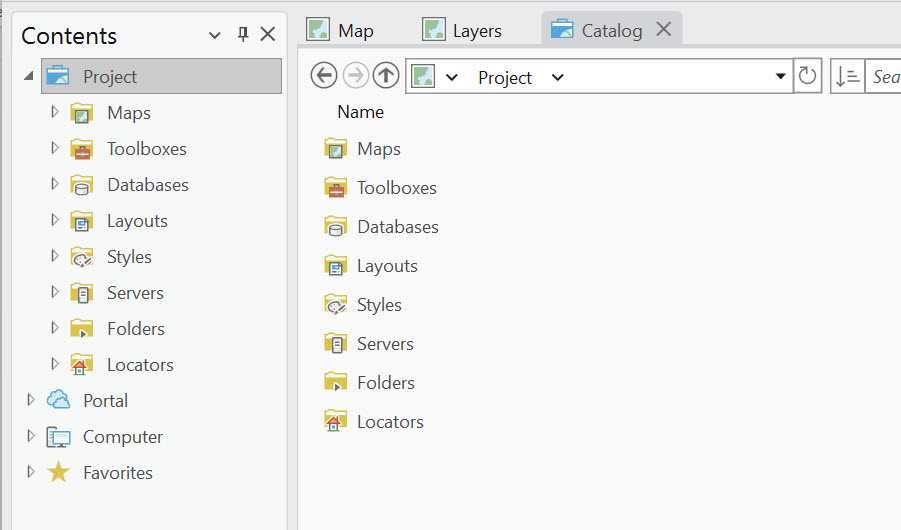
Figure 5.2. The Catalog window
Double-click on Folders in the Catalog window, and a list of project folders appears (Figure 5.3). In this example, two folders are listed (MyProject1 and GIS files for Remote Sensing in ArcGIS Pro). This pane may look different depending on your project naming conventions or your instructor’s guidelines. If the desired project is not listed, refer to Chapter 4 on connecting to a folder.
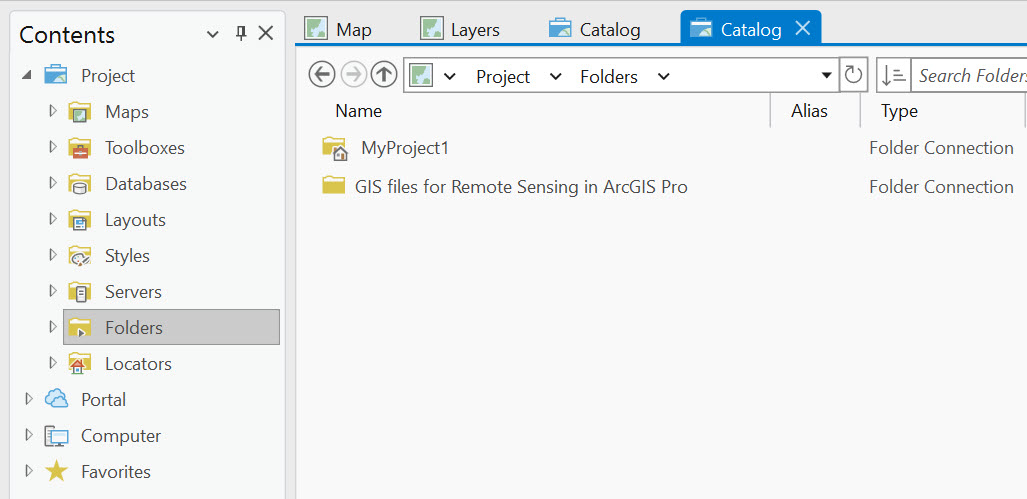
Figure 5.3. The Catalog window
In the Contents pane, expand the project folder (Figure 5.4). Multiple items are listed and may include—ImportLog, .backups, GpMessages, a toolbox(.atbx), and the geodatabase(.gdb). As discussed in Chapter 1, we will not be covering the toolbox within this book.

Figure 5.4. Expand the project
Select the geodatabase and a message displays that the container is empty (Figure 5.5).
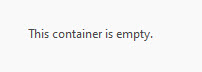
Figure 5.5. An empty container
Importing data into the geodatabase
In the Contents pane, right-click on the geodatabase (file that ends in .gdb), point to Import and choose Feature Class(es) (Figure 5.6). We are going to import all files related to the Mid-Atlantic. 2 Please note that some of the files that we are importing into this geodatabase have not yet been added to our map document. We will cover adding new files to the map project in Chapter 6: Adding Data to a Project in ArcGIS® Pro.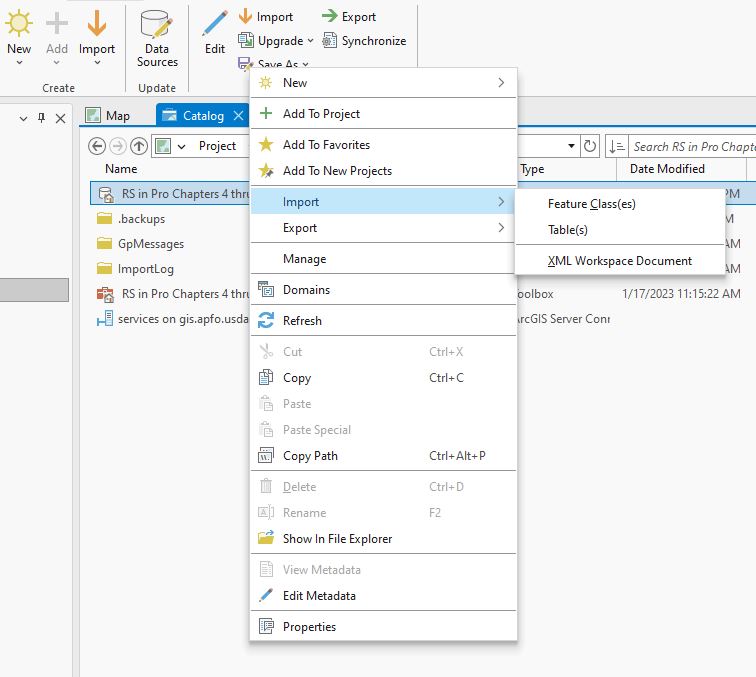
Figure 5.6. Choosing feature classes
The Geoprocessing dialog box opens (Figure 5.7).
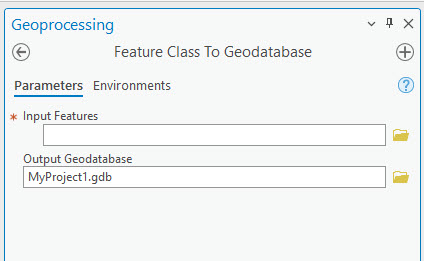
Figure 5.7. Geoprocessing
Use the file folder at the end of the Input Features box to navigate to the folder where the files you want to import are located. Since we are adding all files named Mid-Atlantic, we selected them contiguously by clicking the first file and shift-clicking the last file in the list. (Figure 5.8).
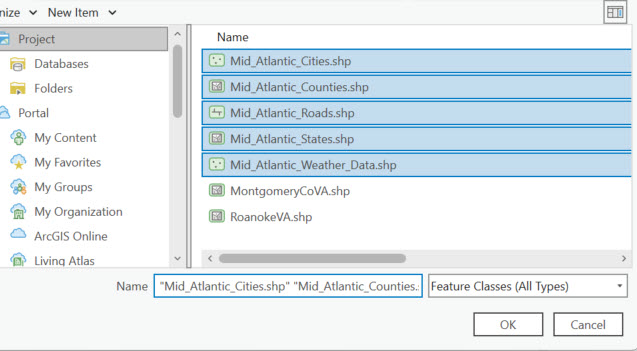
Figure 5.8. Adding files to the map
Once you have chosen the files, click OK. All the files should now be populated as Input Features in the Geoprocessing pane. Be sure the Output Geodatabase shows your project geodatabase name (Figure 5.9). Please note that when importing multiple feature classes, names do not need to be individually assigned; ArcGIS® Pro will retain the original names.
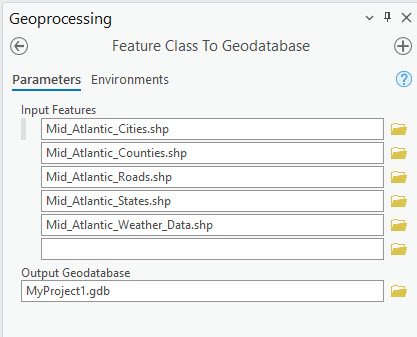
Figure 5.9. Importing features to the geodatabase
Then click Run at the bottom of the Geoprocessing dialog box (Figure 5.10).

Figure 5.10 The geoprocessing dialog box
This action initiates the geoprocessing tool—the status bar at the bottom of the geoprocessing dialog box shows the procedure in process (Figure 5.11).
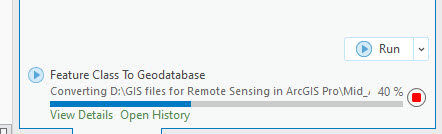
Figure 5.11 Status bar
A message will appear when the tool has finished processing—note the green highlighted section at the bottom of the Geoprocessing dialog box (Figure 5.12).
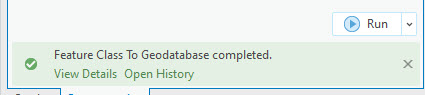
Figure 5.12. Completed process
The shapefiles are now located in the project’s geodatabase. If they are not visible in the Catalog window, click the Refresh button. (Figure 5.13).
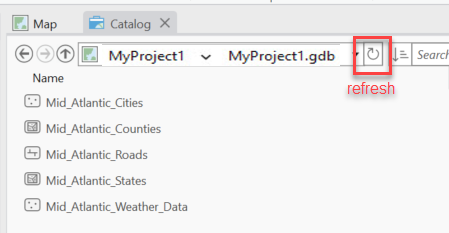
Figure 5.13. Refreshing Catalog
The shapefiles are not in the map document. They have only been added to the geodatabase. Save your project.
Recall from right-clicking on the geodatabase, options other than Import were present (Figure 5.14)
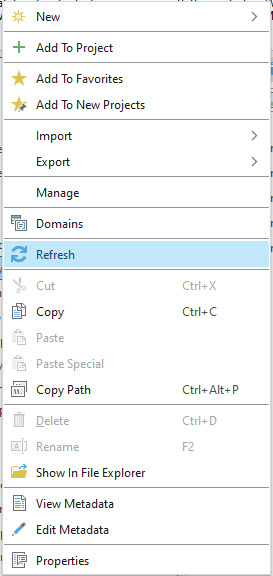
Figure 5.14 Options
New is used for creating a new data file. Import can also be used to add a table (spreadsheet) to the geodatabase. Export is used when data files present in the geodatabase are needed in a different project’s geodatabase (or another file folder).
Geodatabases can be extremely helpful when working on a map project but covering each option in Figure 5.14 in detail is beyond the scope of this book.
In the next chapter (Chapter 6), we demonstrate adding data to the map project. Chapter 7 provides instructions on displaying the data.