2 Chapter 2: Using ArcGIS® Pro to Open a Map Created in ArcGIS® Desktop
Introduction
In the prior chapter, we demonstrated creating a new map project and opening an existing map project. Map projects are specific to ArcGIS® Pro. ArcGIS® Pro can open maps created in other GIS programs, such as .mxd files created by ArcGIS® Desktop. In this chapter, we will demonstrate how to open a map document created in ArcGIS® Desktop using ArcGIS® Pro.
Open ArcGIS® Pro and sign in with your organizational account (if you do not already have an organizational account, please see your organization’s GIS Administrator). Checking the box for Sign in automatically eliminates the need to sign in each time ArcGIS® Pro is opened when using your own computer (Figure 2.1).
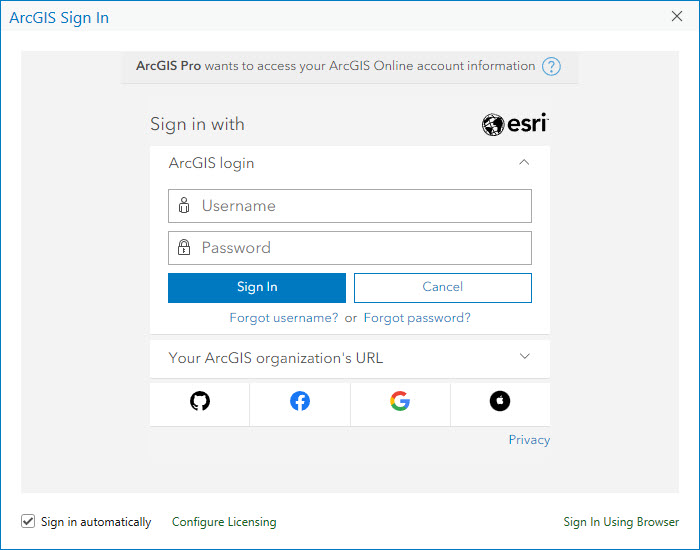
Figure 2.1. Signing in
Opening a Map (.mxd) Created in ArcGIS® Desktop
Though you will be opening a map document created in ArcGIS® Desktop, ArcGIS® Pro is a project-based GIS program, so you will need to create a new project first. Select Map under New Project. The following figure is a reminder of the display when ArcGIS® Pro first opens:
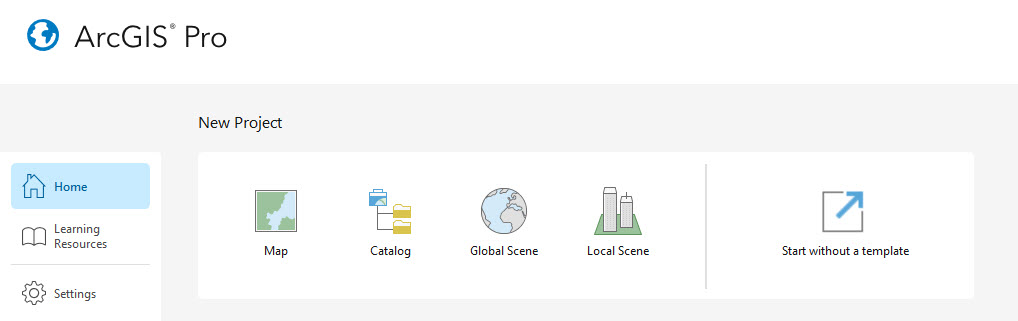
Figure 2.2. Establishing a new project in ArcGIS® Pro
When prompted, name the project, and save it in an appropriate location on the computer (Figure 2.3).
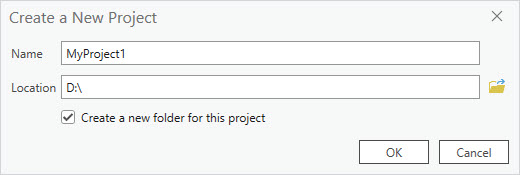
Figure 2.3. Creating a new project
Click OK and your project opens (Figure 2.4).
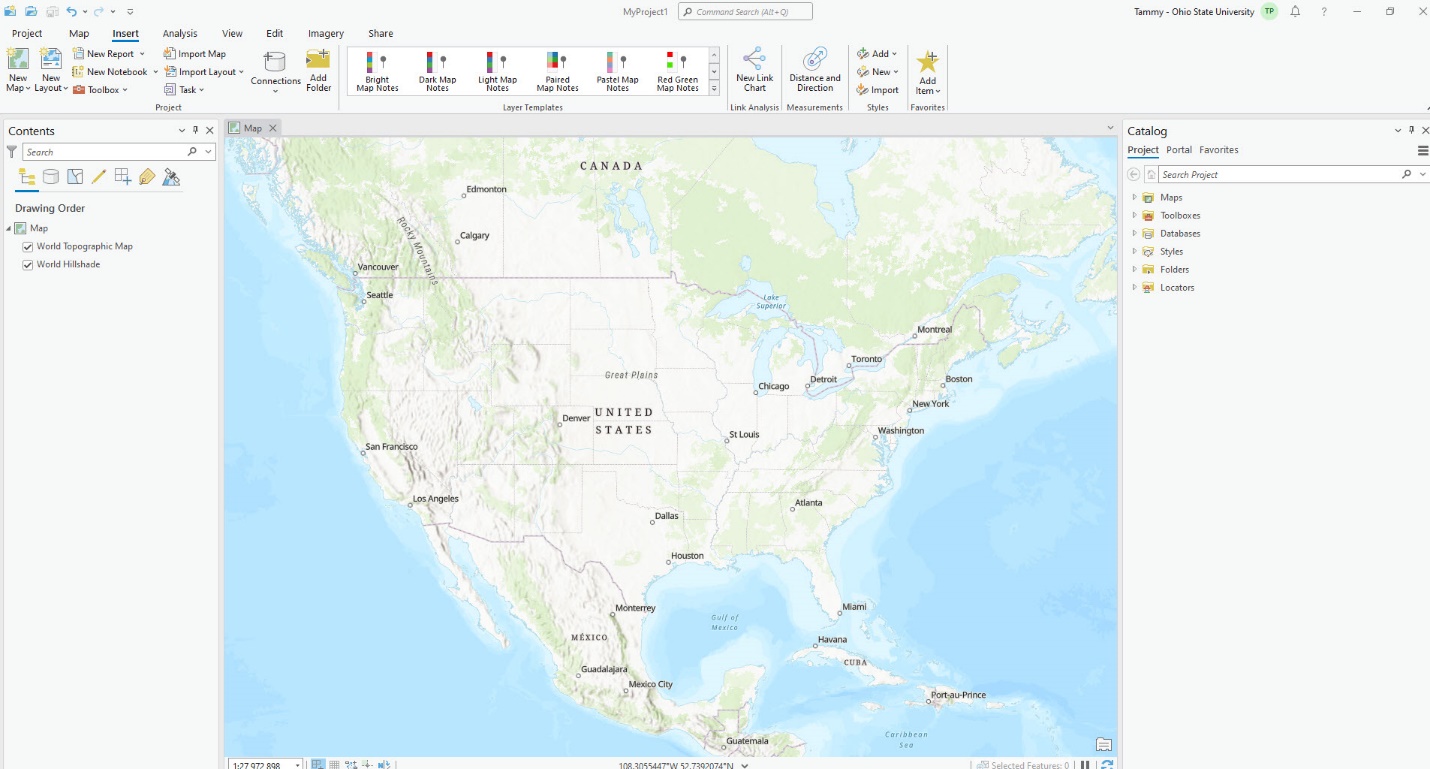
Figure 2.4. A new project opens
We can now add data to create a new map, or open maps created in another GIS program (e.g., from ArcGIS® Desktop) which are imported into your ArcGIS® Pro project. We will discuss how to add data in Chapter 6: Adding Data to a Map Project.
Map documents created in ArcGIS® Desktop have an .mxd extension. To open an ArcGIS® Desktop map document, select the Insert tab (underlined in blue in Figure 2.5). Then select Import Map from the Project group (highlighted in blue in Figure 2.5). Please take note of the pop-up message that “The original data frames and layout are converted to ArcGIS® Pro format,” but these changes do not affect the original document.
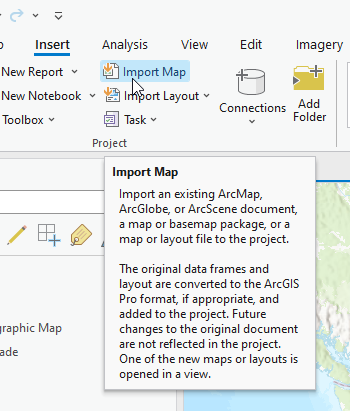
Figure 2.5. Importing a map.
Once Import Map is selected, the Import dialog box opens. Navigate to the location of the desired .mxd file (Figure 2.6) and select it. Its name will populate in the Name box. Select OK.
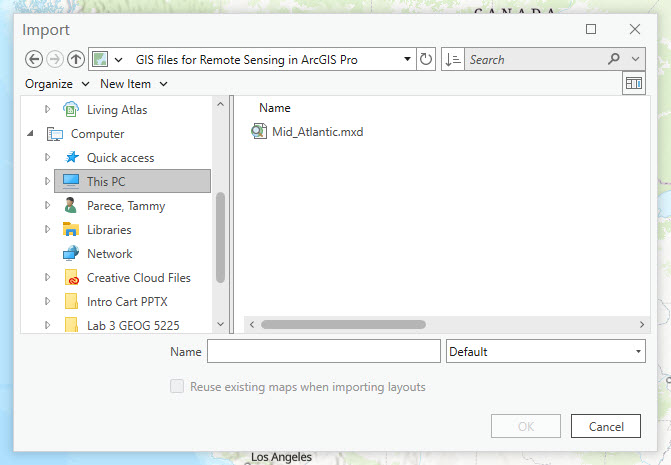
Figure 2.6. Importing a .mxd file
The map opens into its own tab in the map viewer, signifying that the .mxd map document has successfully been imported into ArcGIS® Pro and the project (Figure 2.7). Note that the layers in the Contents pane may not display properly and may include red exclamation marks. This issue is addressed in Chapter 3 (but continue and save your project).
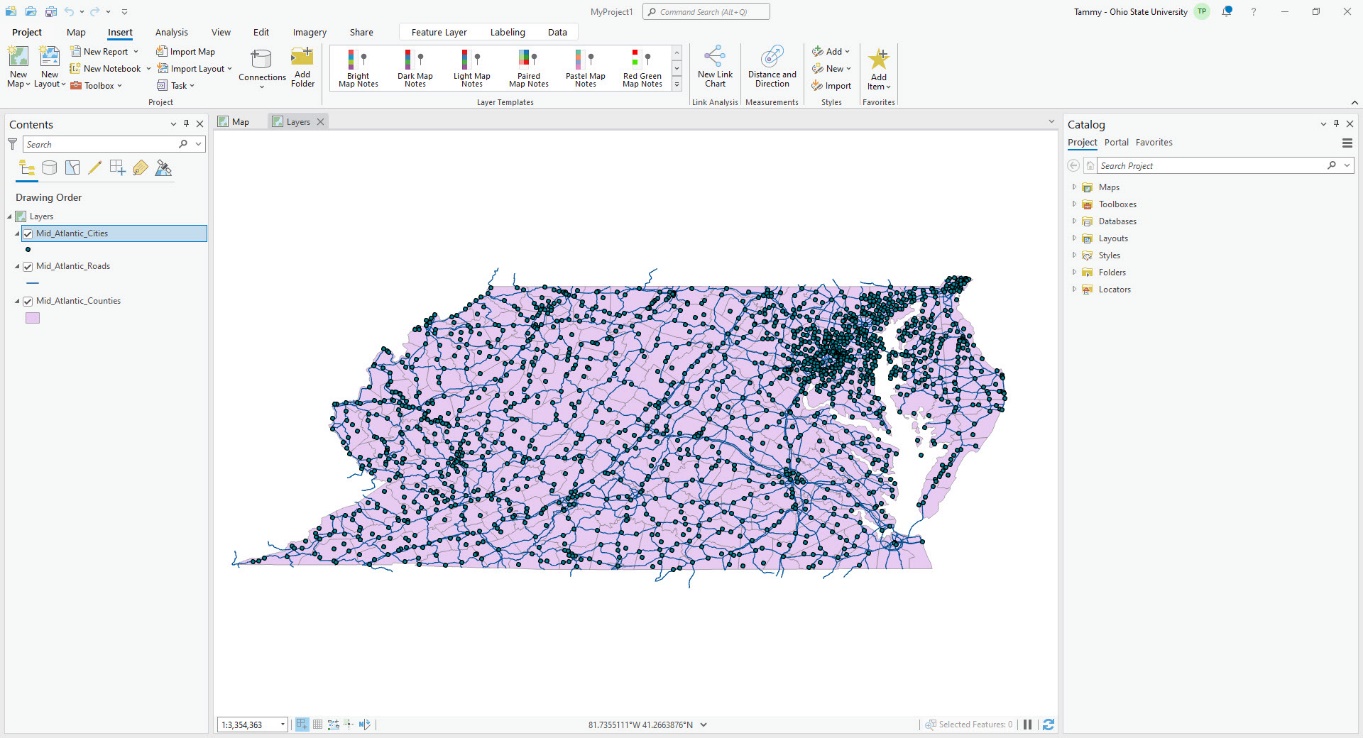
Figure 2.7. Adding vector data to the map.
Now save the project. Click on the Save button at the top of the window.
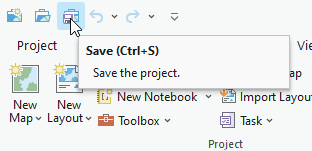
Figure 2.8. Saving the project
To see if the project was saved, close ArcGIS® Pro. When prompted to open a recent project, select, and open the name of the newly converted map project.
PLEASE NOTE: If the layers do not display in the map window and they have red exclamation points at the beginning of the layer names (Figure 2.9), proceed to Chapter 3: Repairing a Broken Data Link.
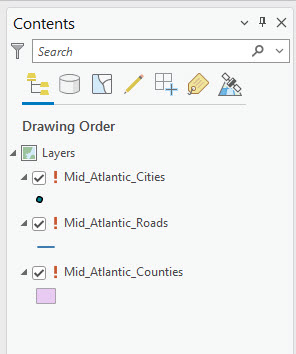
Figure 2.9. Broken data links
Within these first two chapters, we have demonstrated how to create a new map project, open an existing map project, and open a map document created in another GIS program. Our next chapter demonstrates how to repair a broken data link. Chapters 4–9 discuss GIS data, adding it to a project, symbology, metadata, and exporting a map to use in a non-GIS platform.