4 Chapter 4: Connecting to a Folder or an Online GIS Server
Introduction
In Chapters 1 through 3, we demonstrated how to open a new map project, open an existing map project, import a map created in another GIS program, and how to repair a broken data link. This chapter begins the instruction on adding data to a map project. This chapter covers two different topics: connecting to a folder, which will assist in adding data from the local computer; and connecting to a GIS server, which assists in adding data from an outside source with an internet connection. The next two chapters also cover adding data.
Connecting to a Folder: In ArcGIS® Pro, you can access data, projects and map documents by navigating to the folder, just like in any Windows-based environment. However, ArcGIS® Pro has an option to connect directly to that folder within a map project. Essentially, this creates a shortcut to the data enabling access to data files much quicker. The first part of this chapter, Connecting to a Folder, explains how to connect to any folder on a local computer network.
GIS Server Connections: Large amounts of spatial data assets have become freely available to use in GIS programs, and are distributed through server connections by various organizations, including local governments, state agencies, federal government agencies, NGO’s, and the private sector. Some of these data files may include files that are proprietary, extremely large, or updated frequently. Two Esri-based data assets that we will use are ArcGIS Online and the Living Atlas.
Accessing GIS data servers has benefits. For example, when streaming data from an original source (an agency that maintains and updates the data), the most updated version of the published data is available (as opposed to using potentially outdated versions of the data that may have previously downloaded to a local hard drive or a local server). Many entities, including local governments, state agencies, federal agencies, other nonprofits, and private companies, make data available via a GIS server connection. ESRI’s ArcGIS® Pro can communicate with these servers and ingest their data into map projects connected to these servers. The second part of this chapter covers how to connect to such servers.
Connecting to a Folder
Open an ArcGIS® Pro project as directed by your instructor—either the project saved from the previous chapter, or you may be directed to start a new project. We begin with the project from the last chapter.
Choose the Insert tab and then click Add Folder (Figure 4.1)
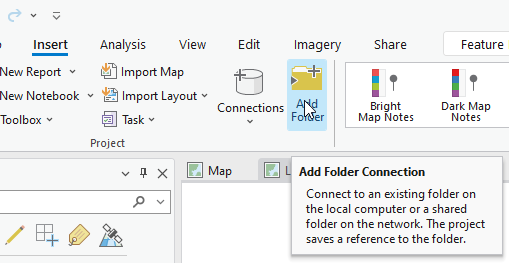
Figure 4.1. Adding a folder connection.
The Add Folder Connection dialog box appears (Figure 4.2).
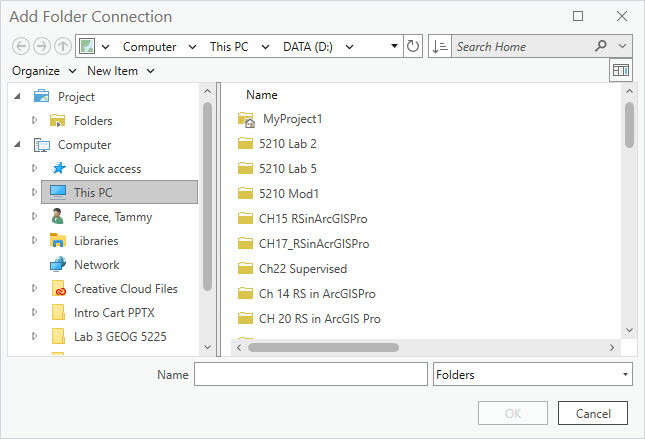
Figure 4.2. Navigating to a folder
Navigate to the folder that contains the spatial data, using the drives visible on the left of the dialogue box. Once the folder is found, make sure that it populates in the Name field. Then click OK (Figure 4.3).
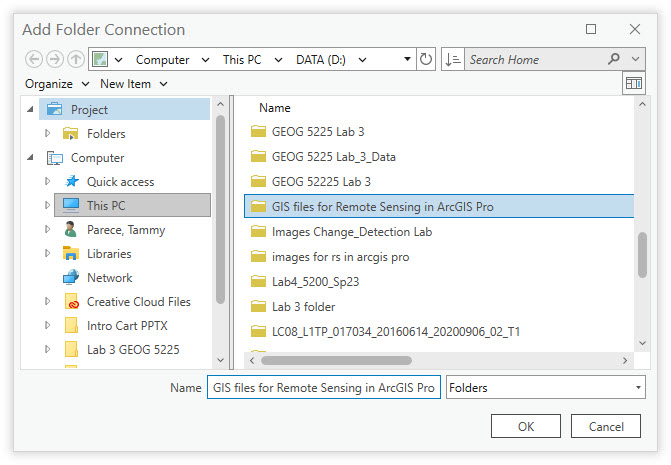
Figure 4.3. Navigating to a folder
It may look like nothing happened. Select the View tab, then select Catalog Pane from the Windows group. Expand Folders (Figure 4.4) revealing the folders to which the project is connected. These connections are very useful if you have data stored in many locations on your computer–adding all your data folders to your project makes that data easily accessible.
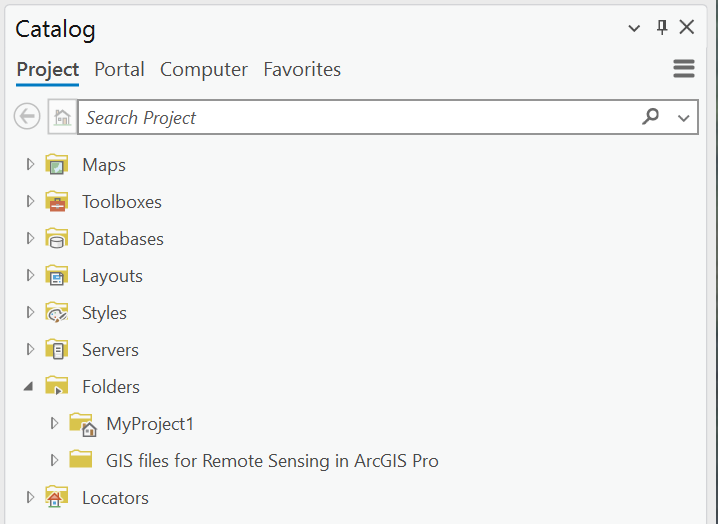
Figure 4.4. Connected folder.
By connecting to this folder, a shortcut to the data folder is established. Now, when adding data from this folder, it can be done much more efficiently.
Save your project! By saving your project, you are also saving the pathway links to both local data and remote data layers.
Connecting to a GIS Server
To connect to an online GIS Server, select the Insert tab and then click on Connections (Figure 4.5). As you can see, you can connect to many types of external sources.
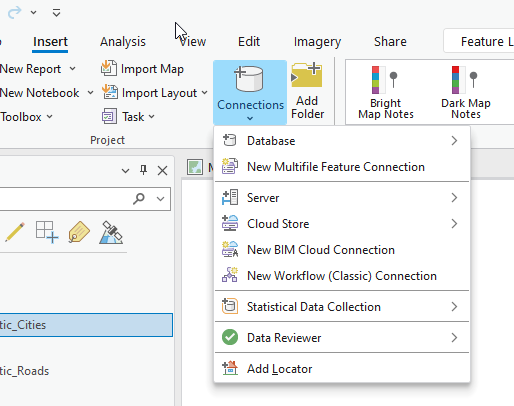
Figure 4.5. Connecting to ArcGIS Server.
From the dropdown menu, choose Server and an additional menu opens (Figure 4.6).
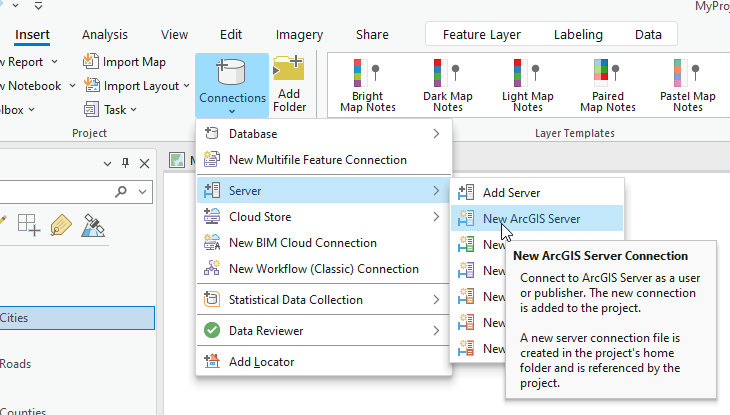
Figure 4.6. Choosing a Server Connection
Select New ArcGIS Server and the Add ArcGIS Server Connection window opens (Figure 4.7).
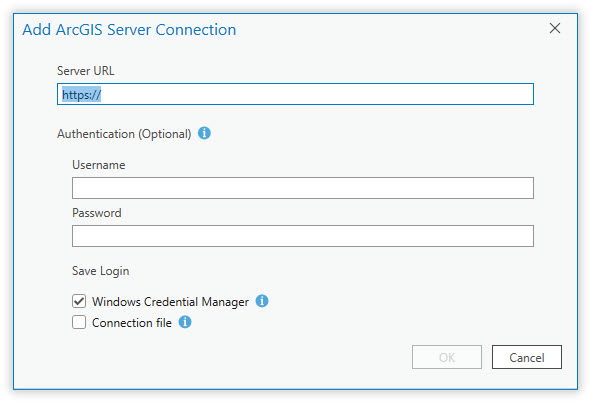
Figure 4.7. The ArcGIS Server Connection
For this example, we are going to connect to the United States Department of Agriculture National Agriculture Imagery Program (USDA NAIP) GIS Server1.
The URL of the GIS data streaming service is https://gis.apfo.usda.gov/arcgis/rest/services.
Enter the URL in the Server URL box (as shown in Figure 4.8) and click OK:
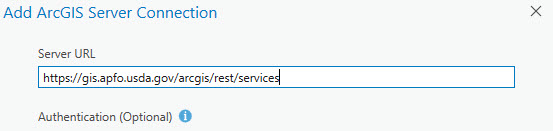
Figure 4.8. Adding a server connection.
Although, it may look like nothing happened, go to Catalog View (View tab, Catalog View in the Windows group) and expand Servers (Figure 4.9).
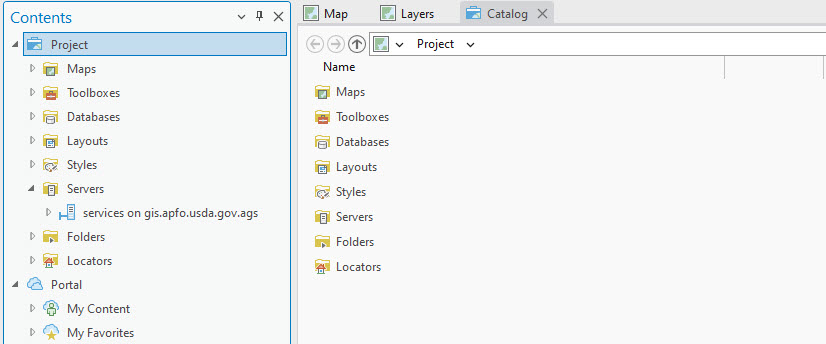
Figure 4.9. The Catalog View
Click on services on gis.apfo.usda.gov.ags and in the window on the right a list of available options appears (BASE, NAIP, NonCONUS, StatusMaps) (Figure 4.10).
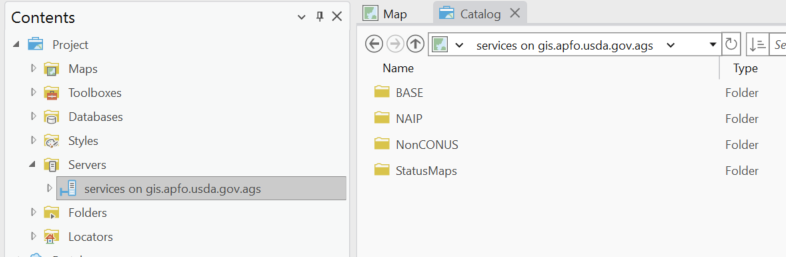
Figure 4.10. Navigating to the USDA’s data server.
Double click on NAIP and USDA_CONUS_PRIME is listed (Figure 4.11).
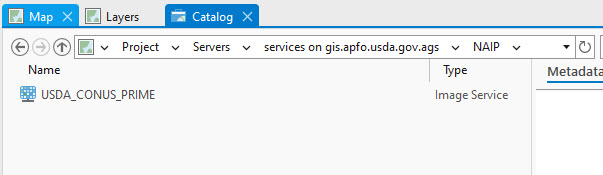
Figure 4.11. Connecting to the USDA’s data server.
Right click and choose Add to Map (Figure 4.12).
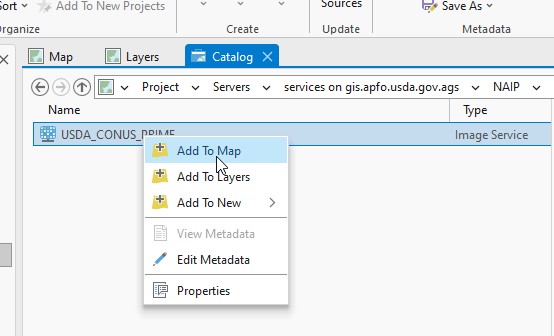
Figure 4.12. Adding a service to Contents.
Go back to the Map tab. The NAIP layer for the entire US shows in Contents and the map window. This is a mosaic of multiple images (Figure 4.13).
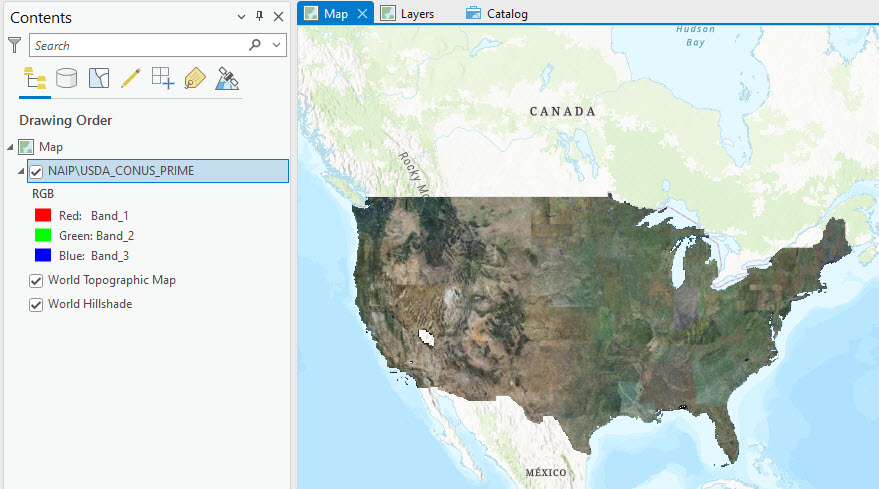
Figure 4.13. NAIP imagery for the U.S.
The project is now connected to data that is streaming from an online server. Is it possible to conduct analysis with online servers? This depends on the specific server configuration—refer to the metadata associated the server connection.
Connecting to ArcGIS® Online server
ArcGIS® Online is a cloud-based geospatial data sharing option that is maintained by Esri. When you first opened ArcGIS® Pro, you had to sign in to your organization’s account. This process connected to ArcGIS® Online servers. ArcGIS® Online data can be accessed in two ways—through basemaps, which are streamed from ArcGIS® Online, or through the ArcGIS® Online portal.
Basemaps
Every new ArcGIS® Pro map project begins with a default basemap. You can change the basemap using the Map tab and clicking on Basemap.(Figure 4.14). Many basemap options are available, select one to add it to the map project.
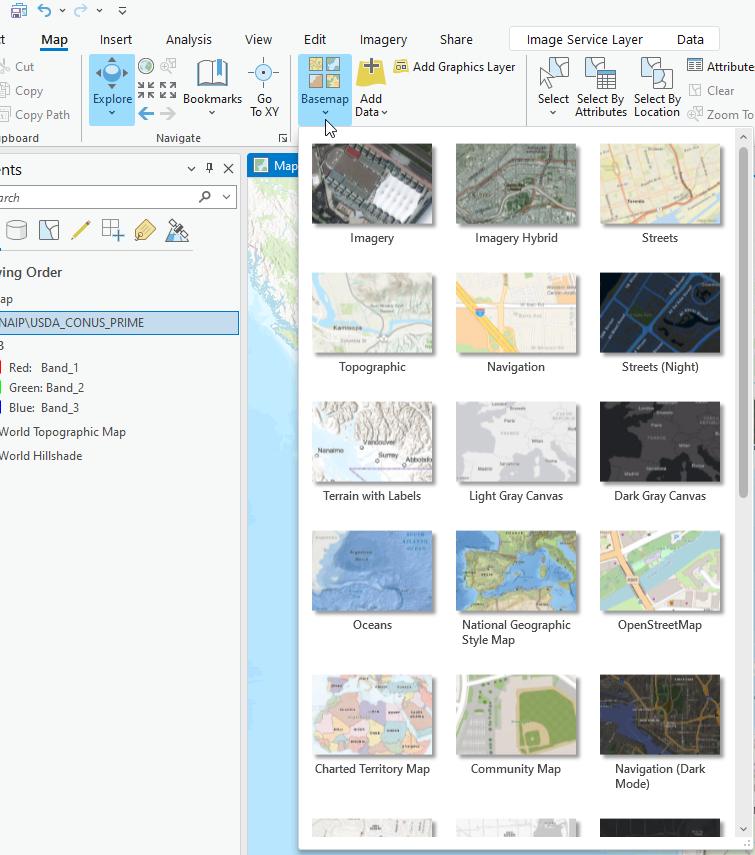
Figure 4.14. Basemap options
ArcGIS Online Portal
The second way to access ArcGIS® Online data is through the ArcGIS® Online portal. While on the map tab, select the Add Data drop-down arrow and choose Add Data to the map (Figure 4.15).
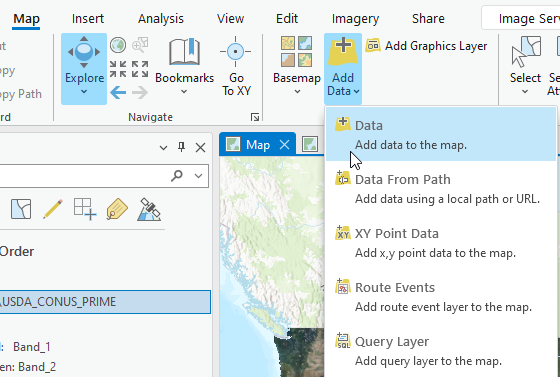
Figure 4.15. Adding Data.
The Add Data window opens. This is where you can navigate to files on your computer but can also connect to ArcGIS Online or Esri’s Living Atlas . In the left pane, click on ArcGIS Online and a list of available data resources displays in the pane on the right. The list displayed also includes the owner.
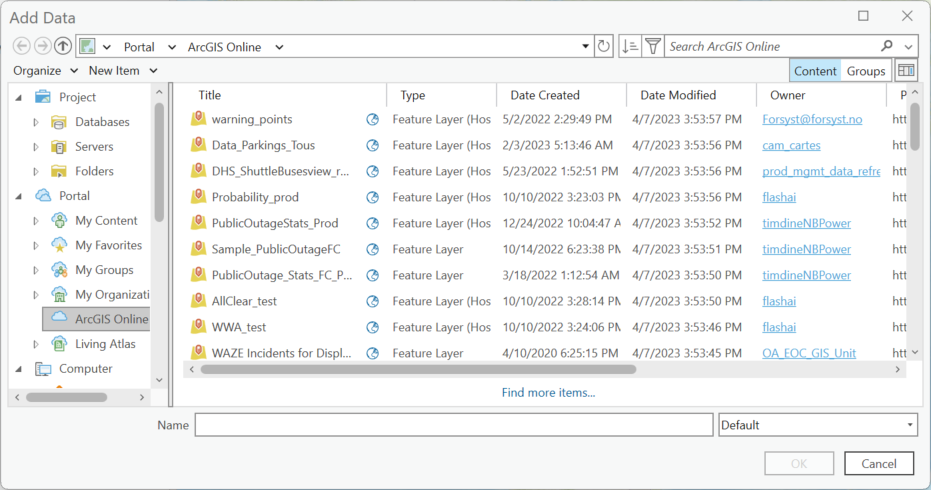
Figure 4.16. Connecting to ArcGIS Online and the Living Atlas.
To search for data, use the Search ArcGIS Online box in the top right of the window. Type in Ohio Weather and then hit enter (on your keyboard). Some results are displayed in Figure 4.17.
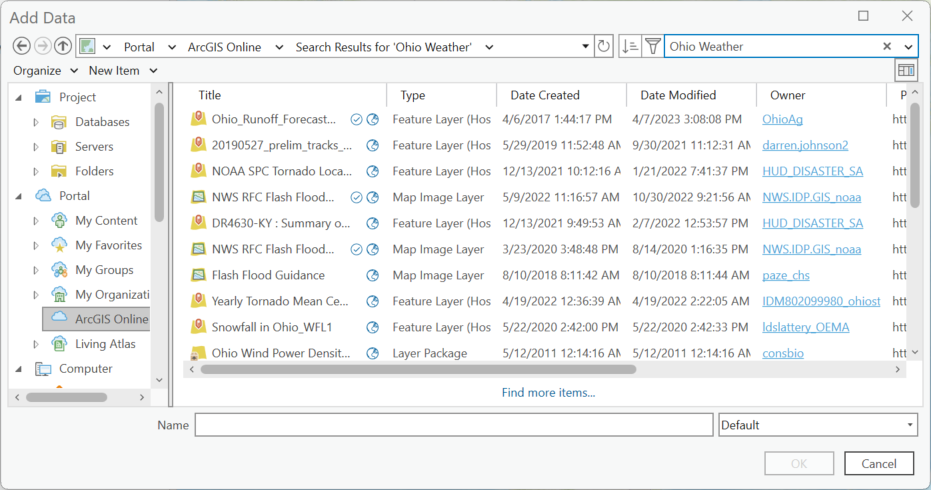
Figure 4.17. Searching for data on ArcGIS Online.
Highlight NOAA SPC Tornado Local Storm Report, it populates at the bottom (Figure 4.18).
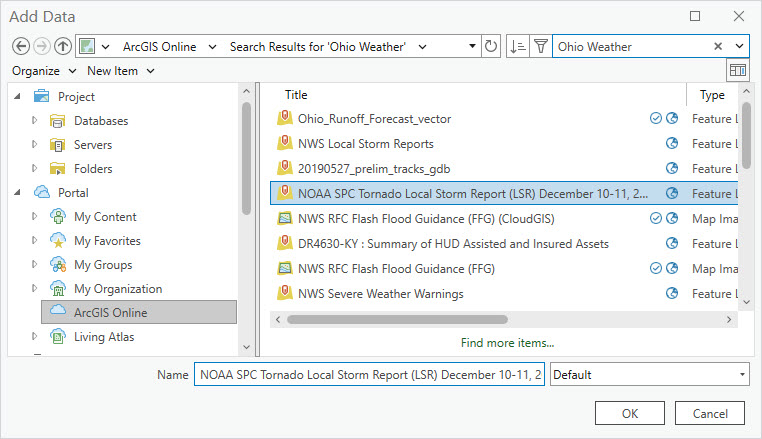
Figure 4.18. Adding data from ArcGIS Online
Click OK to add it to the map (Figure 4.19).
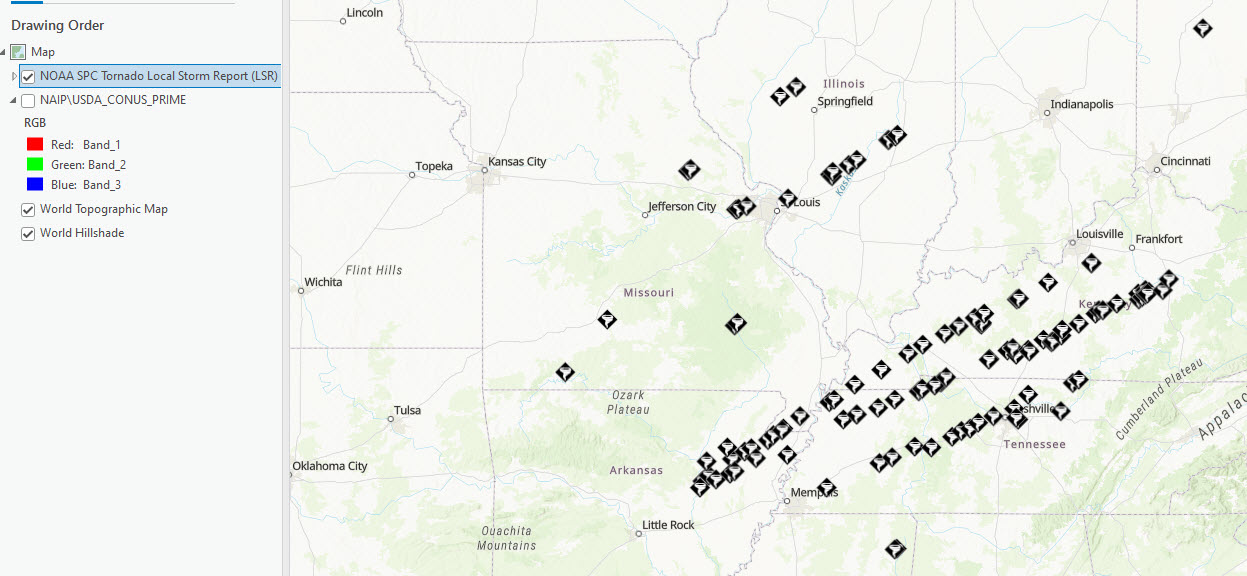
Figure 4.19. NOAA Weather data
Is it possible to conduct analyses with this data? Like the GIS Server connections, it depends on the data and what the owner of the data has allowed—just for display or include analyses.
Living Atlas
Click the Add Data button, choose Add Data to the map. This time, in the Add Data window, highlight Living Atlas (Figure 4.20).
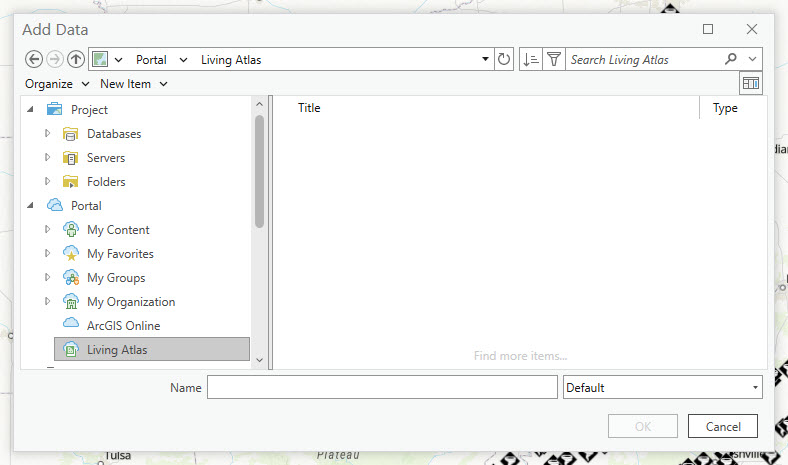
Figure 4.20. Adding data from the Living Atlas.
This time, no data is listed. For the Living Atlas, you must search for available data. Enter Colorado in the search window and hit enter on your keyboard (Figure 4.21).
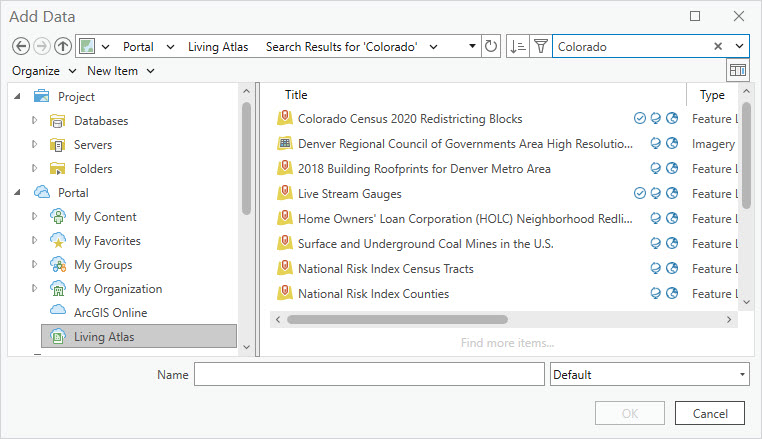
Figure 4.21. Searching for data on the Living Atlas.
We will not demonstrate adding data, it is added in the same process as adding data from ArcGIS Online. However, we issue the same caution—whether you can use the data for display or analysis depends on the owner’s permissions.
You can also access ArcGIS® Online and the Living Atlas before a map project is opened or created. When ArcGIS® Pro first opens, click on Open another project (Figure 4.22).
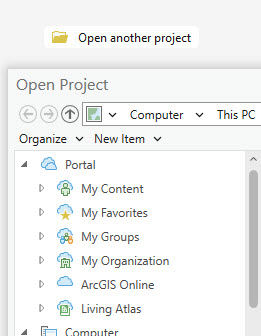
Figure 4.22. Accessing ArcGIS Online and the Living Atlas.
An Open Project window opens (just as in the previous examples) where you can search for an existing project on your computer, or search ArcGIS Online, the Living Atlas, or perhaps projects existing at your organization.
These are just brief demonstrations on connecting to servers. We recommend you research specific data availability before using these functions.
In the next chapter, we discuss the ArcGIS® Pro project’s geodatabase and how to add data to it.