1 Chapter 1: Opening an Existing Project or Creating a New Project
Introduction
These tutorials cover analysis of remotely sensed imagery using ESRI’s ArcGIS® Pro software. The first nine chapters review ArcGIS® Pro basics. If you know ArcGIS® Pro, then you can skip these chapters and start with Chapter 10 of this book: Remotely Sensed Imagery available from the United States Geological Survey—the chapter that provides a review about remotely sensed imagery and accessing free imagery from the United States Geological Survey (USGS).
Once ArcGIS® Pro has been installed on your computer, a shortcut can be added to your desktop or taskbar. The shortcut icon looks like Figure 1.1.

Figure 1.1. ArcGIS® Pro Shortcut.
Getting Started
Open ArcGIS® Pro (double-click the icon) and enter your ArcGIS login credentials in the Sign In dialogue box (Figure 1.2). If you do not have an ArcGIS® Online account, contact your institution’s GIS Administrator.
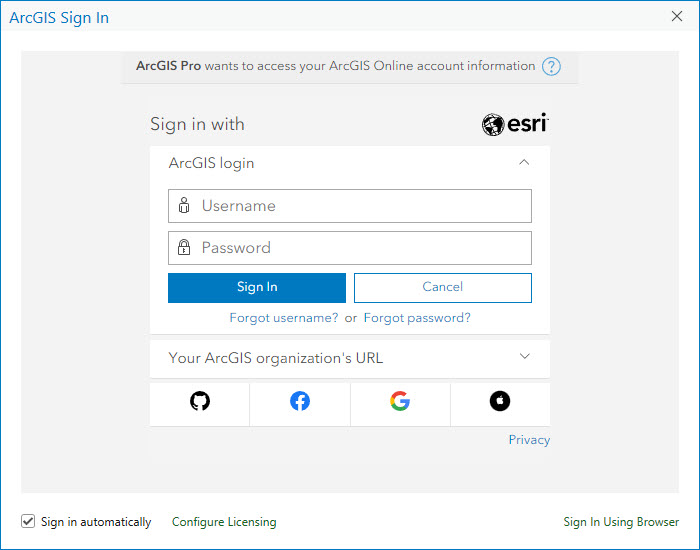
Figure 1.2. ArcGIS® Pro Account Sign-in.
When ArcGIS® Pro opens, you will see a screen similar to Figure 1.3, with your sign-in information in the upper right corner.
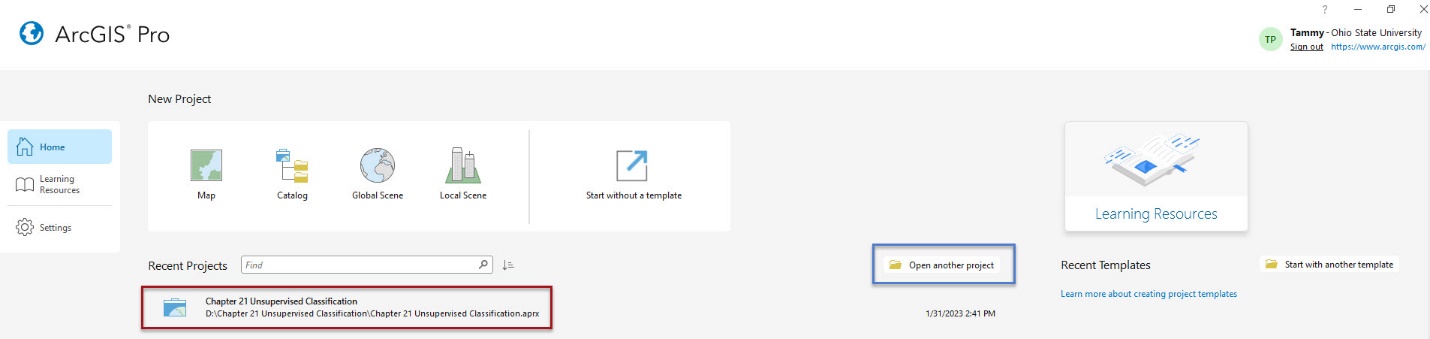
Figure 1.3 Opening ArcGIS® Pro.
If you have created at least one project, it should appear under Recent Projects (red box in Figure 1.3). If your project is not listed under Recent Projects, try Open another project (blue box in Figure 1.3) to navigate to the folder where you store your projects.
Create a New Project
We start with New Project. Select Map. The Create a New Project dialog box will appear (Figure 1.4).
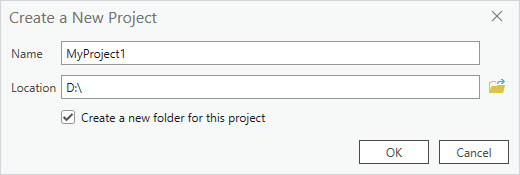
Figure 1.4. Creating a new project.
Name the project, and using the folder icon at the end of the Location box, navigate to the folder where you will store the project on your computer. Select OK to create the project. Please note: best practice when naming files, maps, or projects in ArcGIS® Pro is to use underscores instead of spaces to separate words in a file name.
Completing this step creates a folder for the project on your computer. In Figure 1.5, the contents of the MyProject1 folder are displayed in Windows File Explorer.
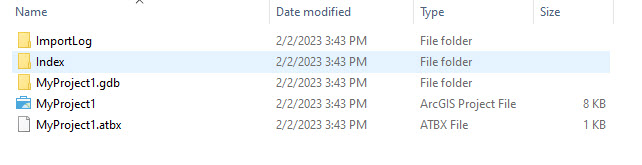
Figure 1.5. Windows File Explorer
After clicking OK, the project opens (Figure 1.6).
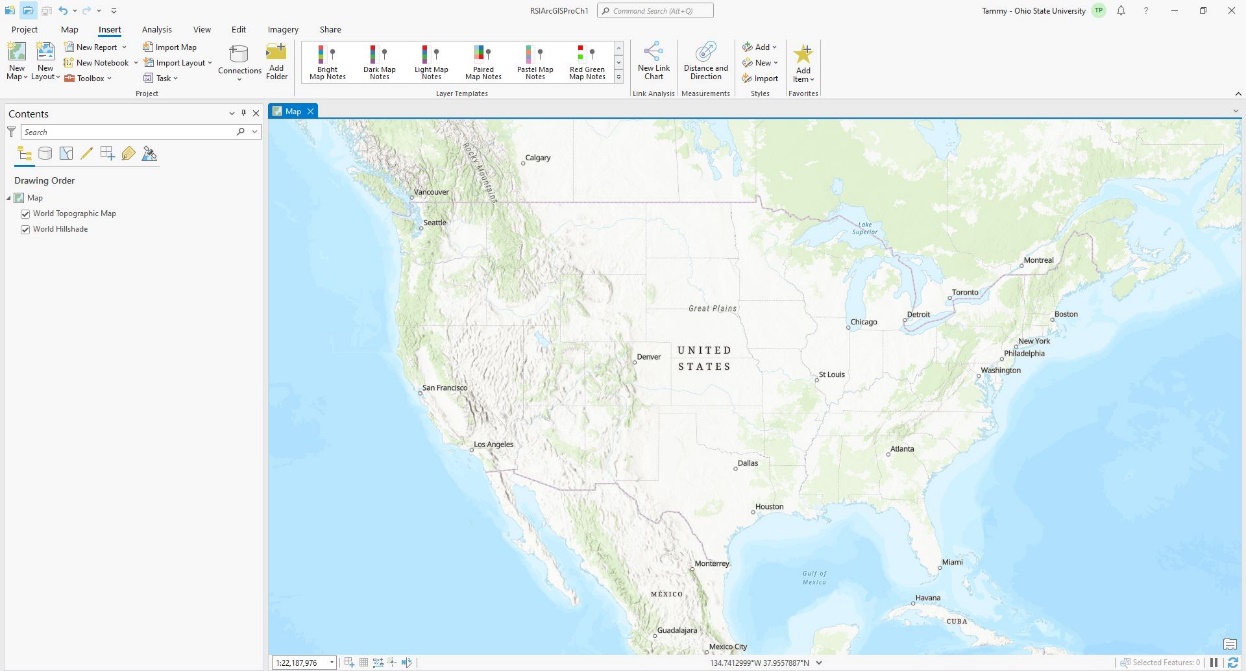
Figure 1.6. ArcGIS® Pro landing page
Select the View tab and choose Catalog Pane from the Windows group. (Figure 1.7).
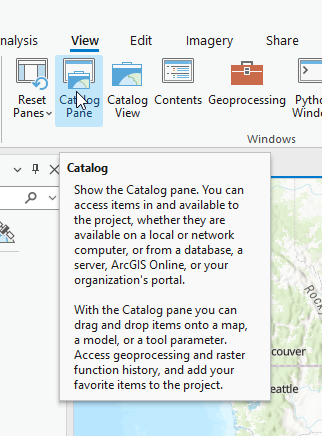
Figure 1.7. Opening Catalog
The Catalog Pane opens, typically docked on the right side of the Map view (Figure 1.8). In your project, it could open in a different location.
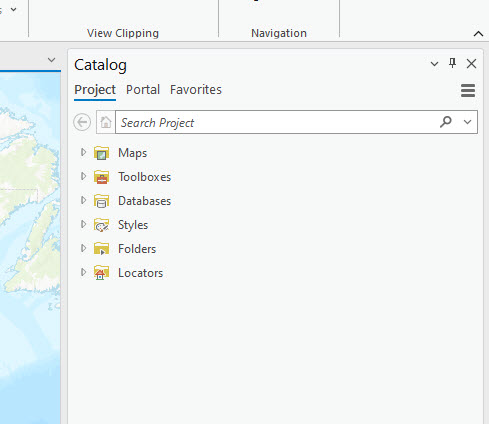
Figure 1.8. The Catalog Pane
Select the triangle icon to the left of Folders to expand the folder and view its contents. Also expand the MyProject1 folder. In Figure 1.9 you now see the ArcGIS® Pro view of the files, which is different from the Windows File Explorer view in Figure 1.5.
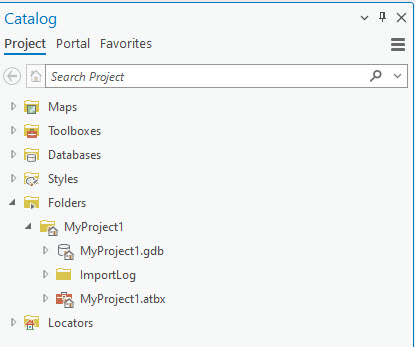
Figure 1.9. Catalog.
Within the newly created project’s folder are a toolbox (MyProject1.atbx) and a geodatabase (MyProject1.gdb). A toolbox for a project is a container for the project’s geoprocessing tools. The project’s toolbox will not be used in this book, although we will use individual tools from the ArcGIS® Pro general toolbox1. A geodatabase is a container for data used in ArcGIS® Pro. Geodatabases are discussed in further detail in Chapter 5: Adding Shapefiles to the Project’s Geodatabase, and in many subsequent chapters2.
Nothing else is in the project folder because it is a new empty project.
Recall, we chose Map when creating the new project, MyProject1. What happens when Global Scene is chosen instead? Global Scene opens a 3D base map zoomed to the extent of the world with the United States as the central location (Figure 1.10).
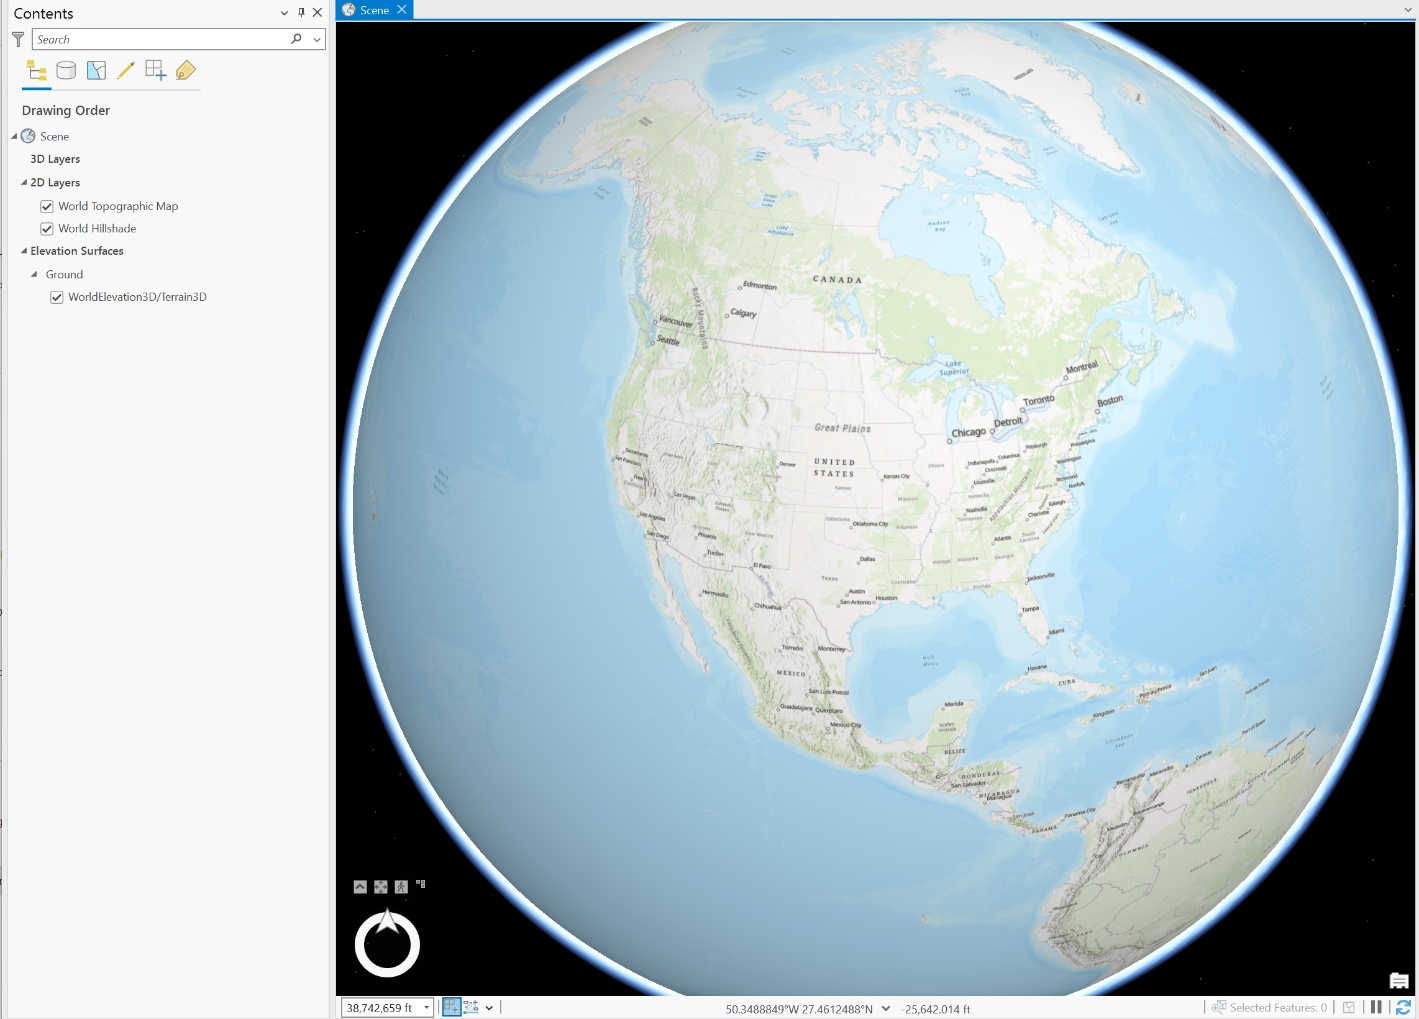
Figure 1.10. Global Scene
The location and default basemaps were defined when your organization set up its ESRI Organizational Account, in this example, the US. All three project options— Map, Global Scene, and Local Scene—show the same 2D World Topographic Map and World Hillshade basemaps in the Contents pane. Your basemap selection and map extent may differ.
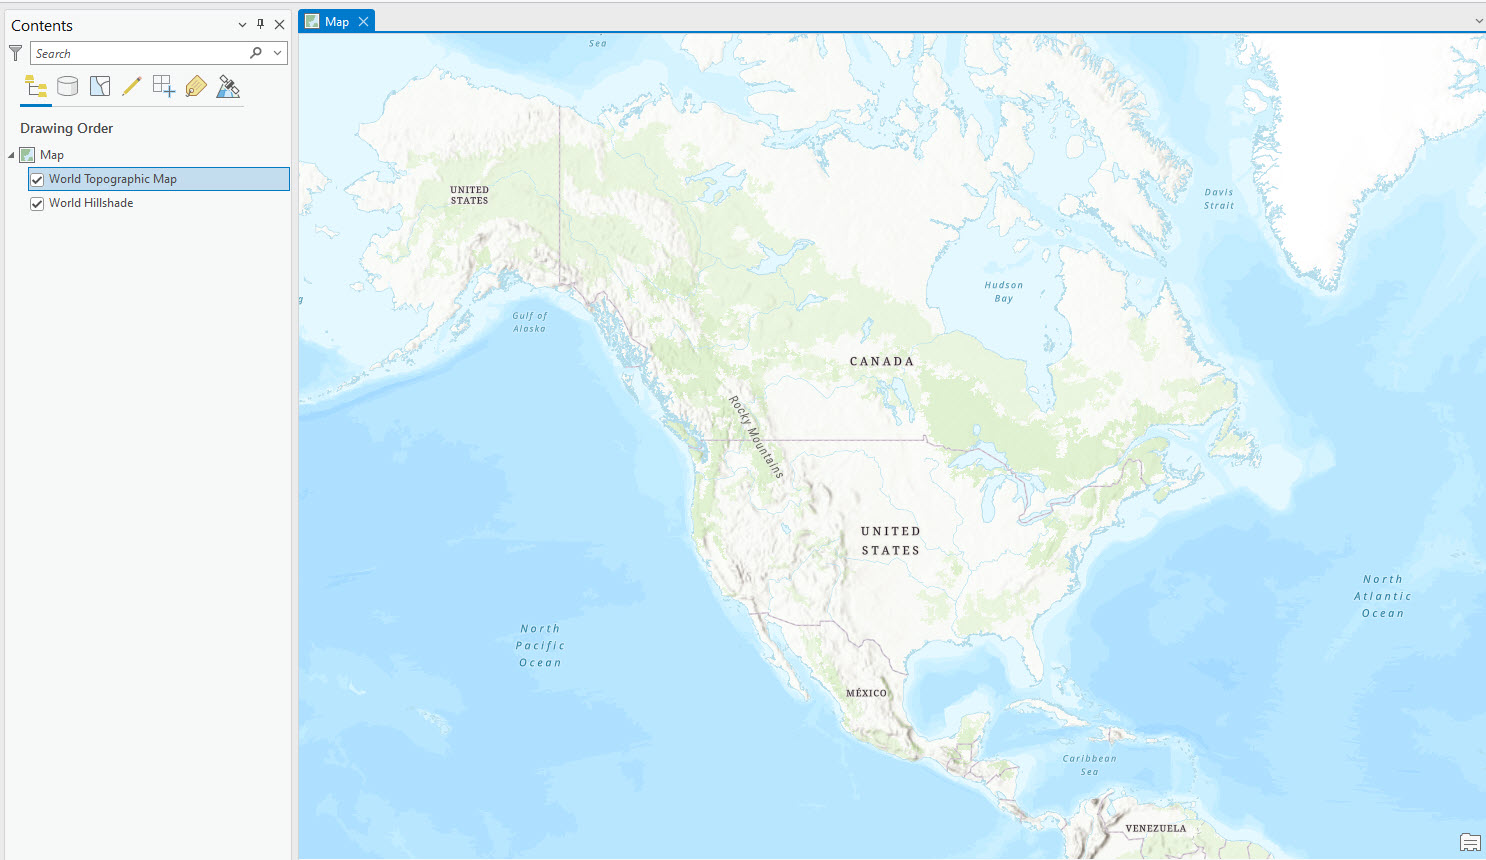
Figure 1.11. World Topographic Map
Opening an Existing Project
Now let’s open an existing project. To do that, either close your project and reopen ArcGIS® Pro or select the Project tab (upper left corner) and choose Open (Figure 1.12).
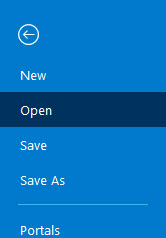
Figure 1.12. Opening an existing project
Select the desired project to open it (Figure 1.13).
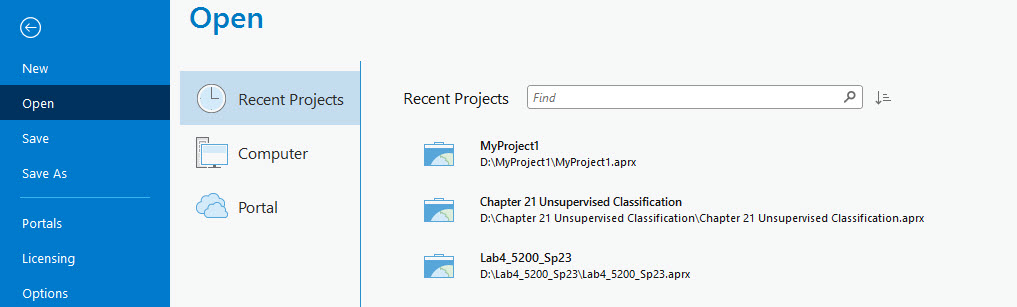
Figure 1.13. Selecting the project
In Figure 1.14 we selected Chapter 21 Unsupervised Classification. Don’t worry about what this project is showing, this is just a demonstration of how to open a prior project3.
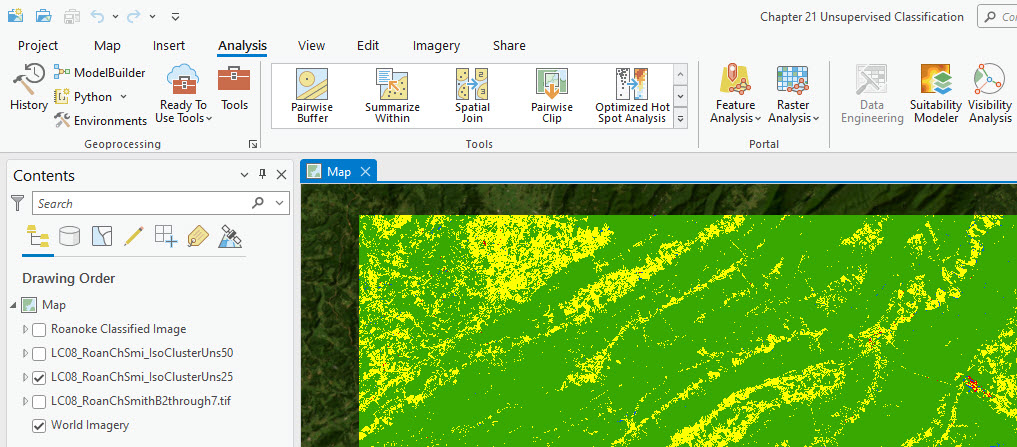
Figure 1.14. Viewing data on the map.
Please note that these processes only work for an already established project for ArcGIS® Pro. ArcGIS® Pro can open maps created in ArcGIS® Desktop with file extensions such as .mxd, .sxd, and .mapx, but those types of maps are opened using another process4.
This chapter introduced ArcGIS® Pro with instructions on opening an existing map project and creating a new map project. To learn how to open a Map document created in ArcGIS® Desktop, proceed to the next chapter.