Chapter 7. Locating Lidar Data
Lidar data can be acquired by many different methods—both ground-based and aerial. An individual or organization can use lidar equipment to collect their own data. A company specializing in lidar data collection can be retained (hired) to collect the data, and, as part of the collection process, provide some point cloud classification. Some government agencies (local, state, and federal) have already acquired lidar data that is available to educational institutions either via direct download or through a special access portal.
Many different types of lidar data are available. Some are proprietary data files (owned by a specific organization), and the software to analyze or utilize such data is provided by or purchased from that organization. In 2012, the United States Geological Survey (USGS) released standards governing the minimum specifications for the acquisition and use of lidar for the National Map. These standards have since been adopted by numerous local, state, and foreign governments. However, no guarantee exists that all lidar data meet these standards. For more information on USGS standards, go to https://pubs.usgs.gov/tm/11b4/pdf/tm11-B4.pdf.
ArcGIS Pro® cannot process or display all the various formats of lidar data. Currently, only LAS or ZLAS data are usable in ArcGIS Pro®. Be sure to review the metadata accompanying any lidar data to ensure the lidar data file extensions can be used in ArcGIS Pro®.
This chapter demonstrates how to search for lidar data that is freely available for downloading from the internet. The browser used in this chapter is Firefox. Other browsers may produce different results from those demonstrated on the following pages. This chapter reviews locating lidar data from a local government site, a U.S. state site, and another national government site (Canada) and introduces the United States National Map Viewer. The next chapter will demonstrate how to search for and find data on the National Map Viewer.
The chapter emphasizes the importance of carefully reading and following directions on each site as no two sites are the same.
To search the internet for lidar data, use a search engine and the search terms “downloadable lidar data”. A large number of results will follow (Figure 7.1).
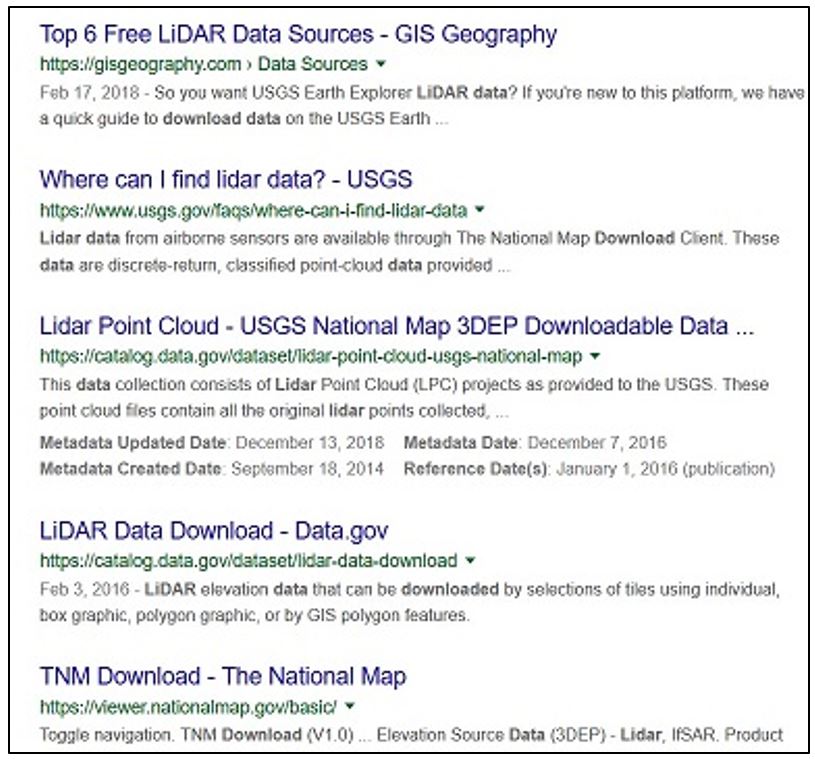
Be careful when searching, as some sites may charge you for locating ‘free’ data.
Local Government Example
Using the search term “downloadable lidar data for Mesa County Colorado” in the Google search engine returns the following (Figure 7.2).
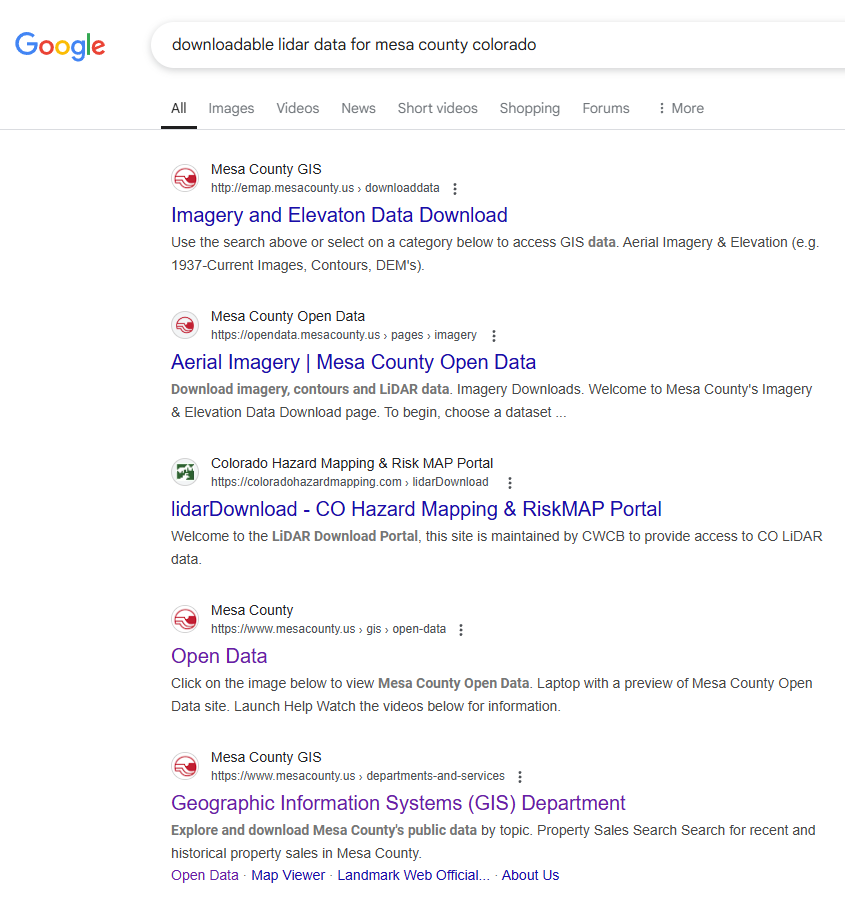
Selecting the first result—Imagery and Elevation Data Download—opens the website (Figure 7.3). The popup is a common process for downloading any geospatial data—acknowledging the disclaimer regarding accuracy and use of the data.[1]
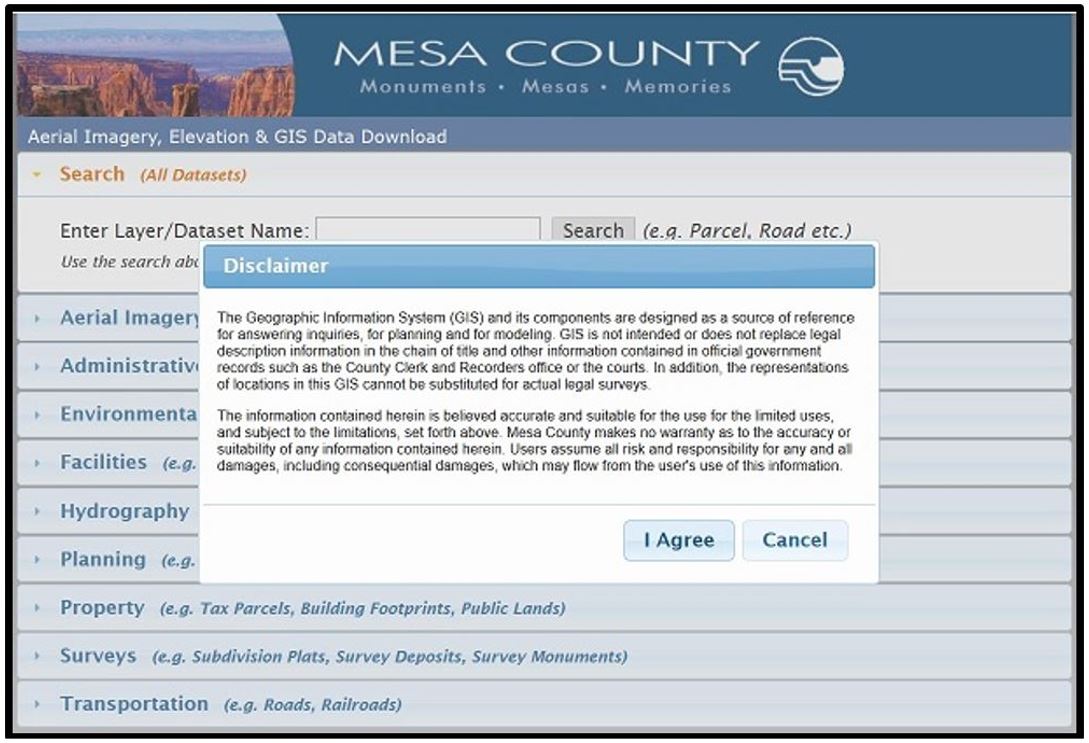
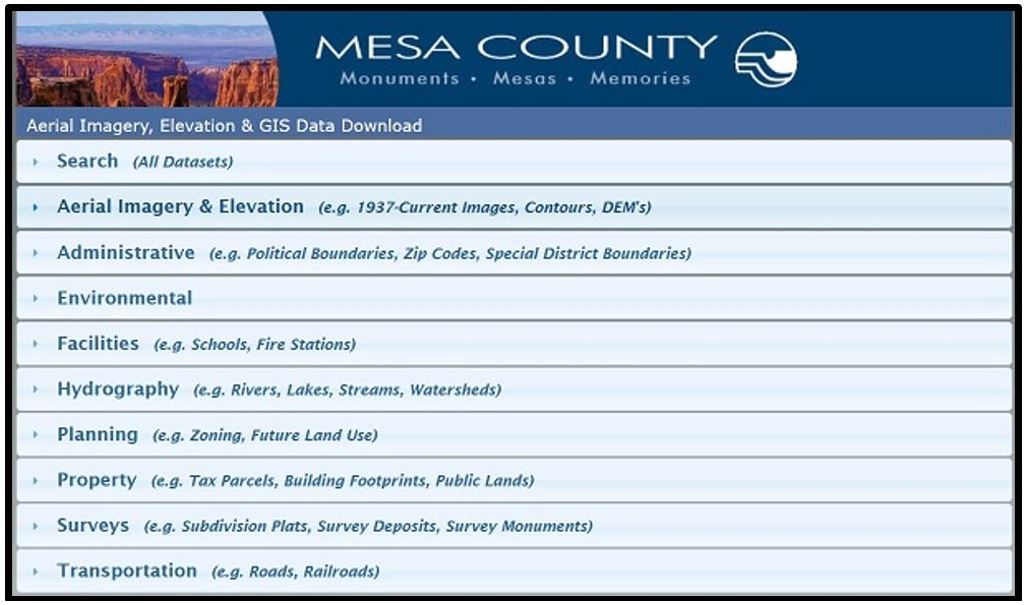
Read the disclaimer and then choose I Agree. The Disclaimer closes and access to different categories of geospatial data are allowed. Select the triangle to expand the Aerial Imagery and Elevation category (Figure 7.4).
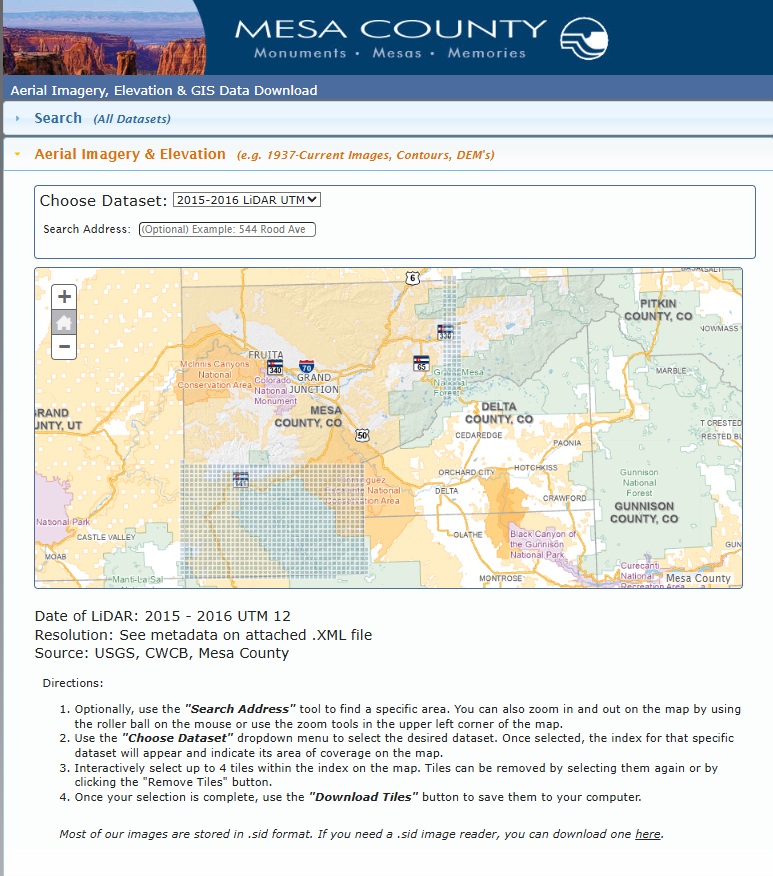
The map viewer for Mesa County is displayed (Figure 7.5).

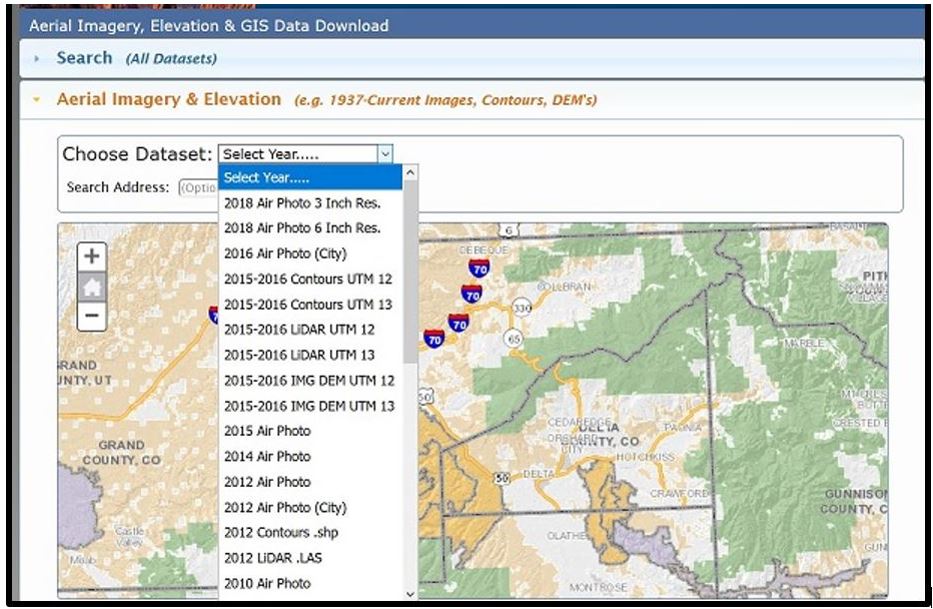
By Choose Dataset, click the down arrow for Select Year to display a list of data available. Select 2015-2016 LIDAR UTM 12 from the drop-down list. (Figure 7.6) Please note Mesa County, Colorado is in two different UTM Zones. When choosing lidar data for any area of interest, be sure to read the metadata to ensure the data covers the specific area of interest.
This selection loads the coverage area in the map viewer and provides instructions for choosing the specific tiles for the area of interest (Figure 7.7). Why are there so many different tiles covering a relatively small area? Lidar data files are very large files, so for ease and faster downloading, the files are divided into smaller areas.
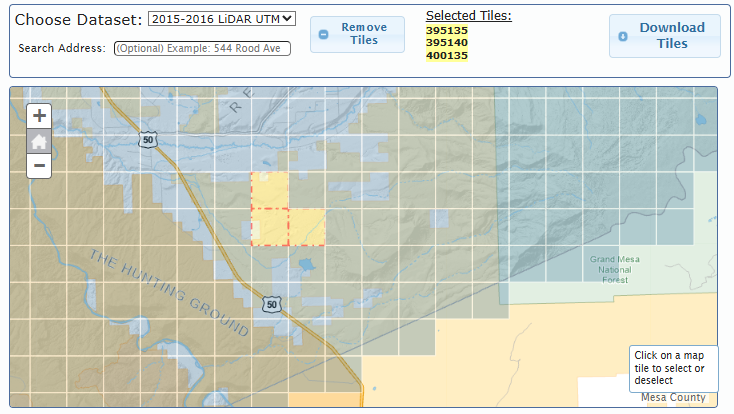
Zoom in to the area shown in Figure 7.8 below and choose the three tiles displayed by clicking on the corresponding square for each tile. According to the instructions shown in the Figure 7.7, the download is limited to four tiles at a time. Once the tiles are selected, choose Download Tiles in the upper right corner. (Figure 7.8)
A Downloading progress bar appears (Figure 7.9):
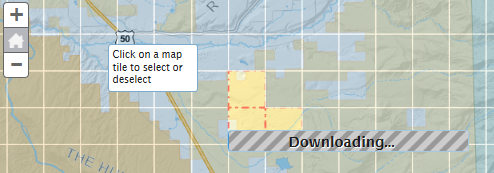
When downloading is finished, the zipped file will be available in your Downloads folder (or wherever you specified on your computer to store downloaded files). This file will be used in subsequent chapters.

State Example
Search for “downloadable lidar data North Dakota”. Figure 7.11
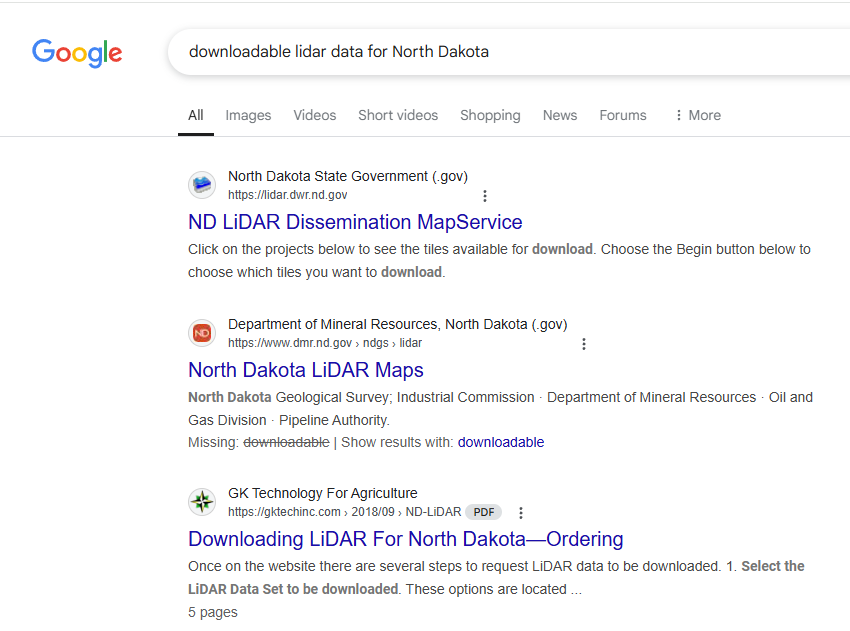
Choose the website ND LiDAR Dissemination MapService.
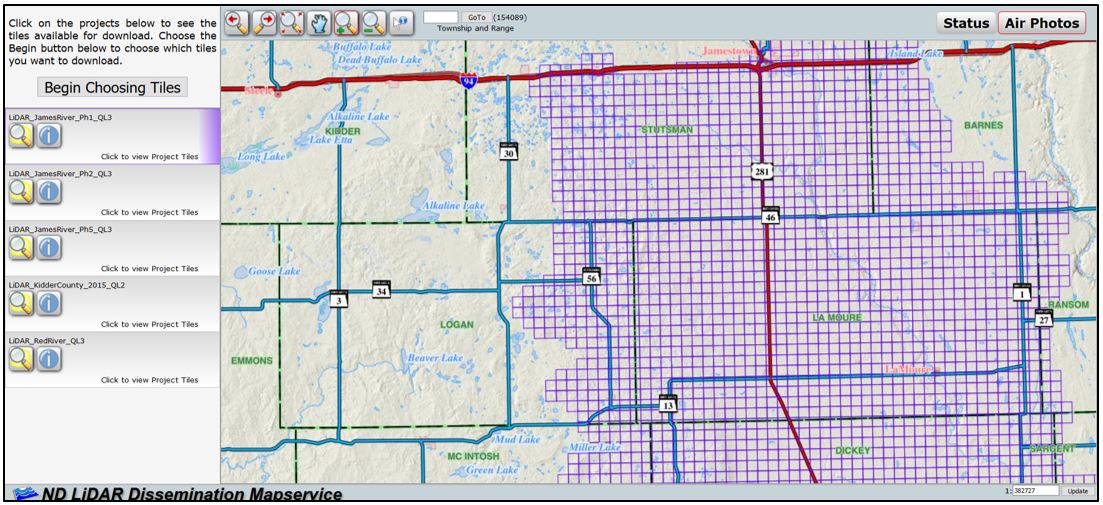
The North Dakota Map Service page displays (Figure 7.12).
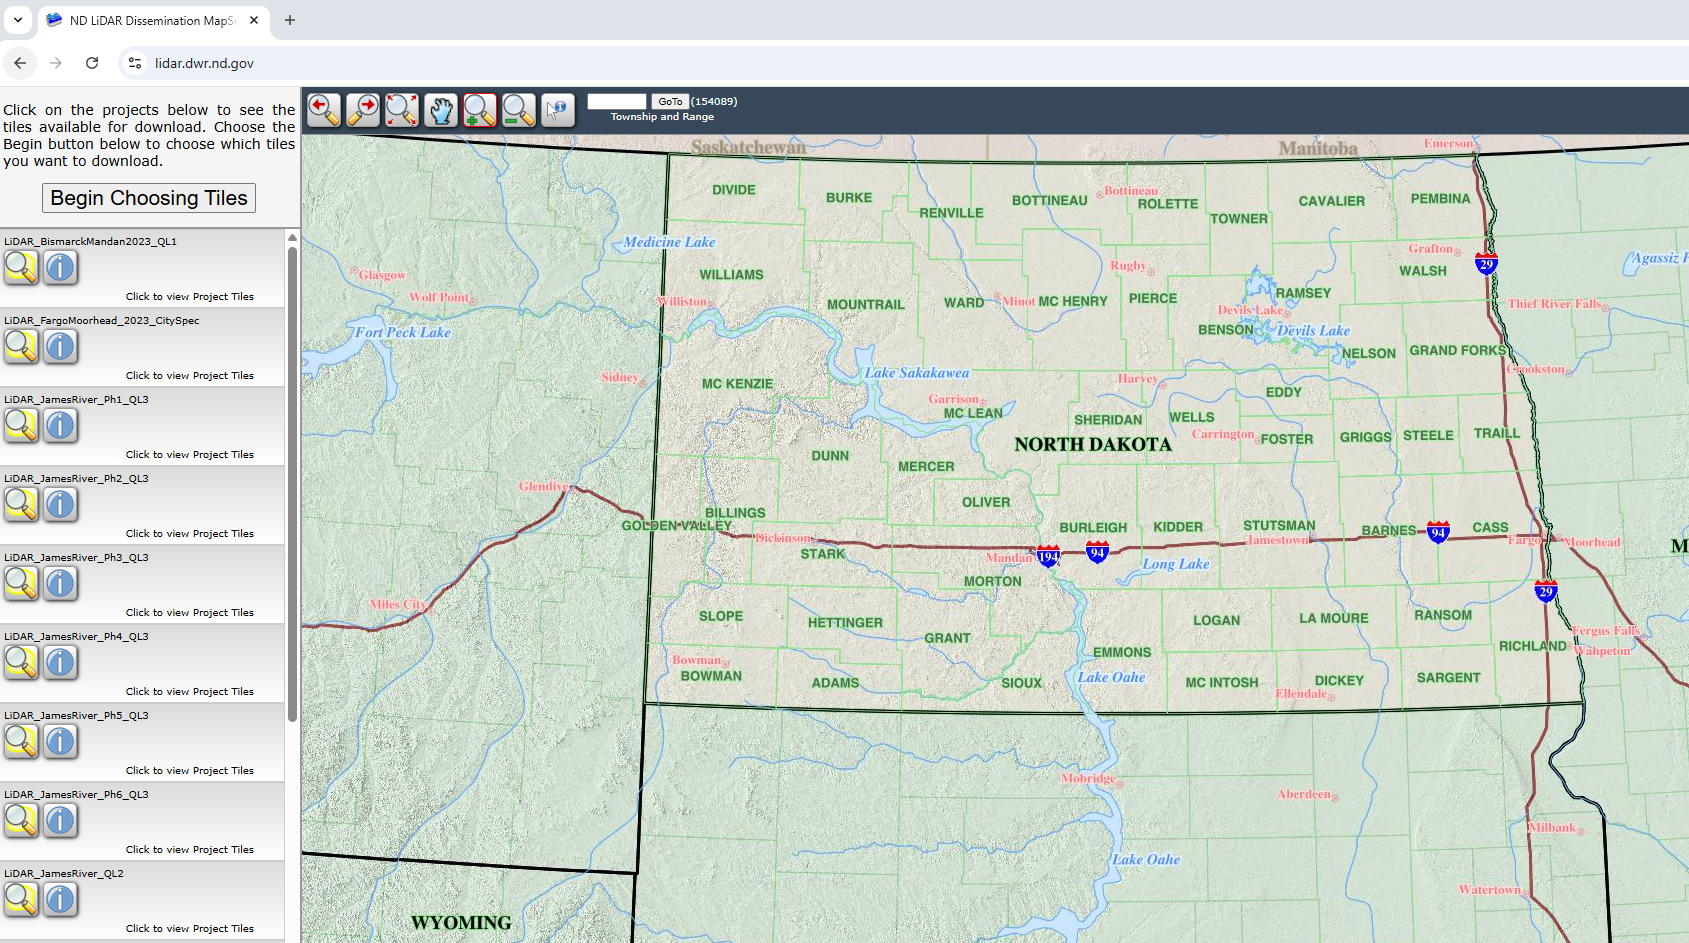
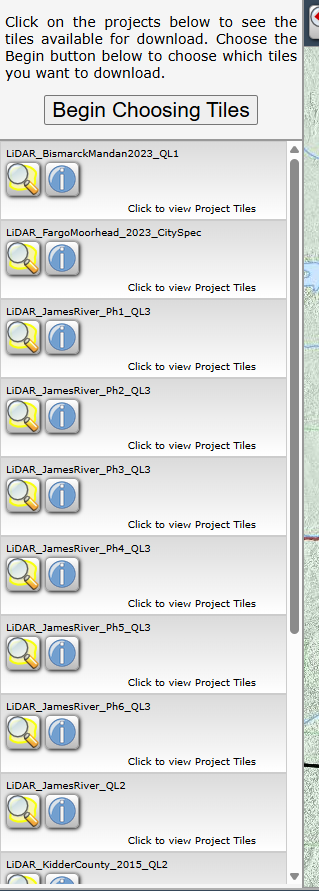
The North Dakota map viewer table of contents on the left lists the lidar data products available (Figure 7.13).
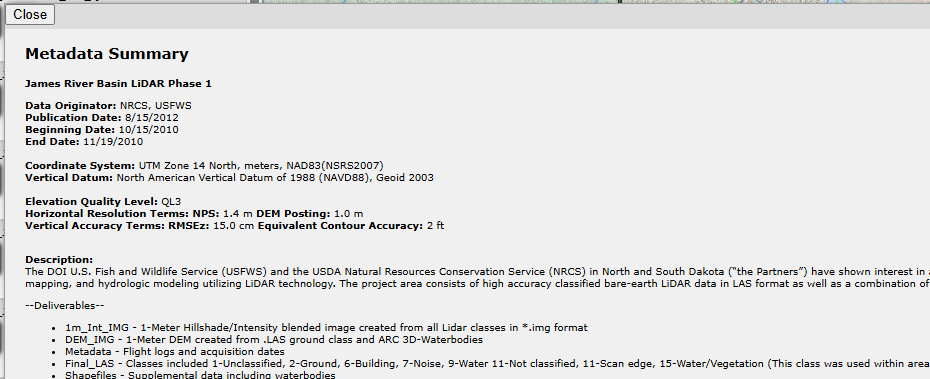
Before choosing any data, select the blue information icon under LiDAR_JamesRiver_Ph1_QL3 (the third one in the list) (Figure 7.14).
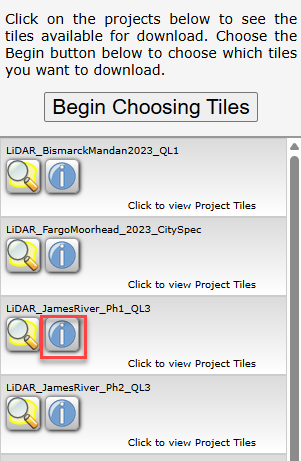
This provides some limited metadata for the lidar file (Figure 7.15). Remember from the local example of Mesa County Colorado, the instructions stated that the metadata accompanies the download. Read this new information, then Close the metadata.
Next, select the magnifying glass for the same file. It displays the coverage area for the lidar data (Figure 7.16). Similar to the coverage for Mesa County, the data files are found within the individual tiles displayed.

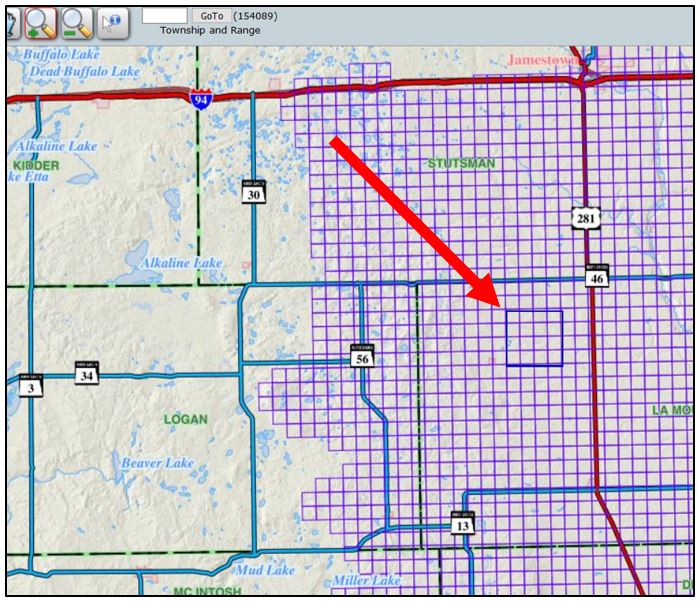
Using the magnifying glass with the red plus sign (Figure 7.17), zoom in to the Stutsman area west of Route 281 shown by the red arrow in Figure 7.16.
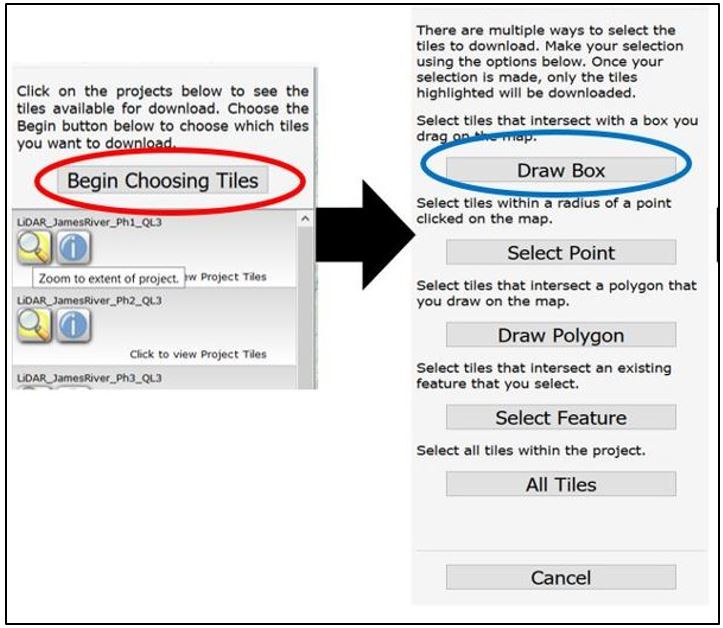
Select Begin Choosing Tiles (Figure 7.18). A new dialog opens with several methods for selecting tiles.
Choose Draw Box and drag a box around the tiles identified in Figure 7.19 (indicated by the red arrow).
Once these are selected, the download arrow for the selected data appears in the data list (Figure 7.20). If the wrong area was chosen, you can Clear Selection.
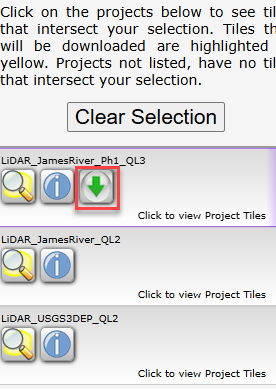
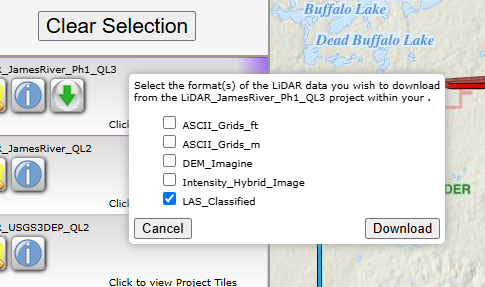
To download the files, select the green download arrow (circled in Figure 7.20). In the dialog that opens, check the box for LAS_Classified to select it, then Download (Figure 7.21).
The table of contents is replaced with a list of the tiles chosen during the selection process (Figure 7.22).
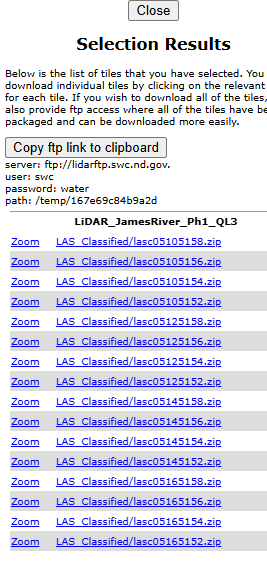
There are two options for downloading—all files at once or each file individually. We are only interested in specific tiles so we will not cover Copy ftp link to Clipboard.
To download individual files, select the file from the list. As above, where the file is saved depends on your options for your browser (Figure 7.23).
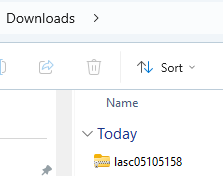
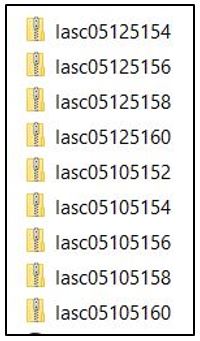
For the purpose of future chapters, please download the following files (Figure 7.24):
International Example
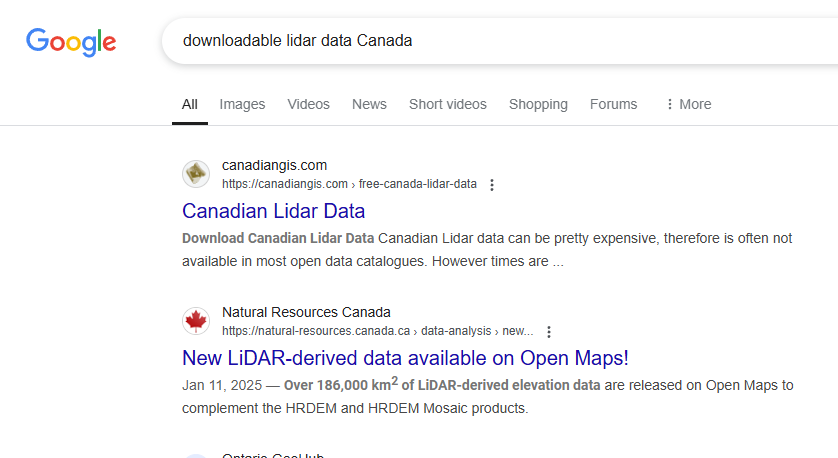
Lidar data can be acquired for various regions and countries. This section will provide examples of international lidar data download sites. Use the search terms “downloadable lidar data Canada” (Figure 7.25)[2].
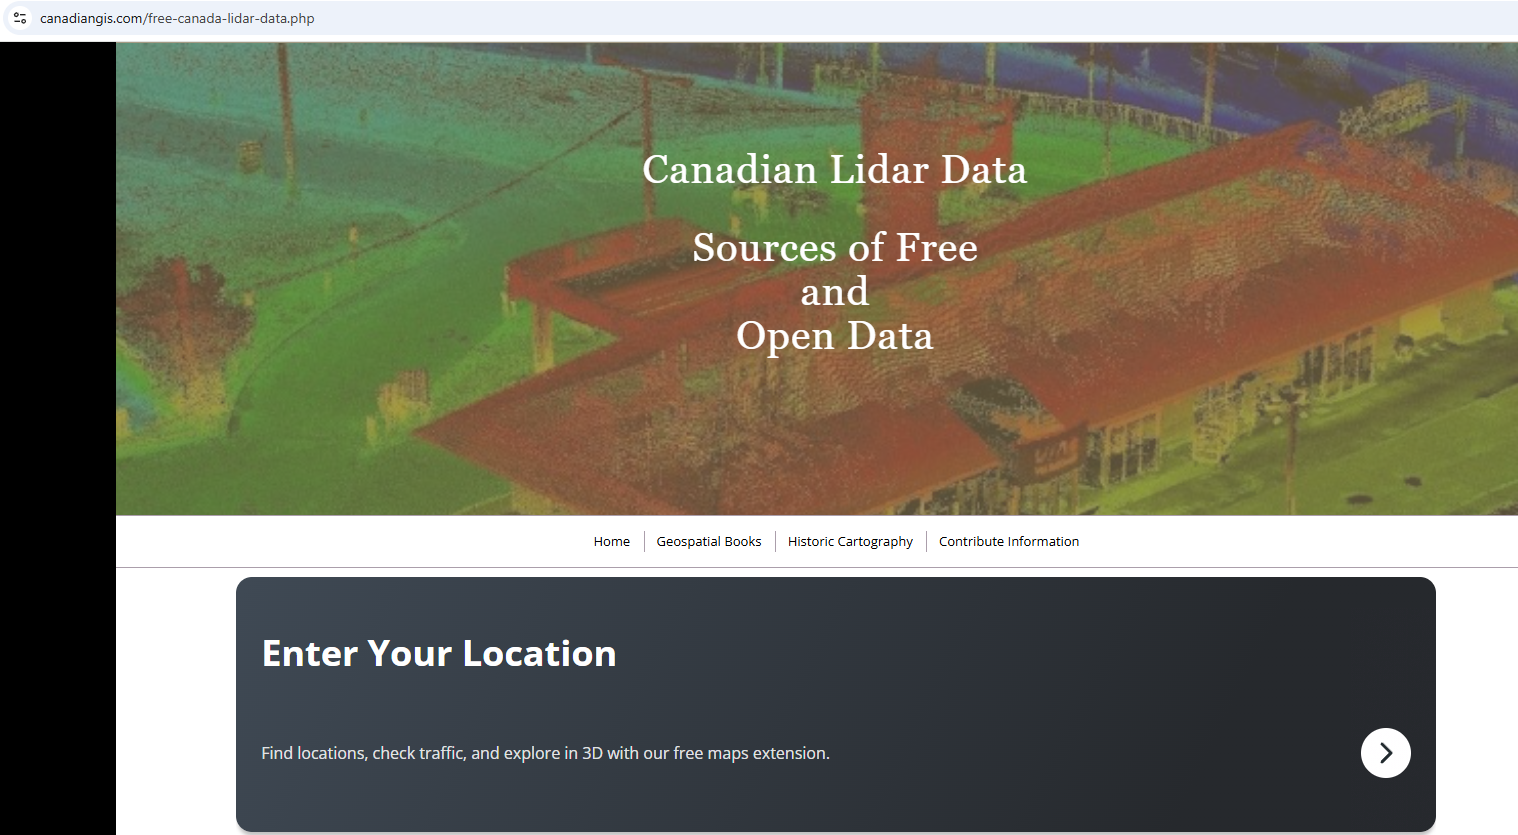
Locate and Select Canadian Lidar Data ensuring the URL is the Canadiangis.com URL (Figure 7.26).
Scroll down the page to find data for different provinces or Enter Your Location.
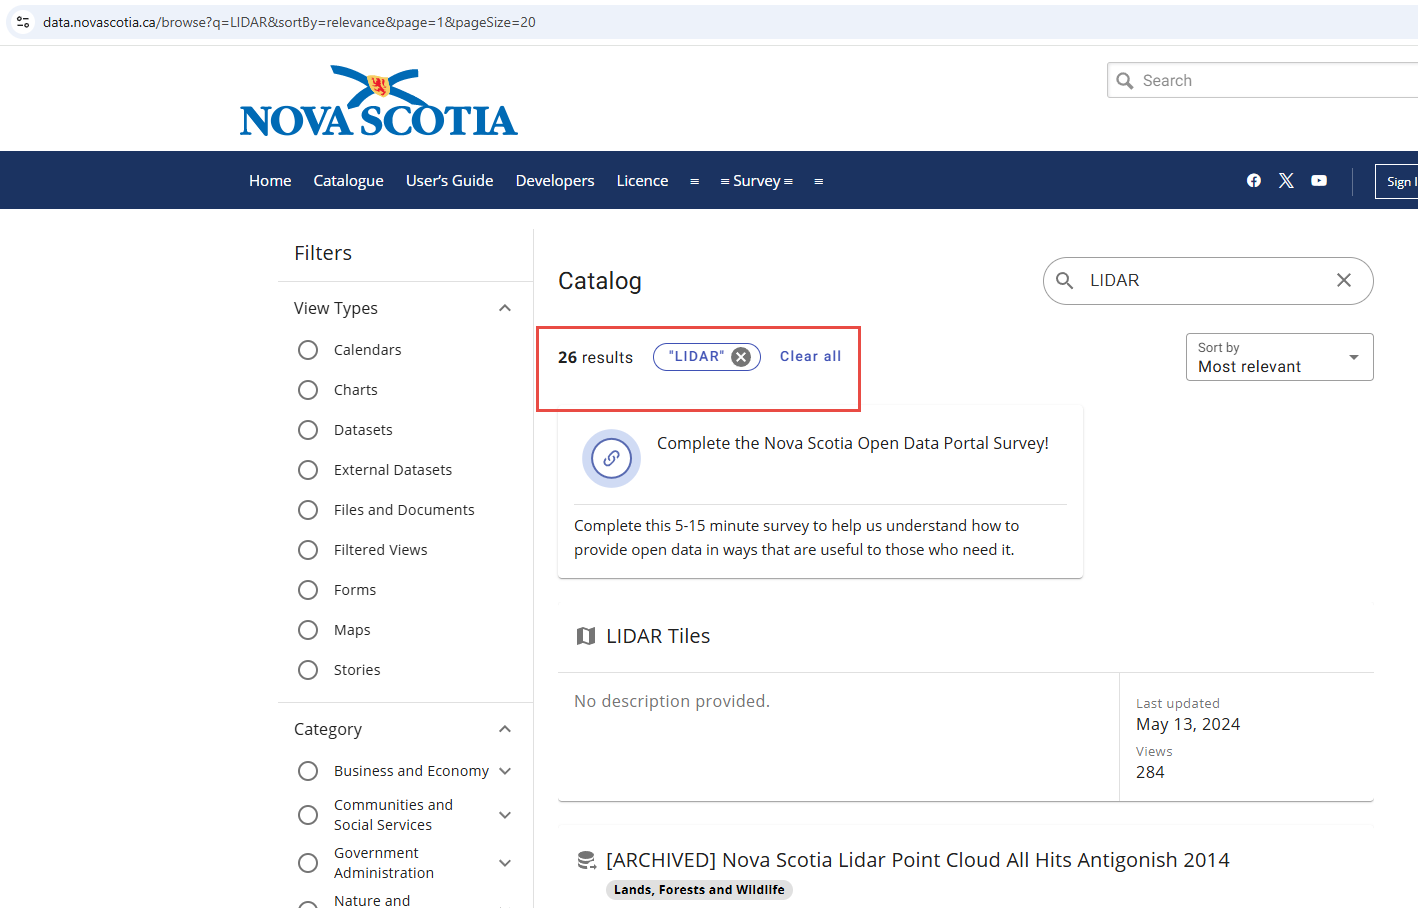
Scroll down and select Nova Scotia to view a list of data resources for Nova Scotia. There are 26 results for LIDAR shown in Figure 7.27.
This chapter will not go through the download process for Nova Scotia. We wanted to demonstrate that there are many different clearinghouses where lidar data can be acquired. Lidar data are not available for every location in the world, so sometimes it is necessary to start with a country search to locate data for a specific locale.
Introduction to the United States National Map Viewer
Use the search terms “lidar data for the United States” (Figure 7.28).
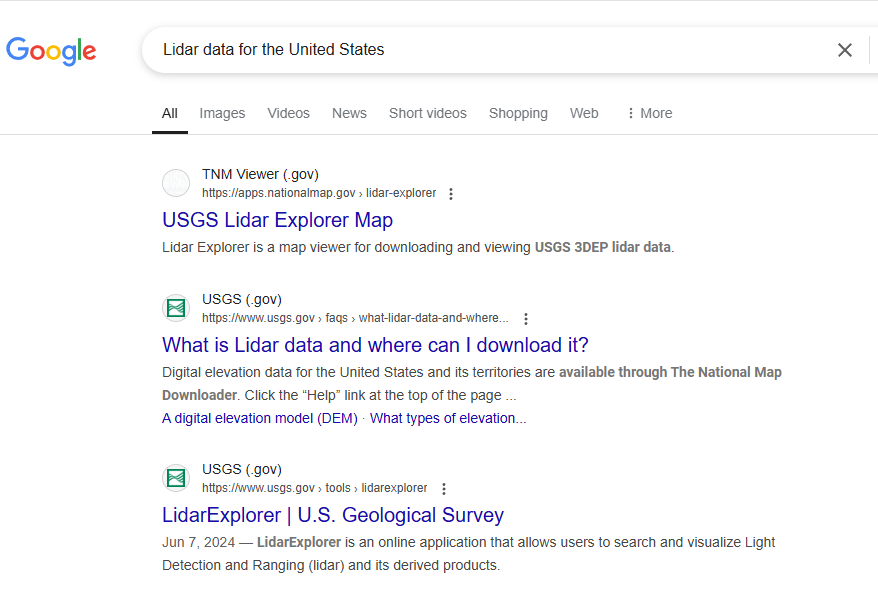
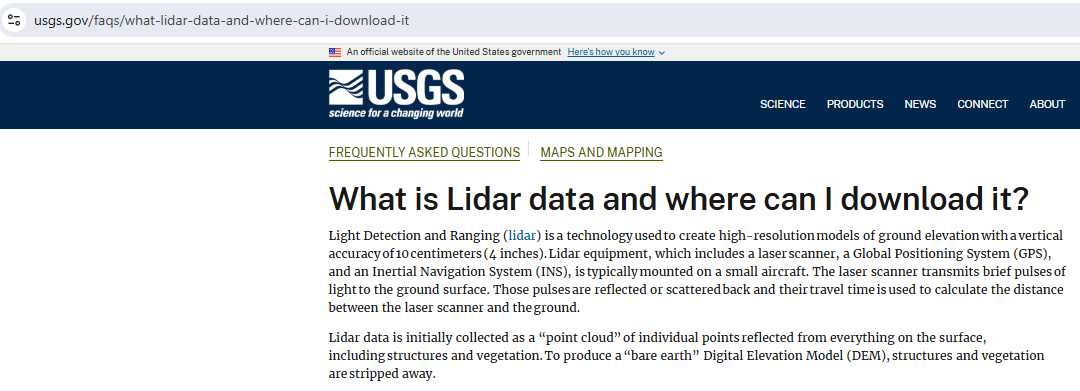
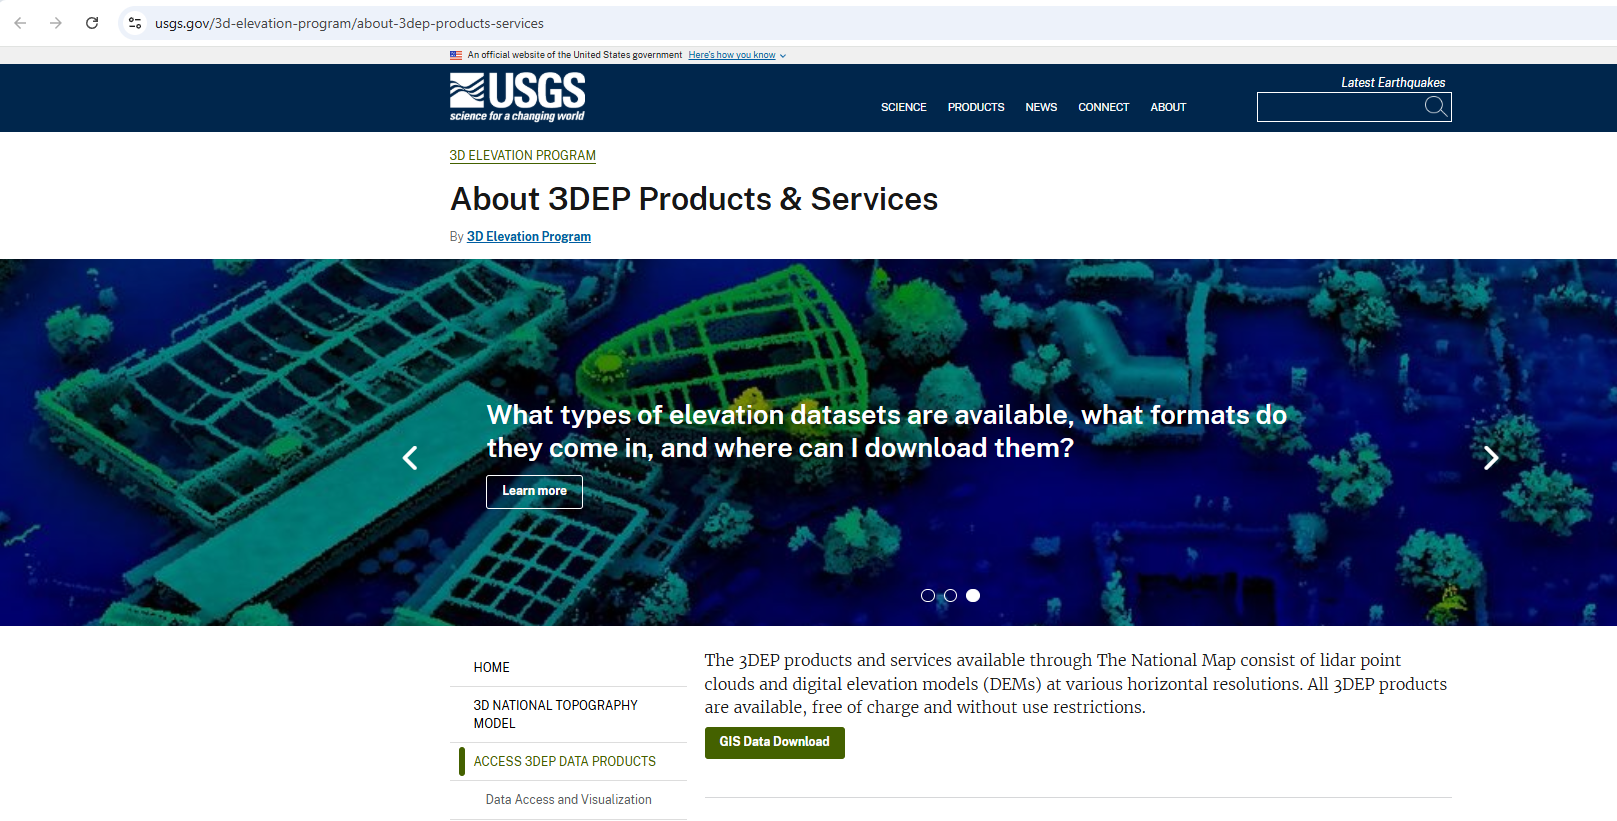
Choose: What is Lidar data and where can I download it? The USGS website loads (Figure 7.29). Scroll down to locate and select The National Map Download Client link.
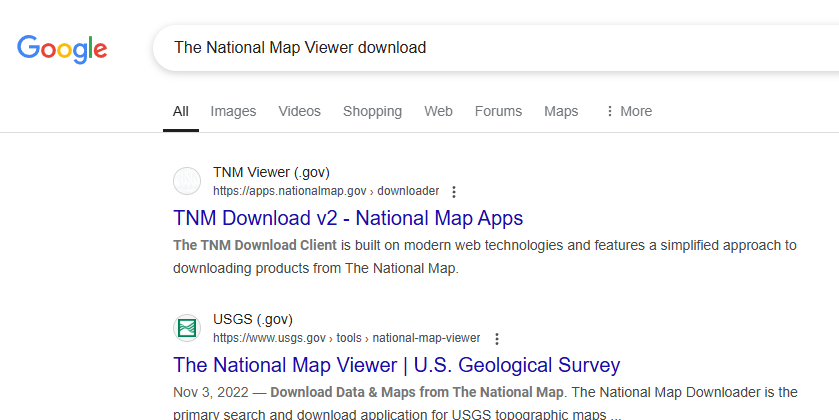
Alternatively, use the search term “The National Map Viewer download” (Figure 7.36).
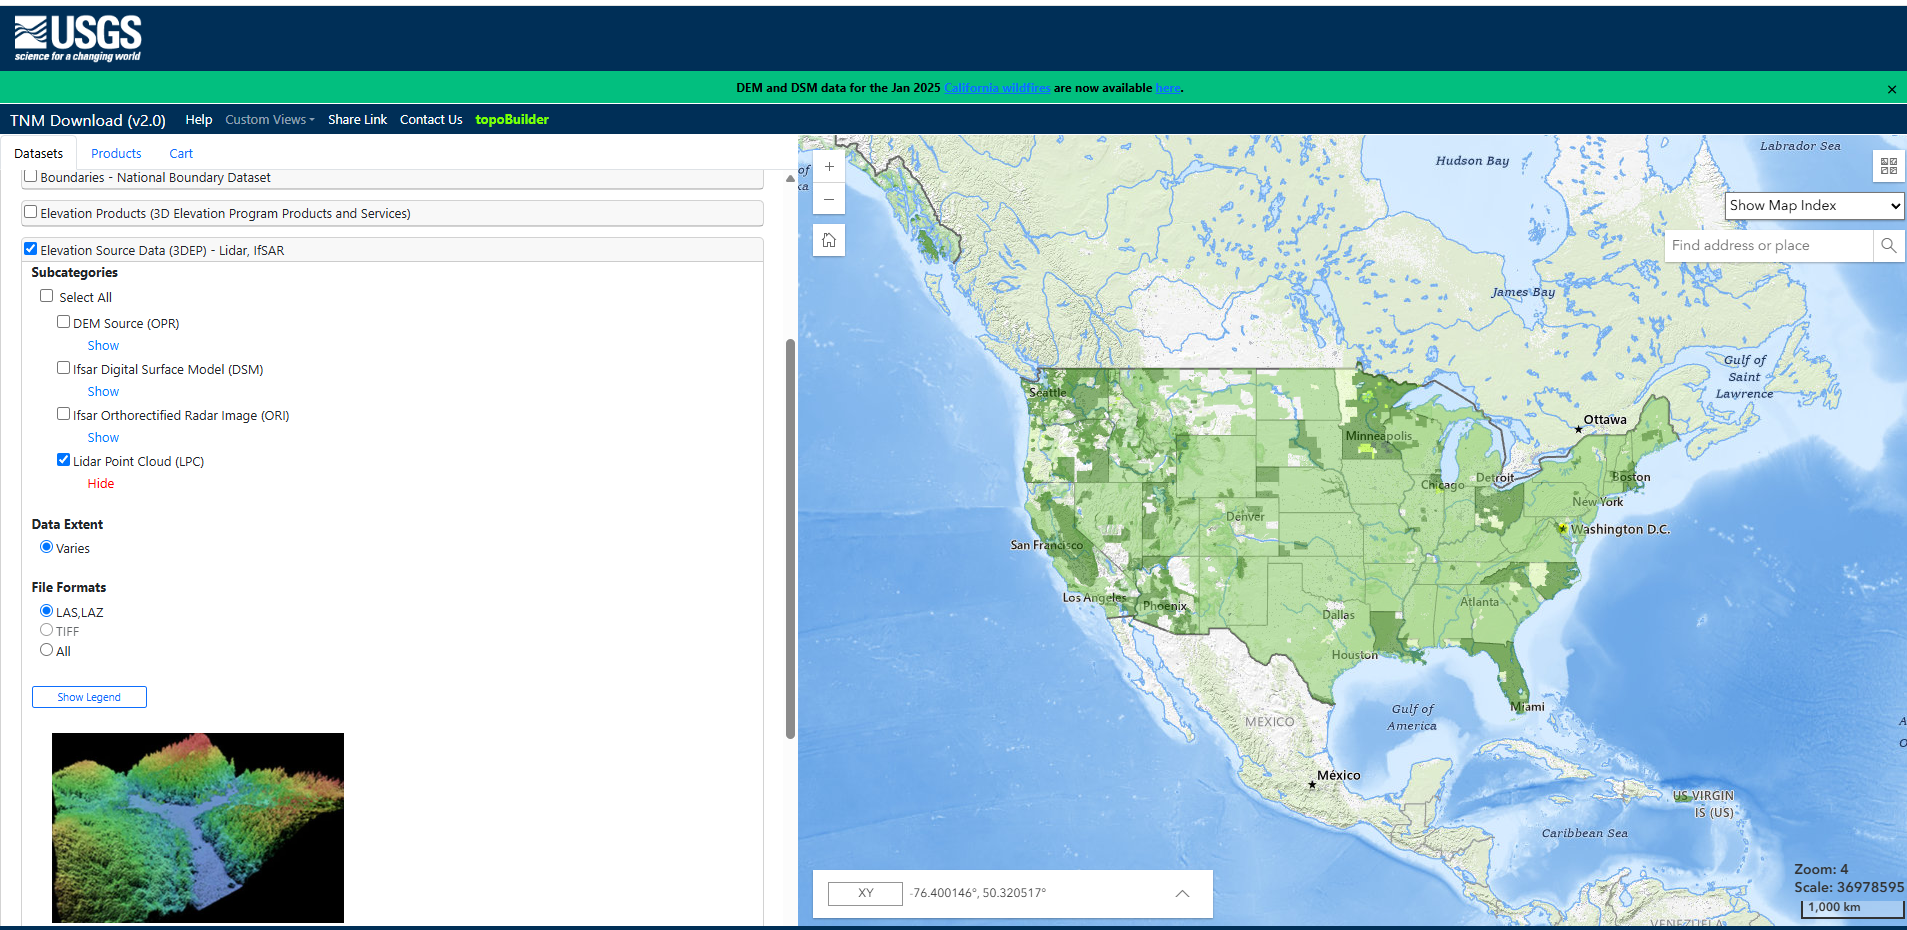
Choose The National Map Viewer link to view the website (Figure 7.31). If you get an error message that states this site is not available or permission to access the site is lacking, be sure to clear the search history and cookies, and try again.

On the left, under Data, check the box for Elevation Source Data (3DEP) – Lidar, ifSAR (red arrow in Figure 7.31)
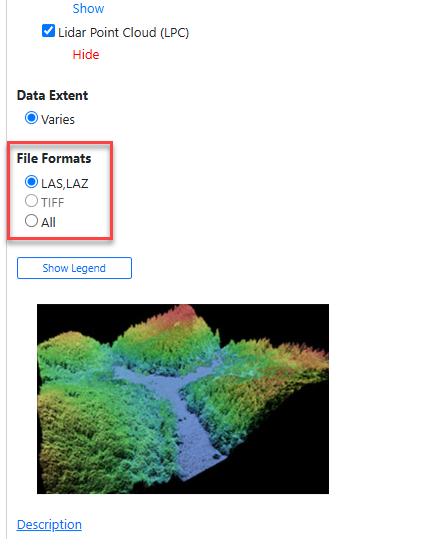
A list of available products is shown. Check the box for the Lidar Point Cloud (LPC) Subcategory (Figure 7.32).

Click Show under Lidar Point Cloud (LPC). Notice that the file formats are LAS and LAZ (Figure 7.33).
On the right side, in the map viewer, the locations of available lidar data are displayed (Figure 7.34).
Click on Description under the image of the lidar point cloud (shown at the bottom of Figure 7.33). The web page for the 3D Elevation Program opens with some metadata (Figure 7.35).
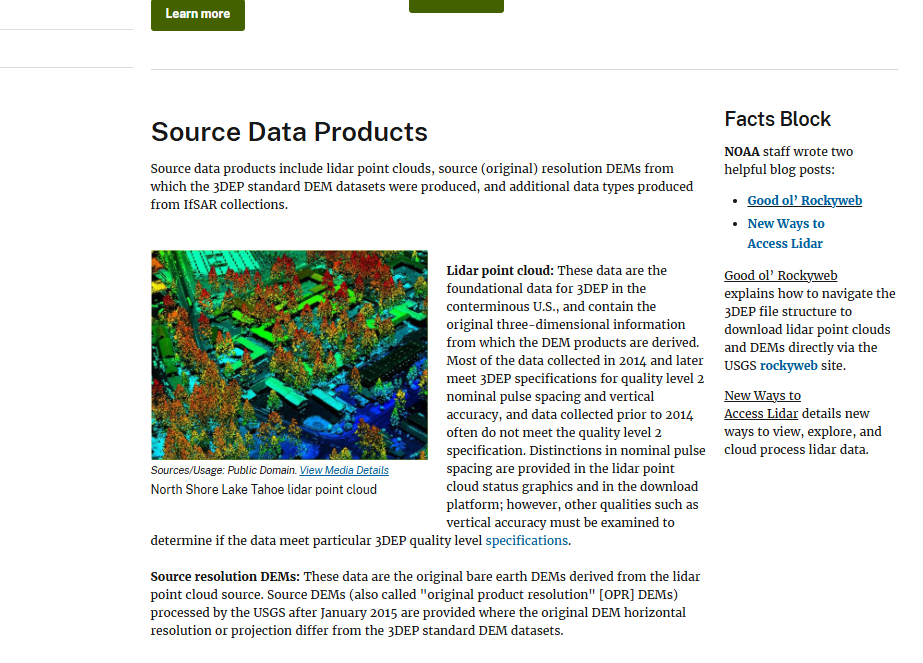
Scroll down to locate the Lidar point cloud description under Source Data Products (Figure 7.36).
This ends the chapter on locating lidar data. In the next chapter, the National Map Viewer will be used to identify specific data to download for use in future chapters.
Please note, be sure to download the lidar files noted under local (for Mesa County) and state (for North Dakota). This data, along with additional data downloaded in the next chapter, will be used in subsequent chapters of the book to demonstrate various tools and functions of ArcGIS Pro® for lidar data.
- For questions concerning ethics in using geospatial data, please see the Association of American Geographers’ ethics site at https://www.aag.org/statement-of-professional-ethics/ . ↵
- Things change quickly and regularly on the web. You may have to explore a bit to locate the same or similar websites. ↵
