Chapter 6. Using an .mxd File
This is the final chapter introducing ArcGIS Pro® basics.
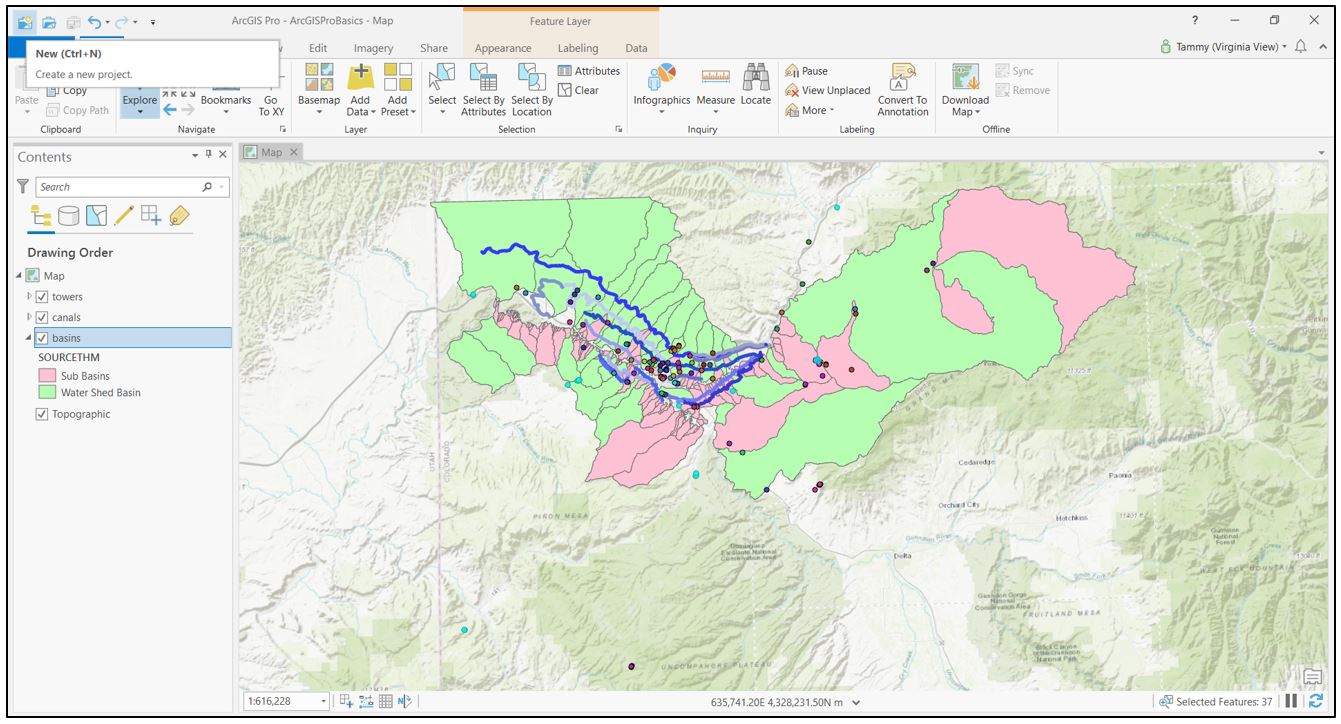
Open the ArcGIS Pro® project from the last chapter. Create a new project (upper left in Figure 6.1). If ArcGIS Pro® asks to save the prior project, choose yes.
The Create a New Project dialog box opens (Figure 6.2). Name the new project and choose the Location to store it. Click OK.

Instead of a new map project opening, the Catalog view opens (Figure 6.3).

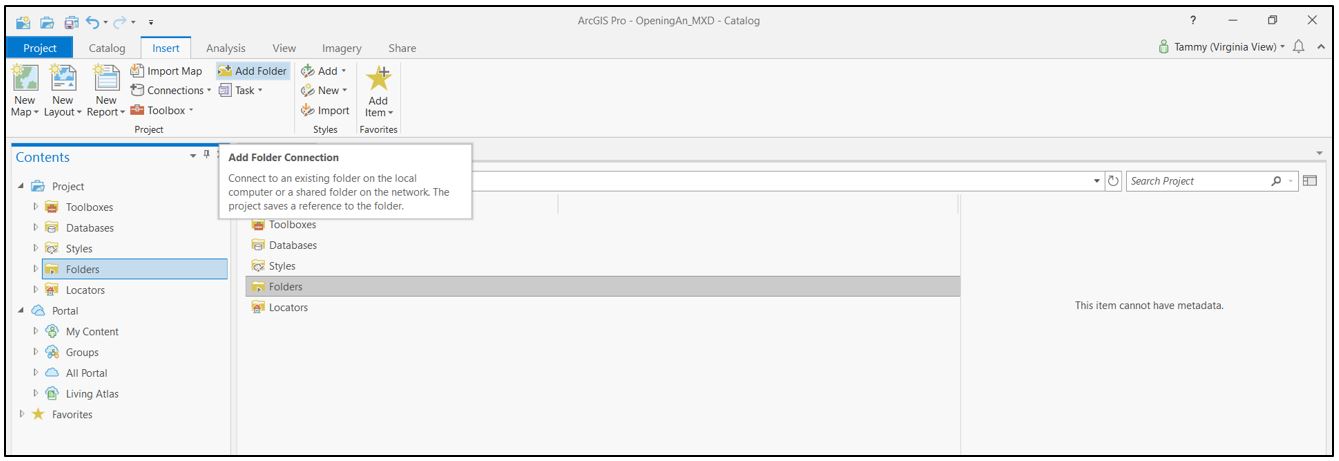
The next step is to create a folder connection to the location where the .mxd file is stored. From the Insert tab on the ribbon, click Add Folder (Figure 6.4).
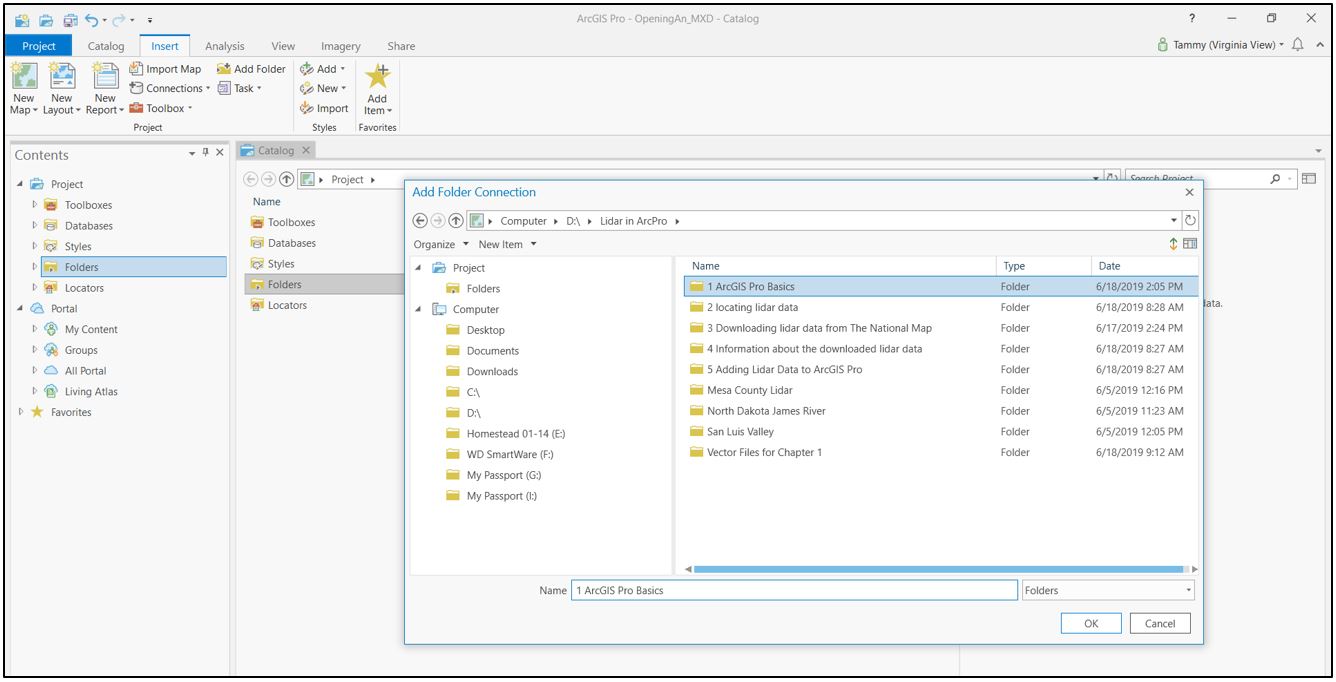
The Add Folder Connection dialog box opens (Figure 6.5). Navigate to the folder containing the .mxd file and select the folder name (not the .mxd file itself, the file folder). Once the folder name shows in Name (at the bottom), click OK.
A connection is established to the folder containing the .mxd file and listed in the Contents pane (Figure 6.6).
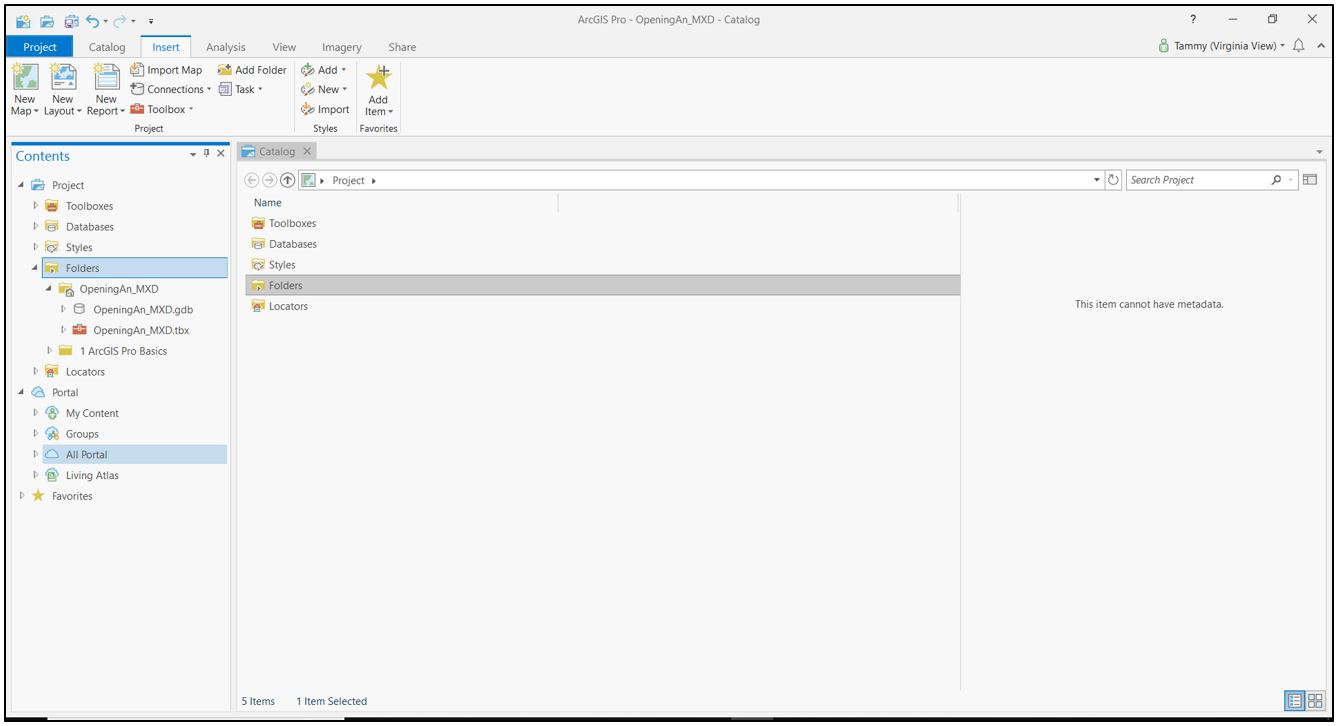
In the Catalog view (the right window), double-click the word Folders to display the connected folders and the contents. Alternatively, select the name of the folder in the Contents pane to expose its contents in the Catalog pane—the usual way to navigate a Windows file structure.
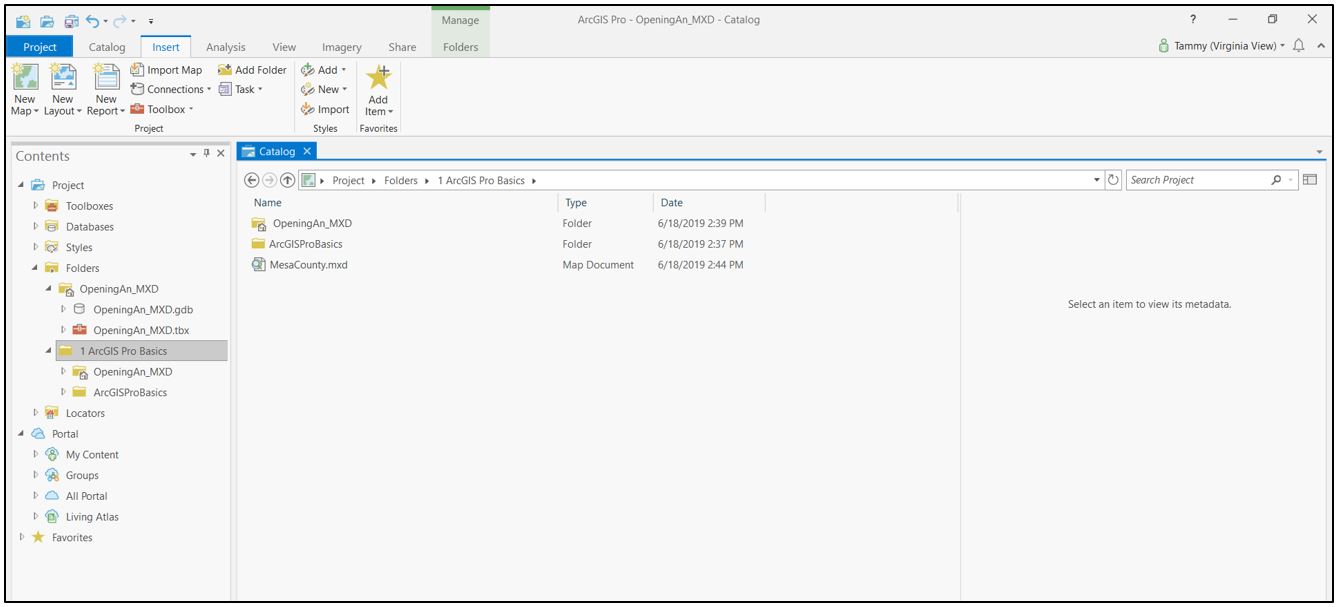
In this example, an .mxd file is displayed called MesaCounty.mxd (Figure 6.7). Double-click on the .mxd file. Please note, you will not have an .mxd file called MesaCounty—this is an example that the authors had created earlier. Any ArcGIS® Desktop .mxd file is opened in ArcGIS® Pro using this procedure.
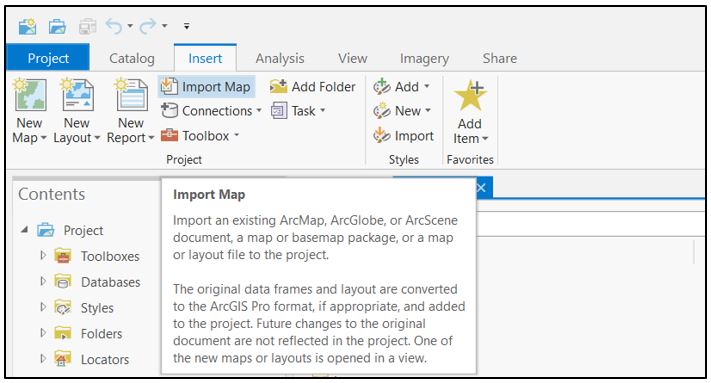
An alternative method is to select the Insert tab and Import Map from the Project group (Figure 6.8).
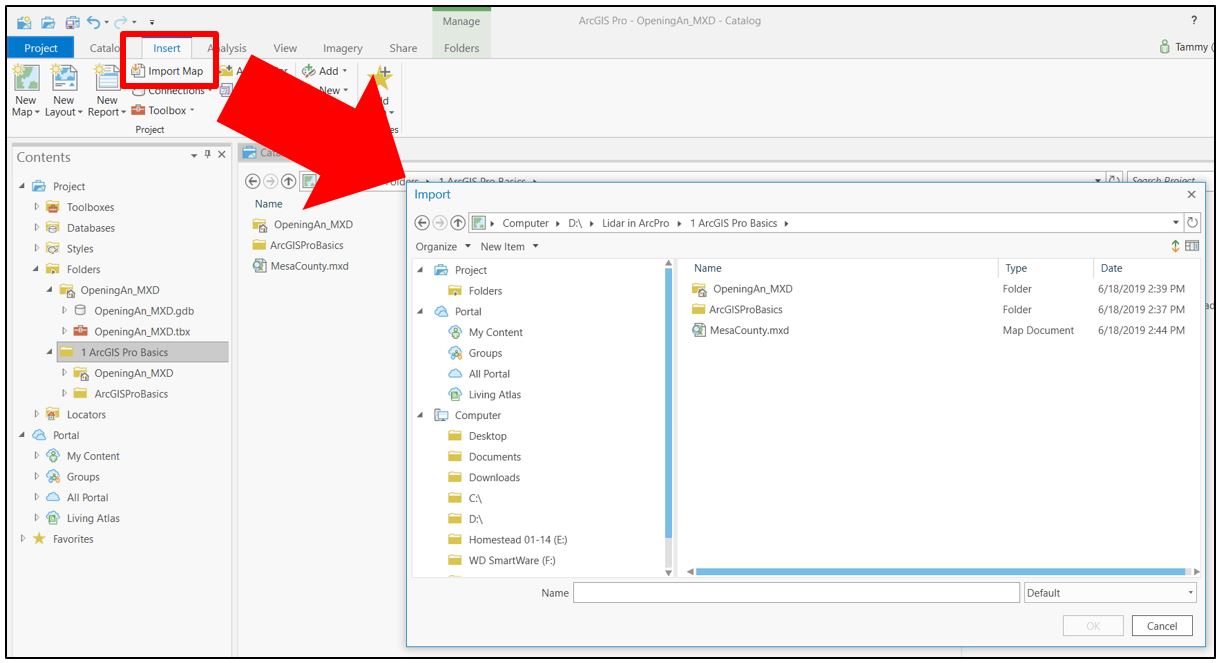
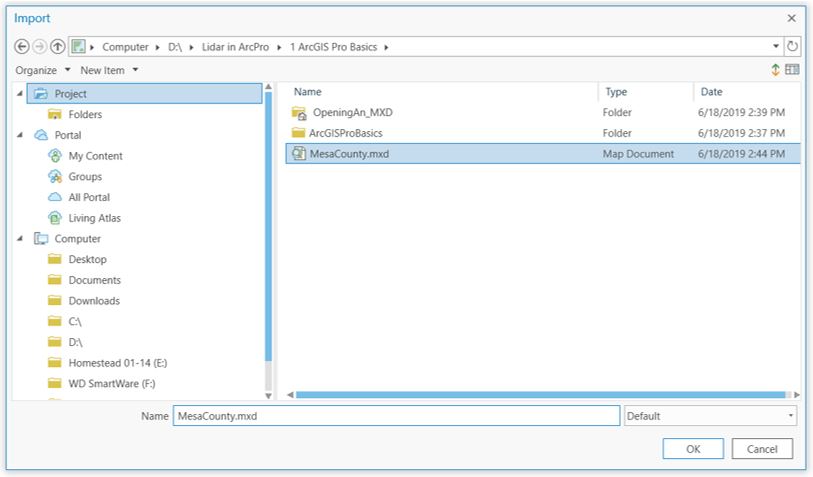
Once Import Map is chosen, the Import dialog box opens. Navigate to and choose the .mxd file and click OK (Figure 6.9).
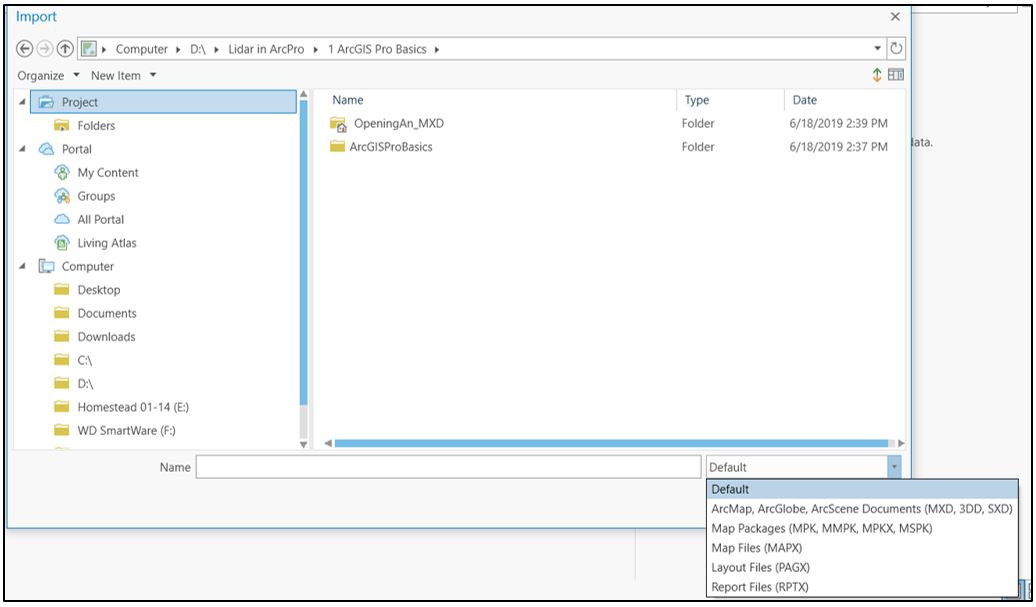
If the .mxd file is still not showing in the list of files, try changing the Default extension to ArcMap, ArcGlobe, etc. (Figure 6.10).
Then select the .mxd file and click OK (Figure 6.11).
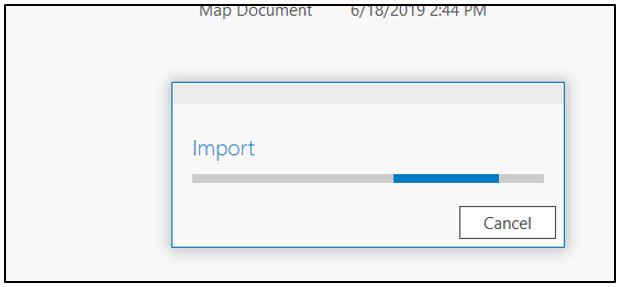
An Import progress box displays (Figure 6.12)
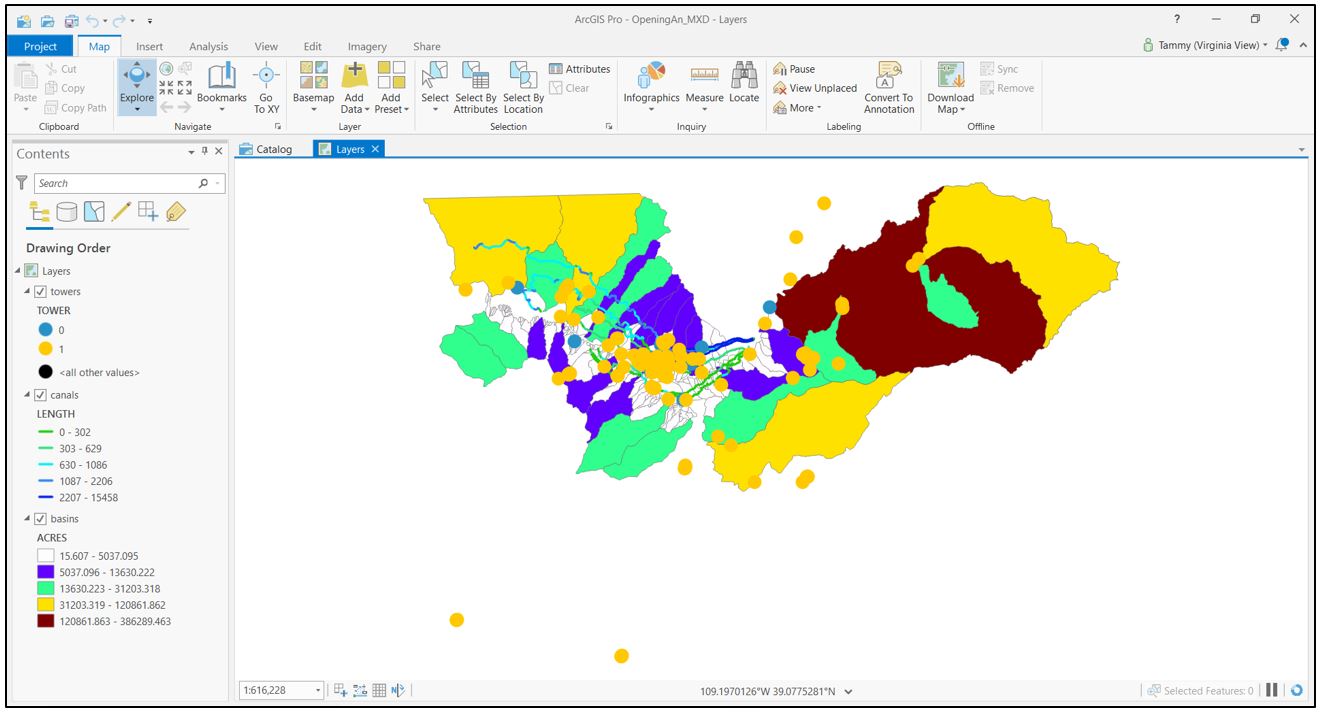
The .mxd file is imported into the ArcGIS Pro® project (Figure 6.13), including its original symbology. Save it!
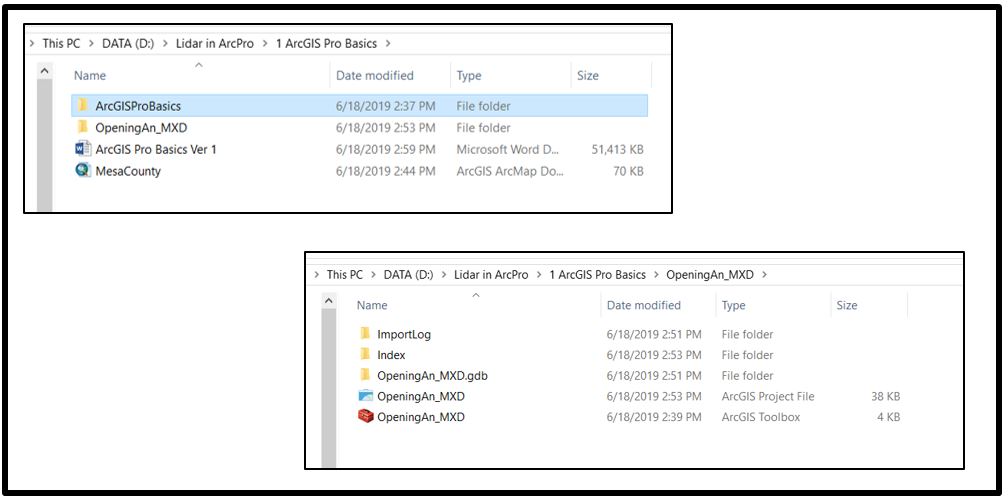
Was the original .mxd file replaced? No, check both file folders in Windows to see that both the .mxd file is still present and a new project exists (Figure 6.14).
This concludes the chapters on ArcGIS Pro® basics. These chapters do not provide detailed information on using ArcGIS Pro®. Please refer to Esri’s help sites (https://pro.arcgis.com/en/pro-app/) for specific information on symbology and geoprocessing operations on vector files.
The remainder of this book focuses on using lidar data in ArcGIS Pro. For information on using Landsat satellite (or other imagery such as Sentinel and UAS derived imagery), please see Remote Sensing with ArcGIS Pro®.
