Chapter 1. Creating a New Project
The first six chapters of this book are associated with ArcGIS Pro® Basics. These initial chapters provide a basic navigational overview of ArcGIS Pro®. These initial six chapters cover the following topics:
- Creating a new project
- Using Catalog
- Adding Vector Shapefiles
- Attribute Tables
- Vector Symbology
- Working with .mxd files
If you are already familiar with ArcGIS Pro®, then feel free to skip these introductory chapters and begin with Chapter 7. Locating Lidar Data.
Opening ArcGIS Pro®
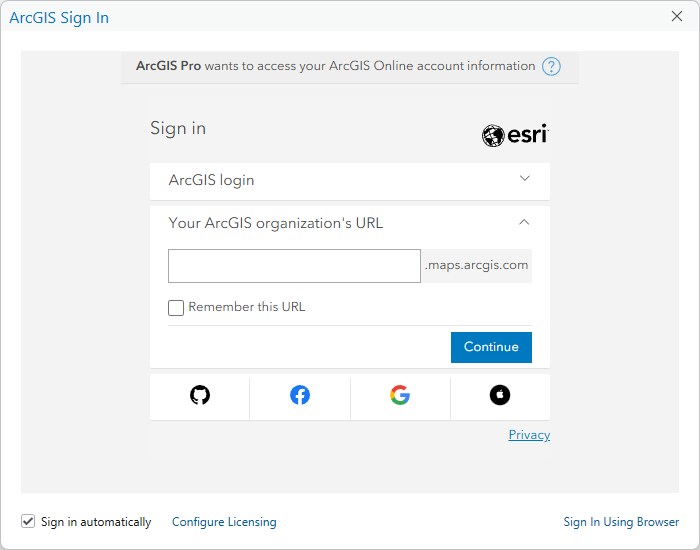
When opening ArcGIS Pro®, a sign in is always required (Figure 1.1) However, if the Sign me in automatically checkbox is checked, this step is eliminated the next time ArcGIS Pro® is opened. (Note: A regular ArcGIS Online account is insufficient to use ArcGIS Pro®—an organizational account is required. If you are a student, please see your professor/instructor for this information. If you are a professional, contact your IT administrator.)
Once signed in, the window in Figure 1.2 displays. The Settings button is on the bottom left corner (red rectangle). We recommend the settings be checked when opening ArcGIS Pro® for the first time.
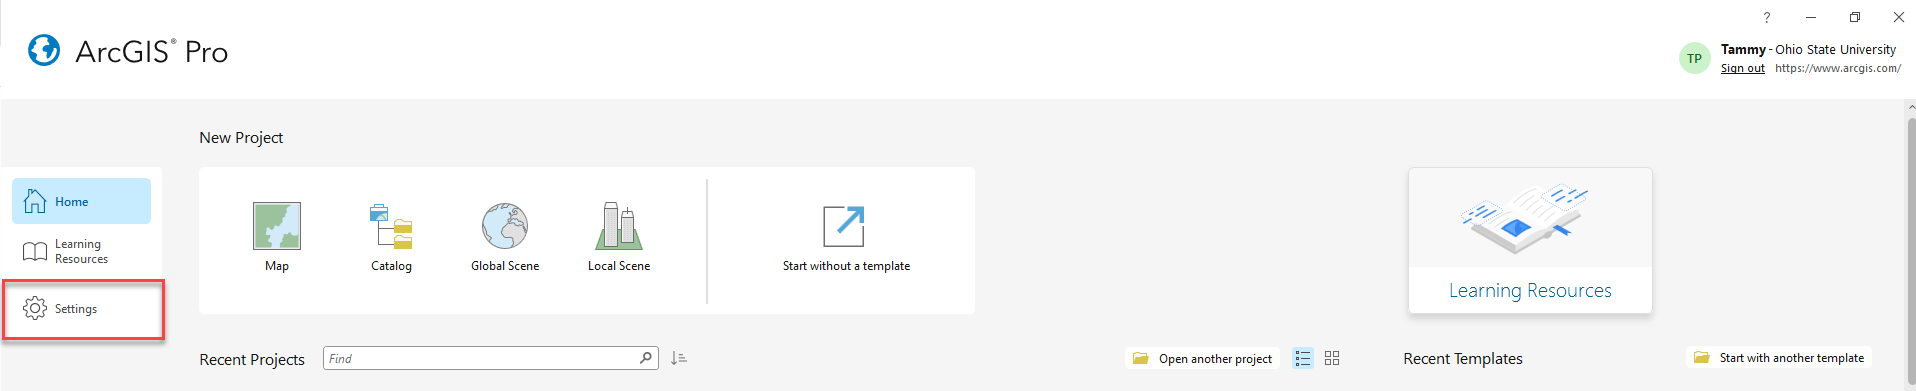
Select Settings, the following window opens (Figure 1.3):
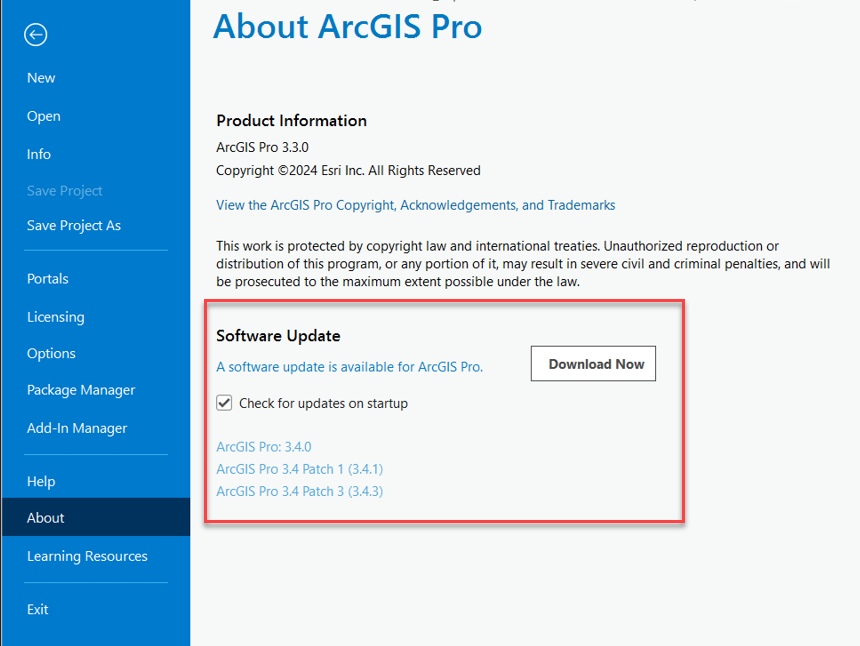
When a software update or a new version of ArcGIS Pro® is available, the update is noted here (red rectangle in Figure 1.3). In this specific instance, a new version and patches are available. Unlike ArcGIS Desktop®, an old version of ArcGIS Pro® is not uninstalled before installing a new version—ArcGIS Pro® will update by choosing Download Now (please note you may need to contact your IT Administrator if this shows an update is available and you are not the Administrator of the computer or the Esri account).
When downloading updates, an icon displays in the computer’s task bar (Figure 1.4).

An option is also available to Check for updates on startup. If checked, ArcGIS Pro® will automatically check for updates when it is opened, and a window will pop up asking if you want the update installed.
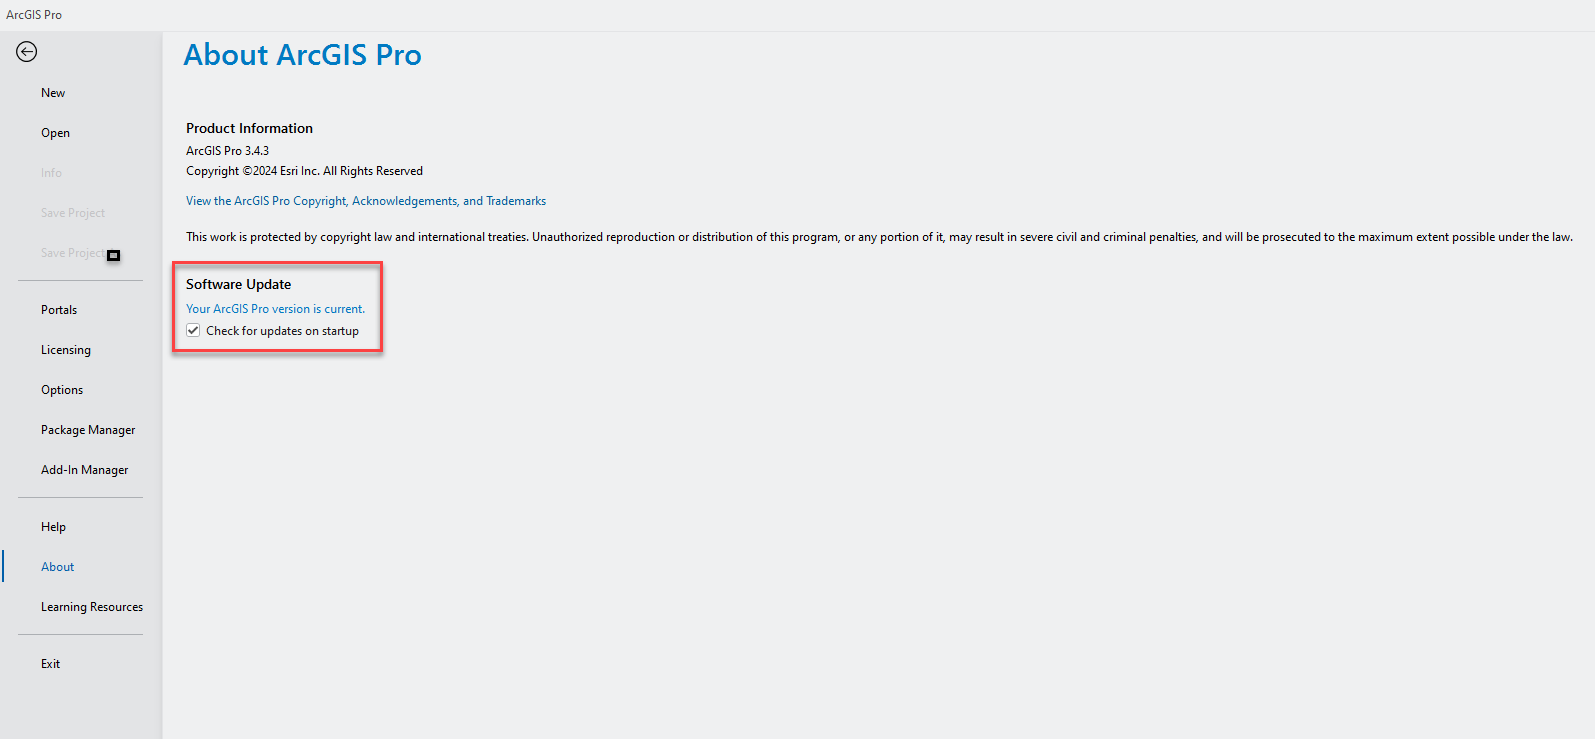
Once updated, under Settings, the new version is noted and a message displays that Your ArcGIS Pro version is current (Figure 1.5).
This chapter will not review any of the other information on the settings page. So, click the back arrow in the left upper corner to go back to the initial ArcGIS Pro® window.
The upper right corner displays the Sign In information and a link to Sign out (yellow highlight in Figure 1.6)

Under Recent Projects (bottom of Figure 1.6) is a list of recent projects if any have been previously created or saved. To open a recent project, click on the project name. If the project needed does not appear in the list, use the Recent Projects find field, or the Open Another Project folder to navigate to the project on your computer. Please note that a map document created in ArcGIS® Desktop cannot be opened here, that process is covered in Chapter 6. Using an .mxd File.
Under New Project (red box in Figure 1.6), if the organization has templates already set up, those are accessed here. See Esri’s websites for more information about organization templates (https://pro.arcgis.com/en/pro-app/help/projects/create-your-own-project-template.htm).
There are several options for beginning a new project. Any template can be chosen— Map, Catalog, Global Scene, Local Scene, or Start without a template. This book uses Map and Local Scene[1].
Choose New Project > Map. The New Project dialog box displays (Figure 1.7).
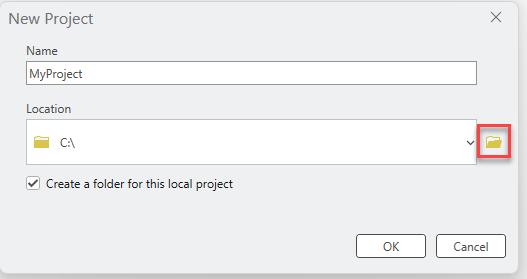
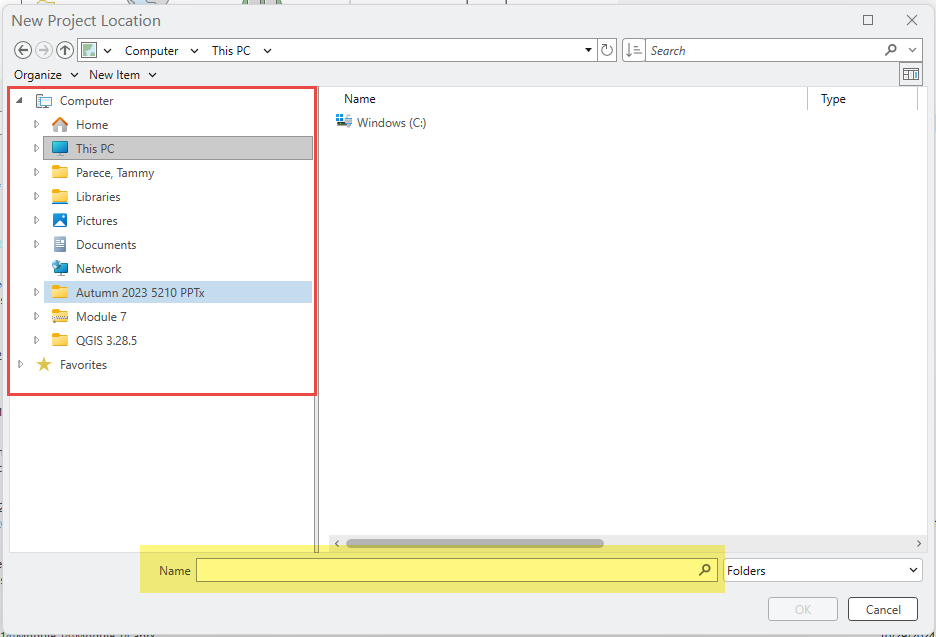
A Name and Location is required for new projects. Type a name in the Name box. ArcGIS Pro® automatically chooses a default location on the computer to store new projects. To change this location, use the folder at the end of Location (Figure 1.7) to navigate to the new location on the computer. Select the folder where the project should be stored, the name of the folder will populate in the Name field (yellow highlight in Figure 1.8).
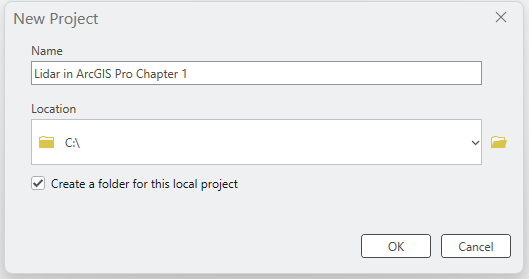
Clicking OK redisplays the New Project dialog and shows the name of the project and the file location (Figure 1.9). Click OK.
A progress bar opens confirming the project is being created (Figure 1.10).

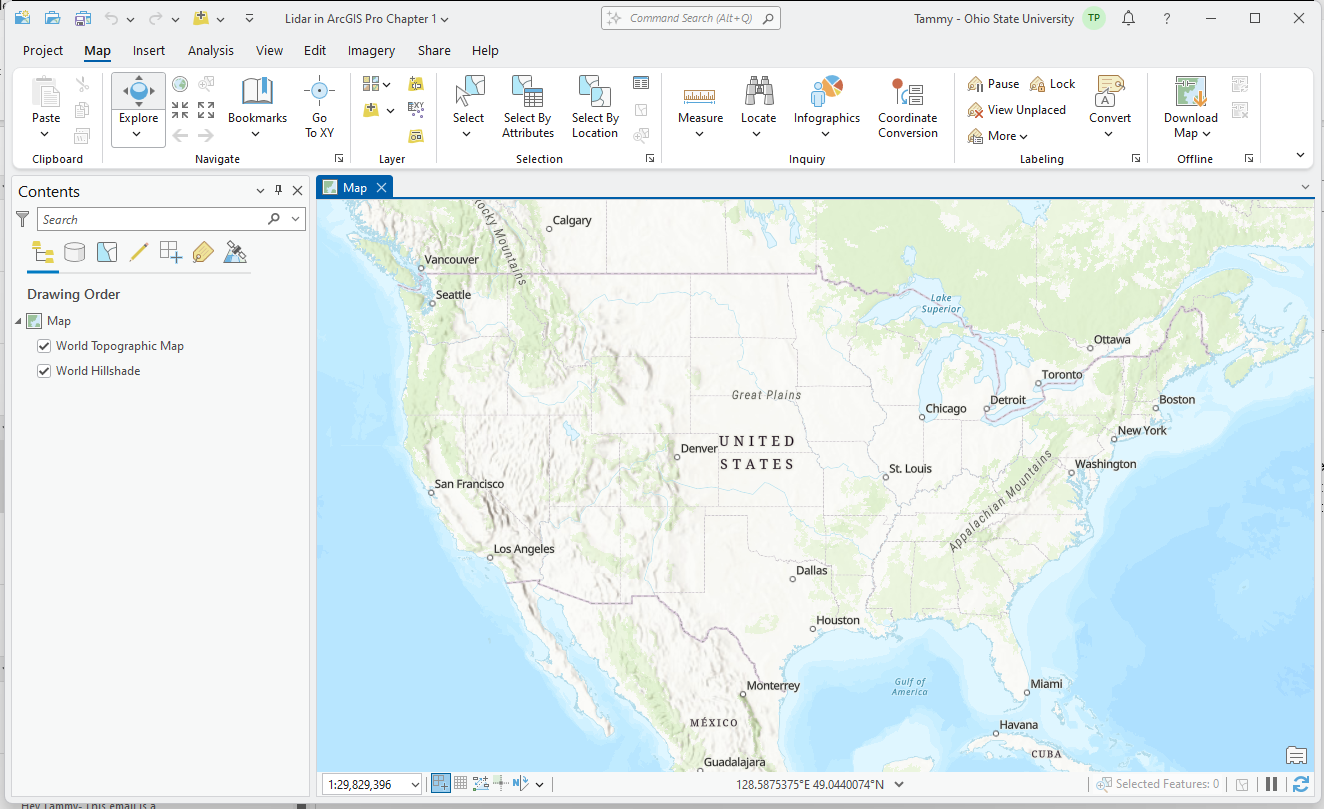
Once created, a basemap opens in the map viewer and in the Contents pane on the left (Figure 1.11).
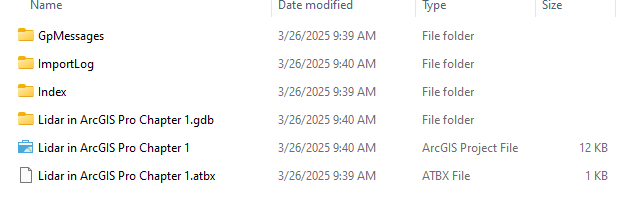
In addition to the map, ArcGIS Pro® also creates several other files and folders for the project including a geodatabase and a toolbox—both named for the project. (As seen in Windows® File Explorer, Figure 1.12).
These files can also be seen within the Map Project itself. But first, Catalog must be opened. The next chapter continues this introduction and reviews Catalog (previously known as ArcCatalog® in ArcGIS Desktop®).
- Please refer to Esri’s website for more information on the other templates: https://pro.arcgis.com/en/pro-app/help/mapping/map-authoring/scenes.htm ↵
