Chapter 9. Information about the Downloaded Files
This chapter demonstrates how to unzip the lidar data downloaded from the Mesa County Colorado and North Dakota State websites (Chapter 7. Locating Lidar Data) and how to view and read the metadata accompanying the downloaded files. Then, unique identifiers are provided to download LAS data from the National Map Viewer directly.
Lidar Data from Mesa County, Colorado
In Chapter 2. Using Catalog, a zipped file was downloaded from the Mesa County Colorado GIS website (Figure 9.1).
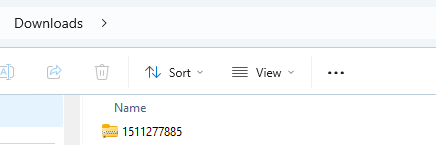
Three lidar tiles were identified and included within this one zipped file.
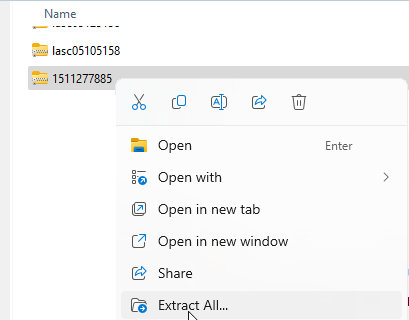
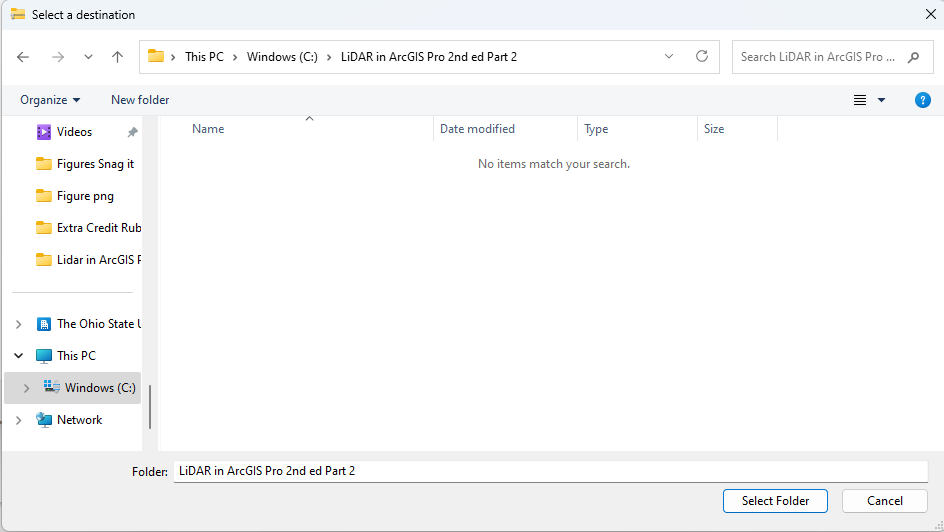
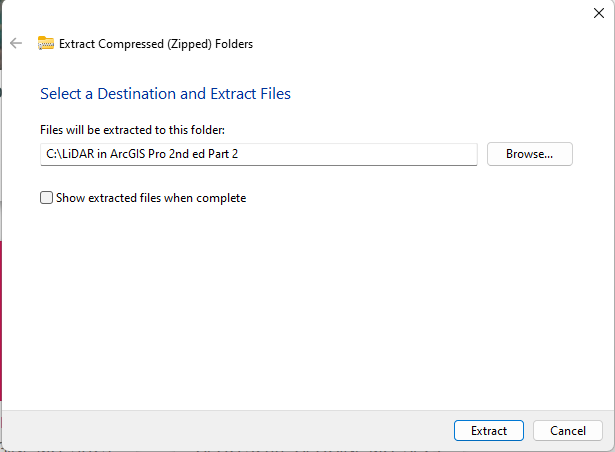
Begin by creating a new file folder on the local computer to house the unzipped files. Then right-click on the downloaded file folder to unzip it (Figure 9.2). Use either Extract All (native Windows) or another extraction tool[1] and navigate to the new folder to store the files (Figure 9.3). Follow the instructions in the dialog boxes to unzip and save to the new file folder (Figure 9.4).
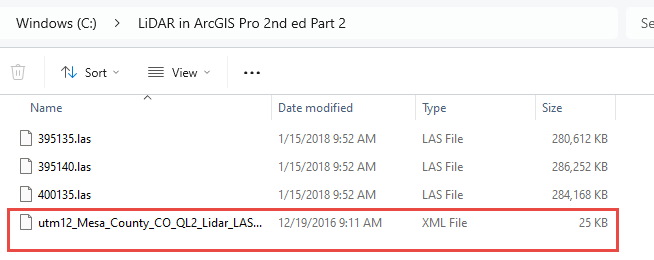
Four files appear in the folder. (Figure 9.5). Why four when only three tiles were downloaded? One file is the metadata (red box in Figure 9.5)
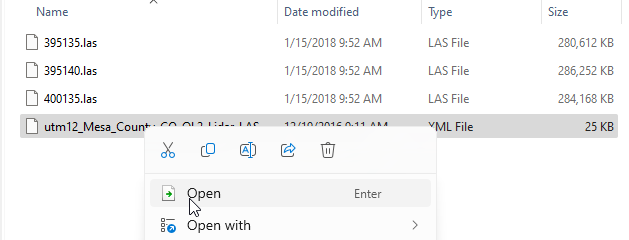
Right-click on the metadata file and choose Open (Figure 9.6).
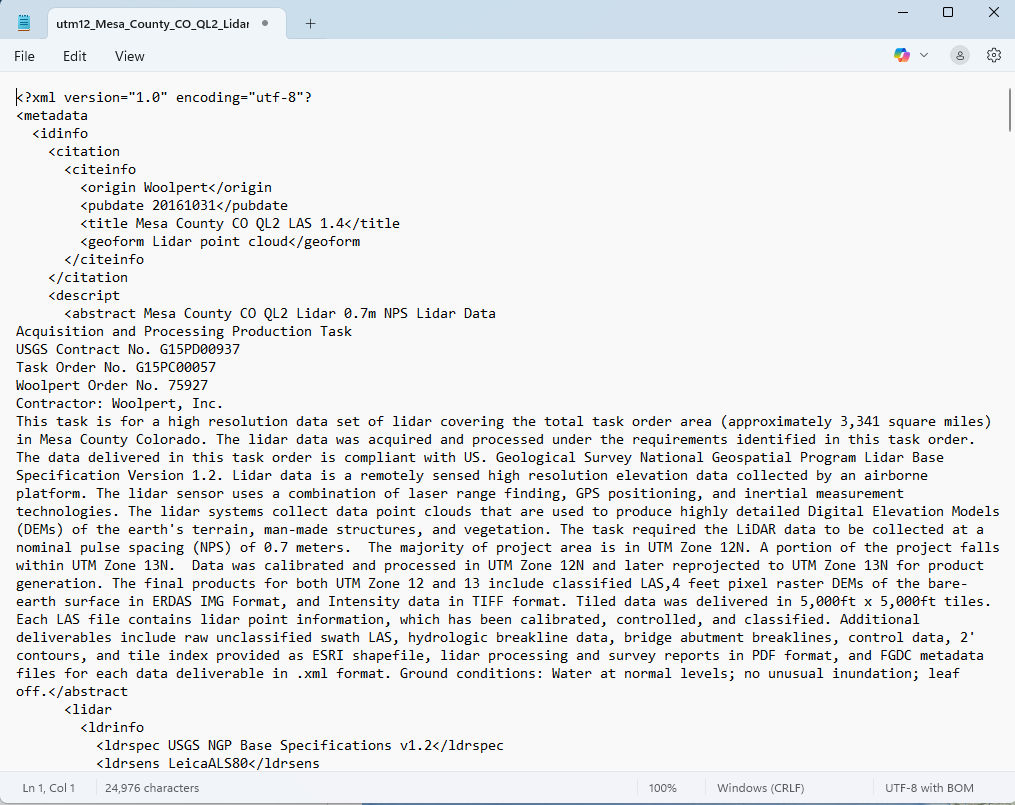
The metadata is in XML and usually opens in Microsoft Notepad®, but that format is difficult to read (Figure 9.7).

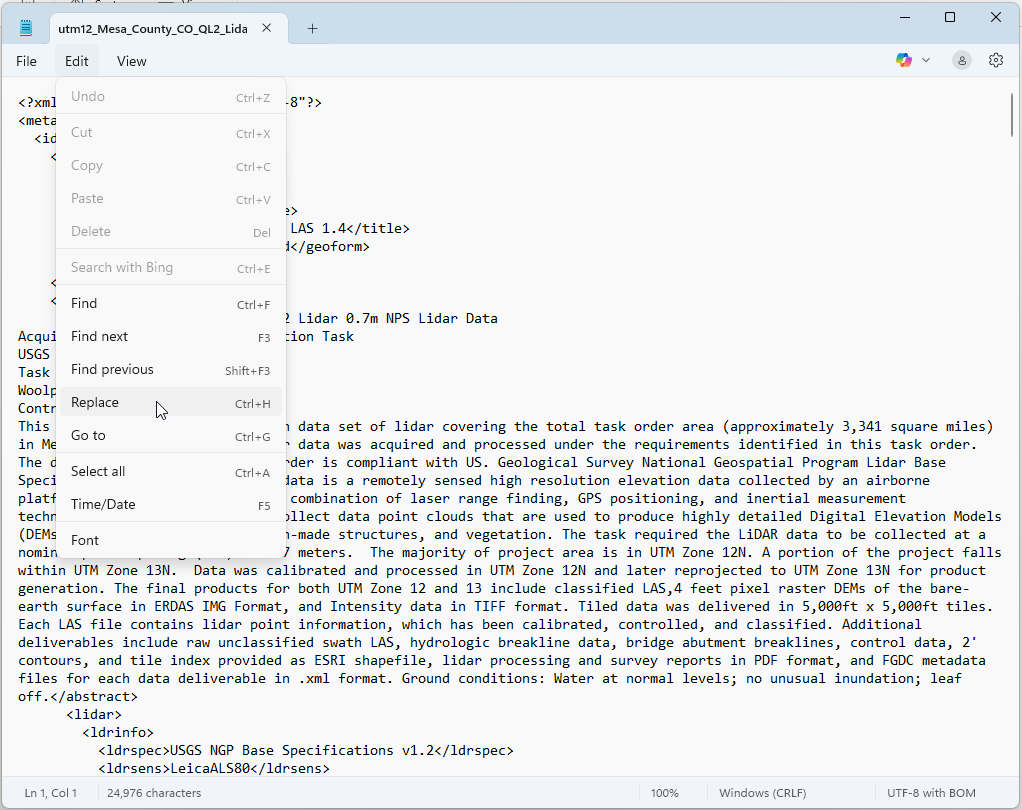
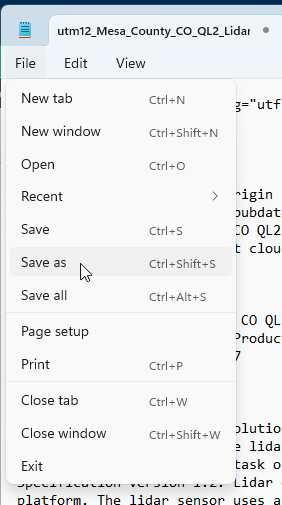
The metadata can be imported into Microsoft Excel® in two forms, as .xml or as .txt. Both methods are discussed below. To import as a .txt file, it needs to be slightly edited. At the top of the Notepad® window, click on Edit > Replace (Figure 9.8).
In the Replace dialog (Figure 9.9), type “>” in the search bar. In the Replace bar, type a space.
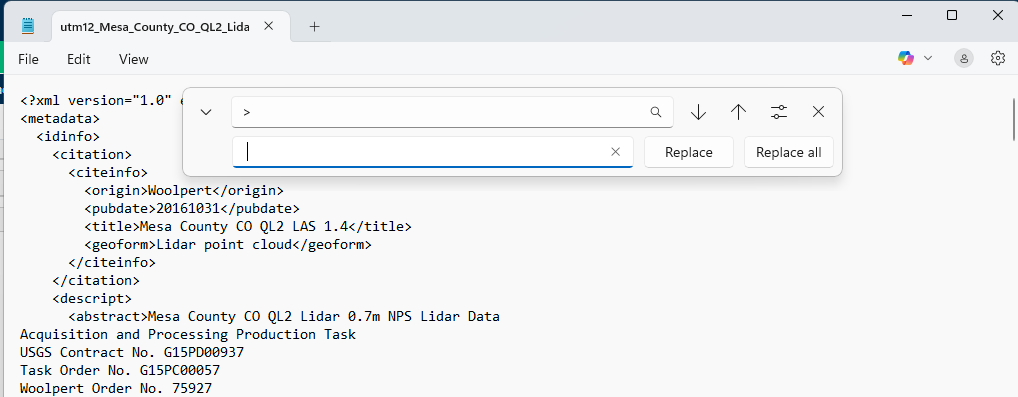
All greater than symbols have been removed from the file and replaced with a space (Figure 9.10), which is important for Excel to know where the data breaks occur.
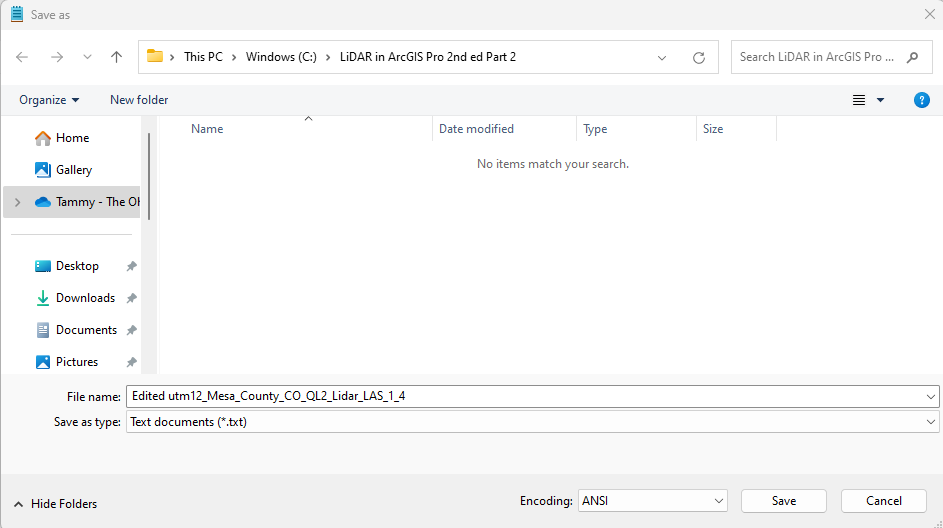
Now, save and rename the file. Click on File > Save as (Figure 9.11), and give the file a new name.
Ensure the new file is saved as Text Documents (.txt) and that Encoding is ANSI. Save in the same folder as the three lidar tiles and the original metadata file(Figure 9.12). Close Notepad.
Open a Blank Workbook in Microsoft Excel (Figure 9.13).
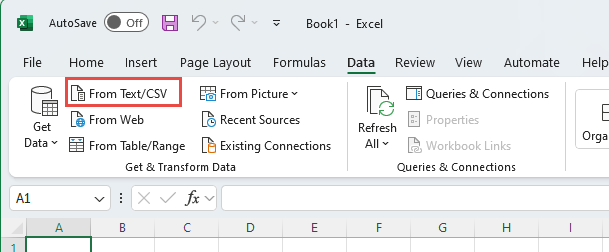
On the ribbon, choose the Data tab, then From Text in the Get External Data group (Figure 9.14).
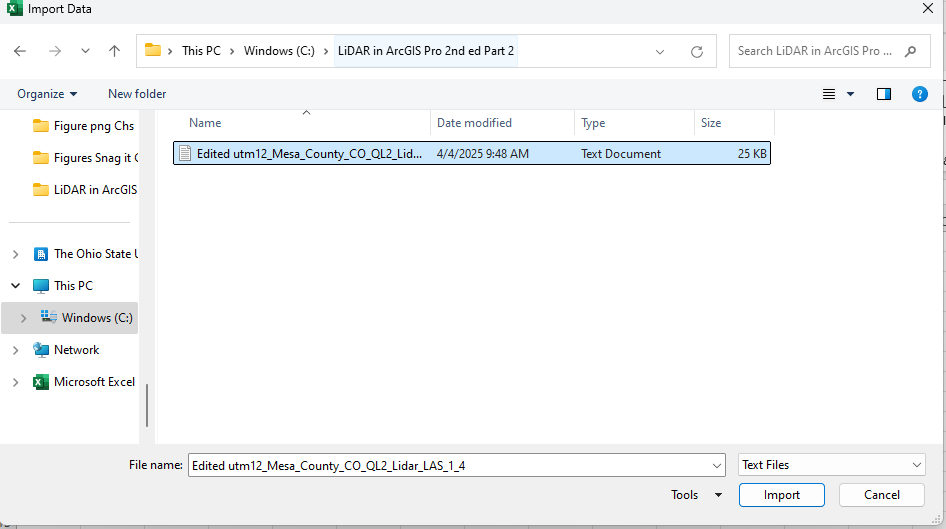
The Import Data dialog opens (Figure 9.15). Navigate to the new .txt file created above, select it so it shows in the File Name box, and select Import.
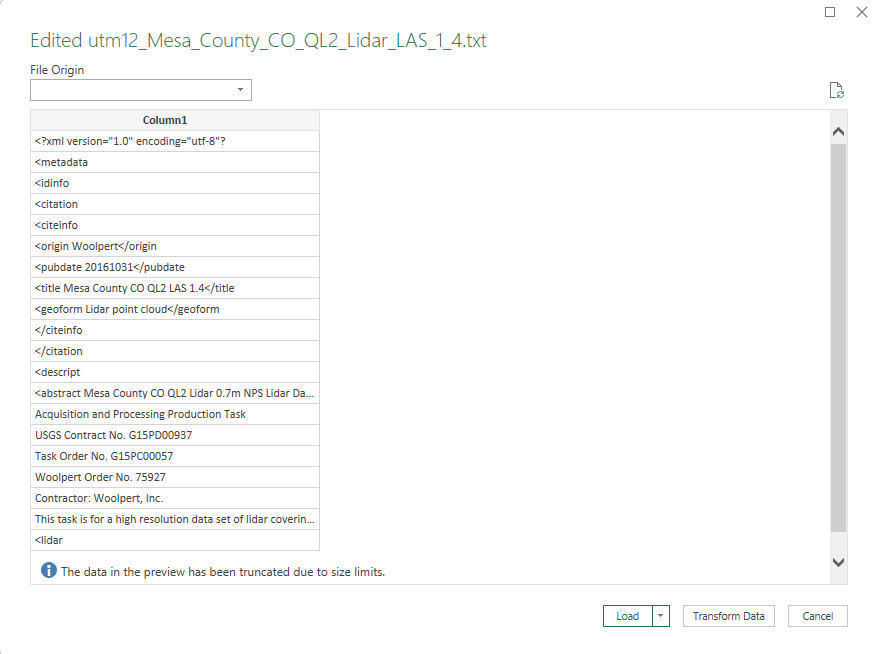
The Text Import Wizard opens and displays how the data will look in Microsoft Excel (Figure 9.16). Don’t change any of the defaults in this window, just click Load. The metadata will display in a Microsoft Excel workbook and is much easier to read (Figure 9.17). When doing research with lidar data, it is important to know how the data was acquired, who acquired it, the equipment used, date of acquisition, point density, the accuracy, the coordinates, the coordinate system, etc. Always read the metadata before using any data. Now save and close the file.

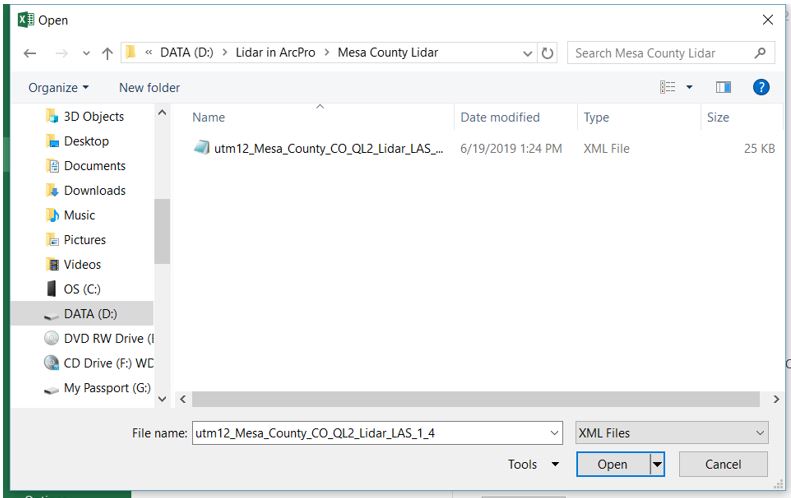
An .xml file can be opened in Excel, but in some instances, it is still difficult to read. The metadata created for Mesa County Colorado is an exception. Open Excel, and instead of opening a blank workbook, go to File > Open and navigate to the original .xml file. Select it so it appears in the File Name field (Figure 9.18) and click Open.
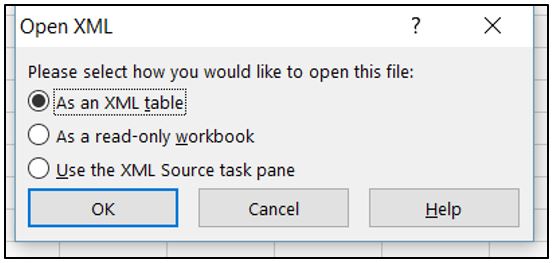
The file does not automatically open, an Open XML dialog appears. Make sure As an XML table is checked (Figure 9.19). You can experiment with the other options but this one works best for this particular metadata .xml file. Click OK.
The Microsoft Excel information dialog opens (Figure 9.20). Click OK.
This metadata (Figure 9.21) is quite easy to read, at least for the general metadata. But there is additional metadata—use the vertical and horizontal scrollbars to see the additional metadata.
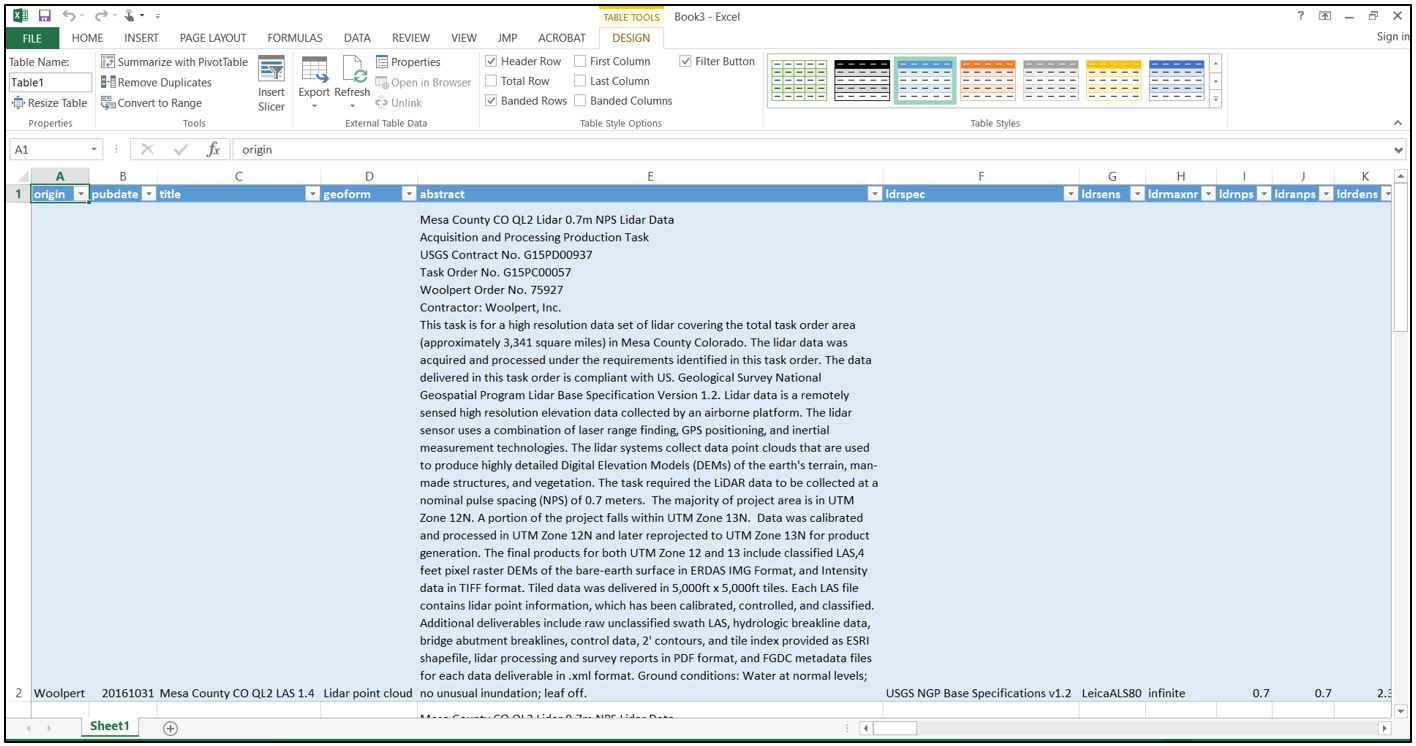
What is the most important part of all the metadata? Generally, the date of acquisition and the coordinate system. But the level of importance for any of the other metadata depends on the project.
The North Dakota State Lidar Data
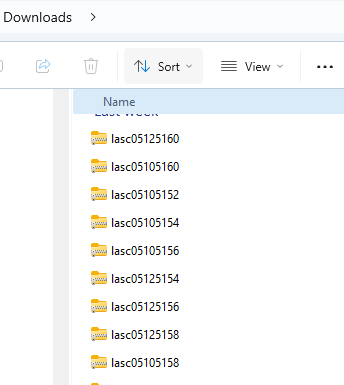
Recall from Chapter 7. Locating Lidar Data, these were downloaded as separate tiles (Figure 9.22), unlike the Mesa County Colorado data where the tiles were downloaded in one zipped file.
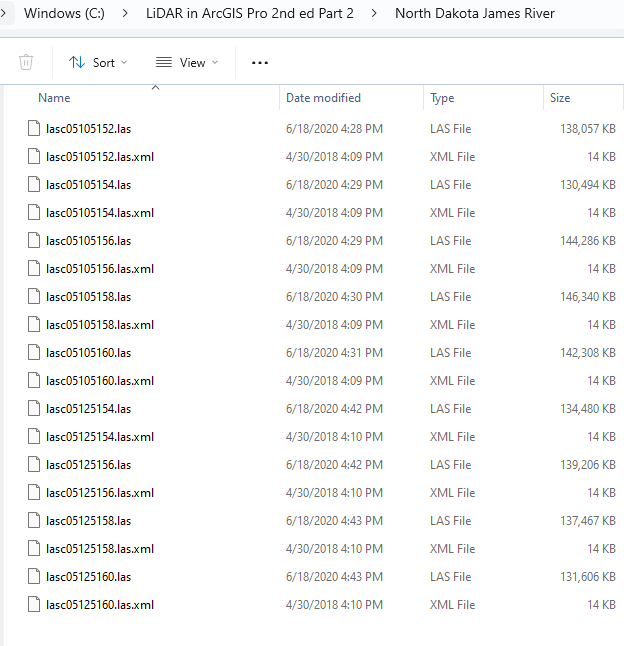
Create a new folder for these North Dakota James River files and unzip each into the new folder using the same method as for the Mesa County Colorado lidar files. Nine files are unzipped, but 18 files are in the new folder (Figure 9.23) because each tile was downloaded separately, so each has its own metadata
Right-click the first metadata file (.xml) and open in Notepad (Figure 9.24). This one is a bit easier to read; it is not necessary to import it into Excel. Note that depending on the source of the downloaded data, the metadata and program used to read it varies. Always try Notepad first, and if it is difficult to read, try one of the Excel methods outlined above.
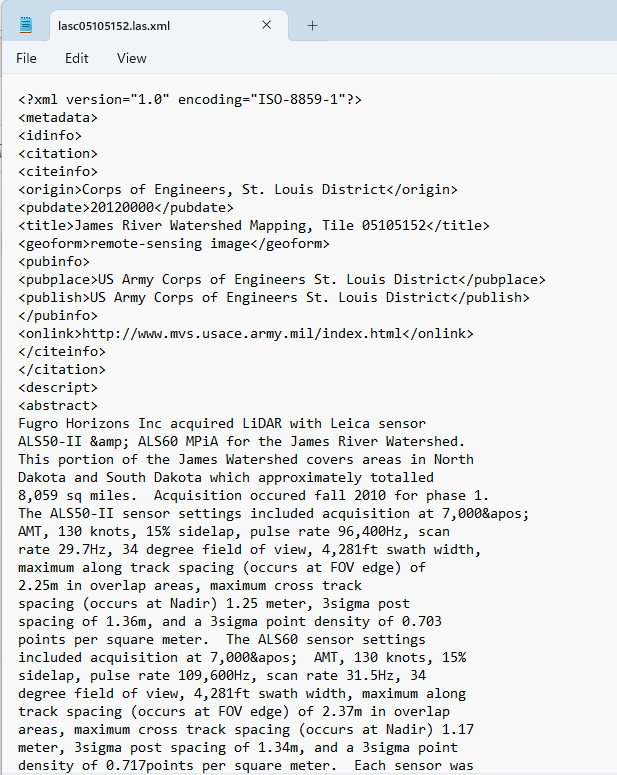
Scroll down to read and locate important information, such as the coordinate system (blue box in Figure 9.25), classification information (middle of the page) and the acquisition dates (at the bottom).
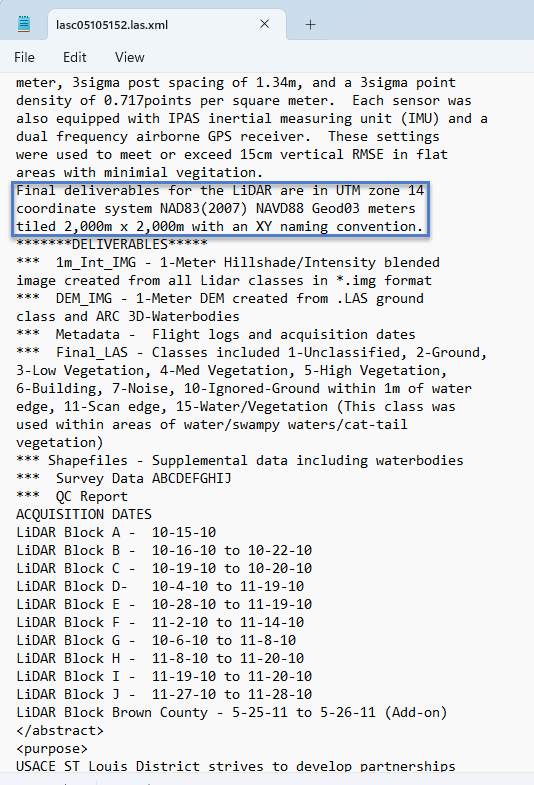
Figure 9.26 displays additional information as scrolling continues.
Now that the metadata has been reviewed for the Mesa County and the North Dakota files, go back to the National Map Viewer to download some additional lidar data for San Luis Valley, Colorado. Some metadata was reviewed on the National Map Viewer website, but additional metadata will arrive with the downloaded tiles.
Chapter 8. Lidar and the National Map Viewer provided step-by-step instructions for downloading .laz files using the National Map Viewer. Go back to the National Map Viewer. We downloaded the Lidar tiles identified in Figure 9.27 using the unique identifier.

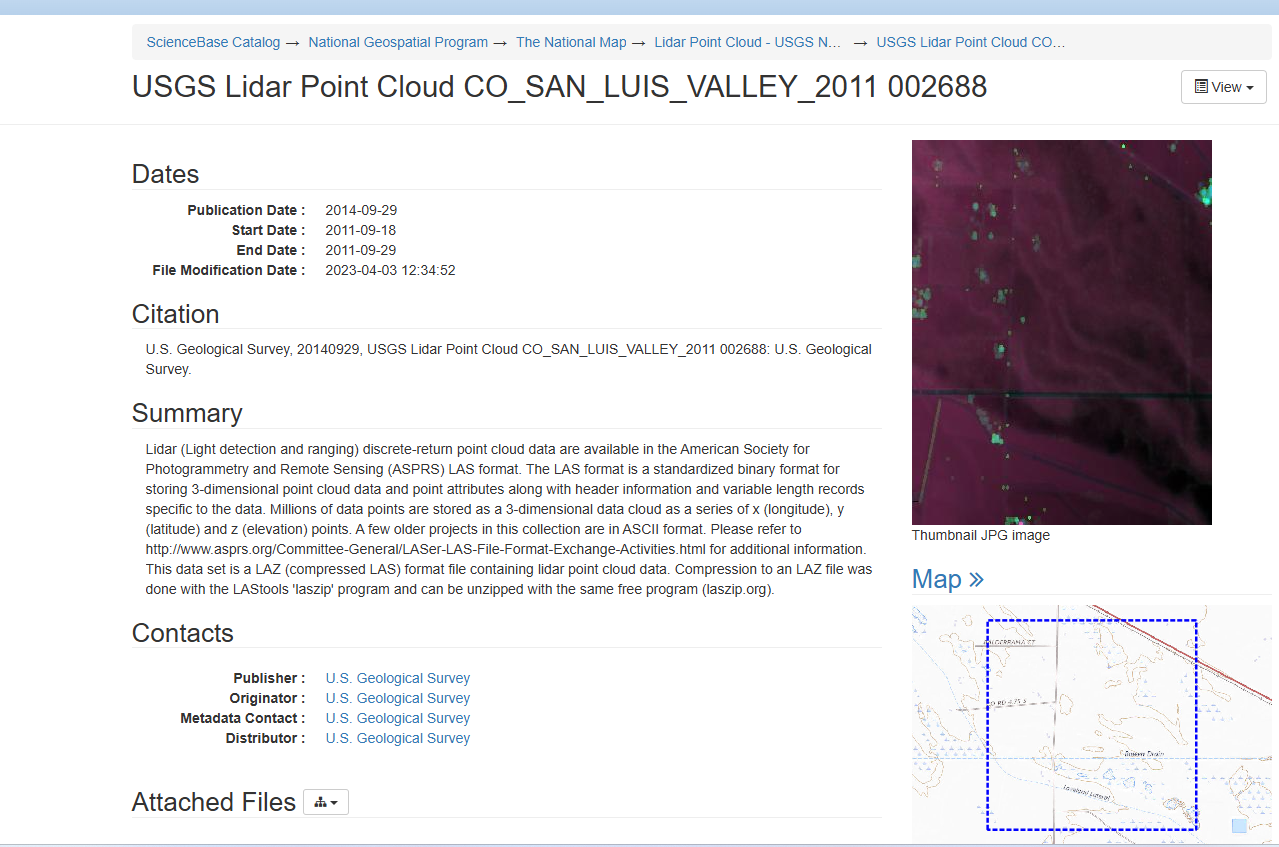
The downloaded .laz files must be processed into .las files in ArcGIS Pro (this will be accomplished in Chapter 13 Combining Tiles into One LAS Dataset). Once that process is complete, you can follow the steps outlined above for Mesa County to look at the metadata for San Luis Valley. You can also view the metadata through The National Map (Figure 9.28 and Figure 9.29).

Again, it is extremely important to review all metadata prior to using any data file in a GIS or any other program. Which metadata are important is highly dependent upon the project.
This concludes this chapter. Subsequent chapters will use the unzipped lidar files downloaded in Chapter 7. Locating Lidar Data (Mesa County and North Dakota) and this chapter (San Luis Valley).
- Don’t have an extraction tool? Go to https://www.7-zip.org/ ↵
