Chapter 4. Attribute Tables
This chapter provides an introduction to working with attribute tables in ArcGIS Pro®.
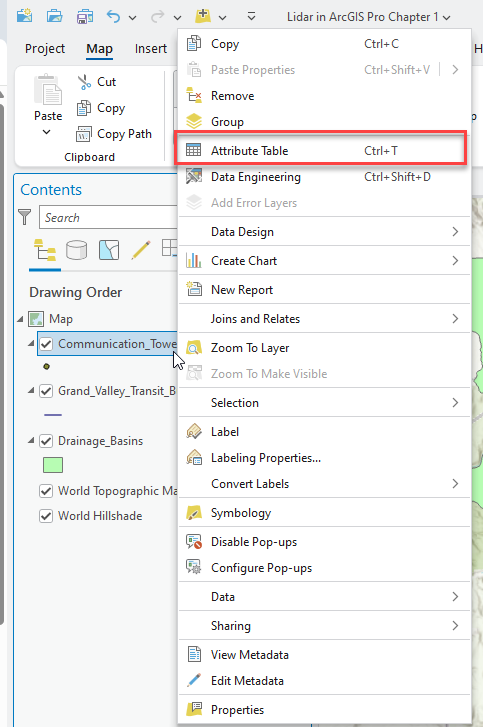
To view the attribute table for any feature class, right-click on the layer name and select the Attribute Table option from the drop-down list shown in Figure 4.1.
The attribute table opens in the Map viewer, below the map (Figure 4.2).
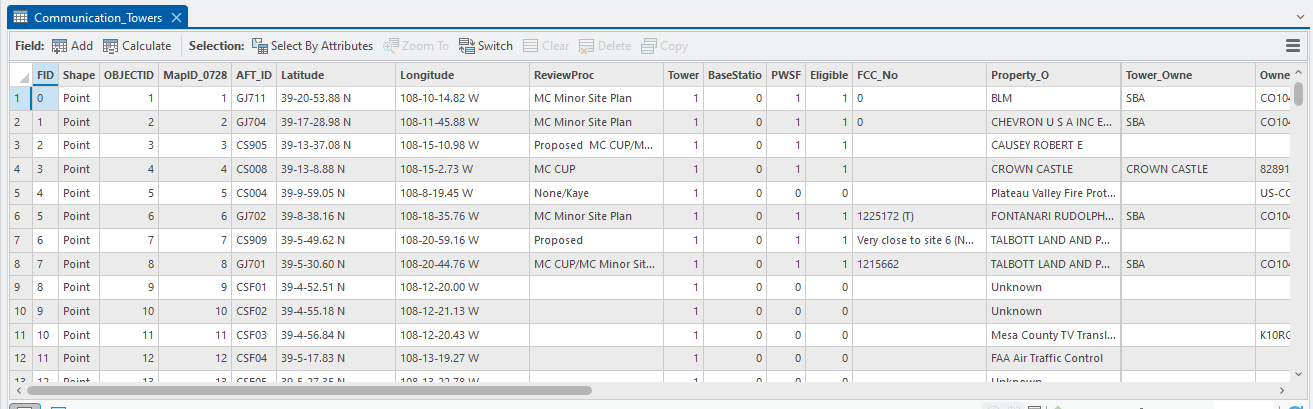
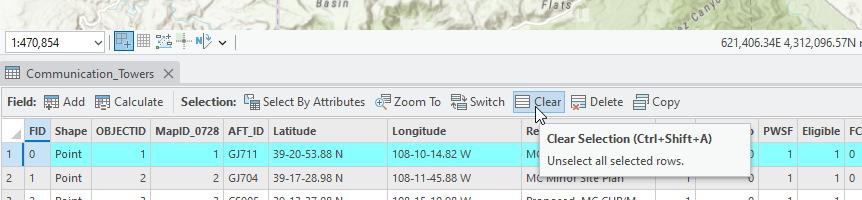
A feature can be selected by clicking on its associated row (Figure 4.3). This will highlight both the selected row in the attribute table, and its associated map feature. To clear the selection, select Clear at the top of the attribute table (red box in Figure 4.3).

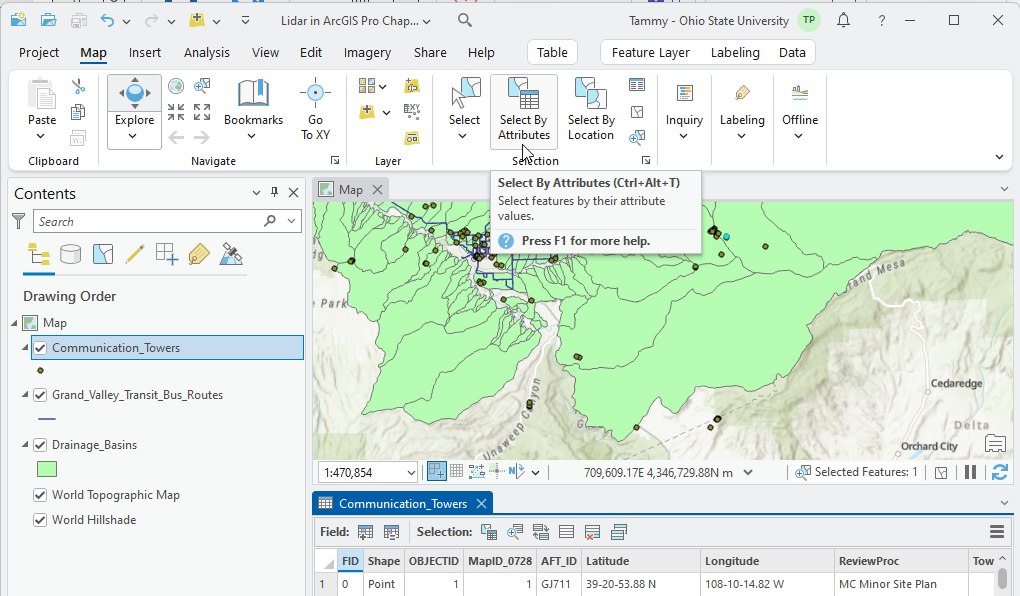
To select all features with a specific attribute, choose Select by Attributes in the Map tab on the ribbon (Figure 4.4). Please note if the Selection group tools are “grayed out,” ensure a vector layer is selected in the Contents pane, or the attribute table is open below the map.
In ArcGIS Pro®, Select by Attributes is a geoprocessing operation, so the Geoprocessing tool, Select By Attributes, opens (Figure 4.5).
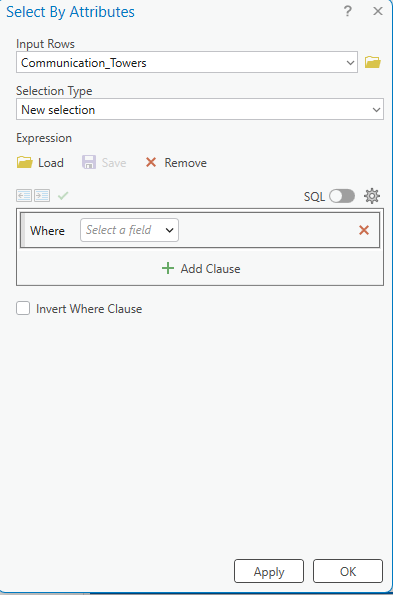
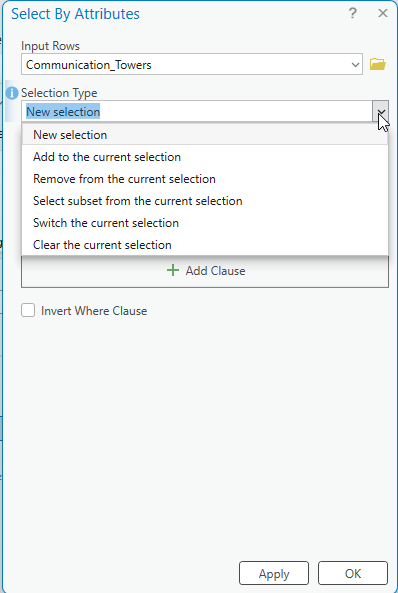
Since the towers layer is selected in this example, ArcGIS Pro® assumes Communciation_Towers for the Input Rows. To build an expression, under Selection Type choose New selection from the drop-down list (Figure 4.6).
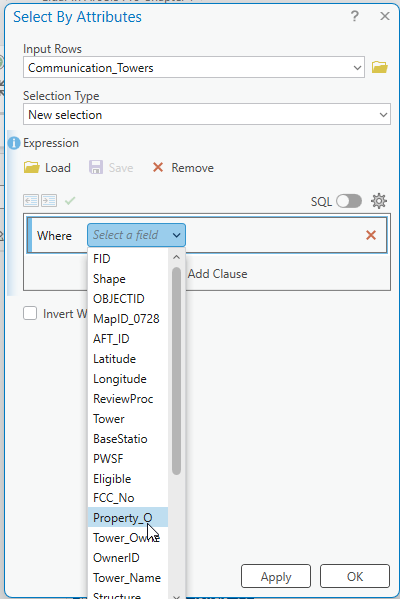
Next, build the expression. Choose Property_O from the Where drop-down menu. (Figure 4.7).
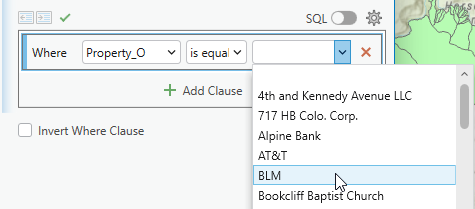
Leave the next box is equal to and in the third box choose BLM from the drop-down list. (Figure 4.8).
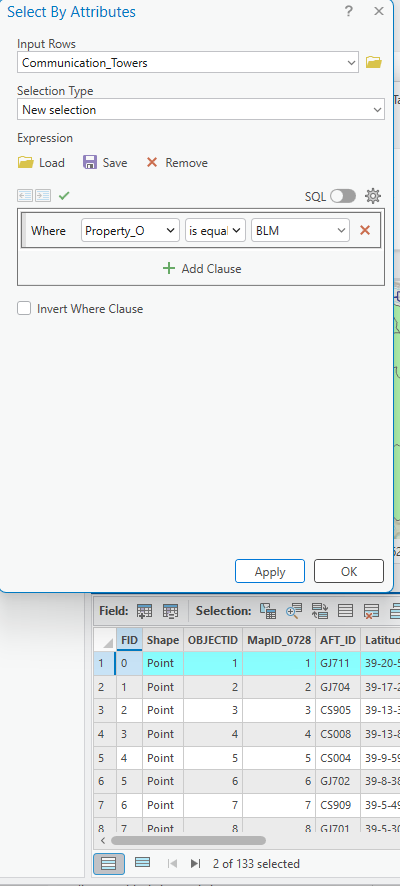
To execute the tool, click Apply at the bottom of the Select By Attributes dialog box. Two features were chosen (Figure 4.9).
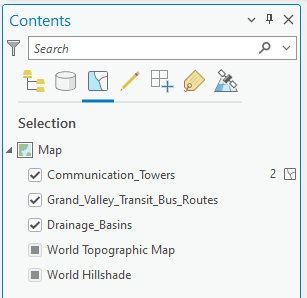
The number of selected features also shows under List by Selection in Contents (Figure 4.10).
Clear the selection using the Clear button in the attribute table shown in Figure 4.11.
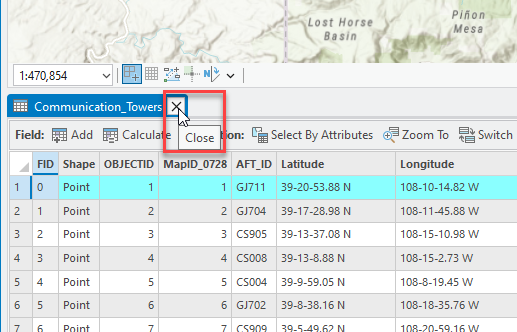
Close the attribute table as shown in red in Figure 4.12.
This concludes the introduction to attribute tables. The next chapter covers basics of vector symbology.
