Chapter 2. Using Catalog
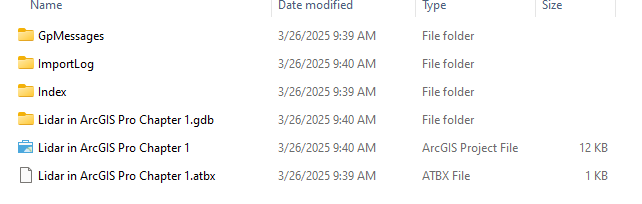
The prior chapter introduced creating a new project. This chapter introduces Catalog. Recall that when a new project is created, ArcGIS Pro® also creates several folders and files (Figure 2.1 as viewed in Windows® File Explorer). These include a geodatabase (.gdb) where any new data created within the project will be stored, an ImportLog folder, an Index folder, the project file itself, and a Toolbox for any geoprocessing tools created in the project.
These folders and files can also be seen within the Project itself. But first, Catalog must be opened. This can be accomplished in two ways.
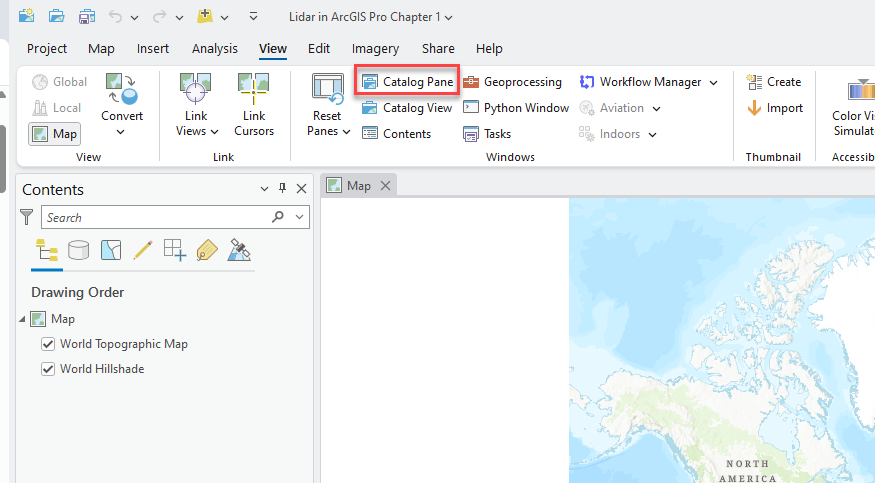
At the top of the project, select the View tab on the ribbon (Figure 2.2), then select Catalog Pane.
The Catalog Pane displays as a free-floating window, that can be dragged by the title bar indicated in the red box on the left, and moved to a more suitable location (Figure 2.3).
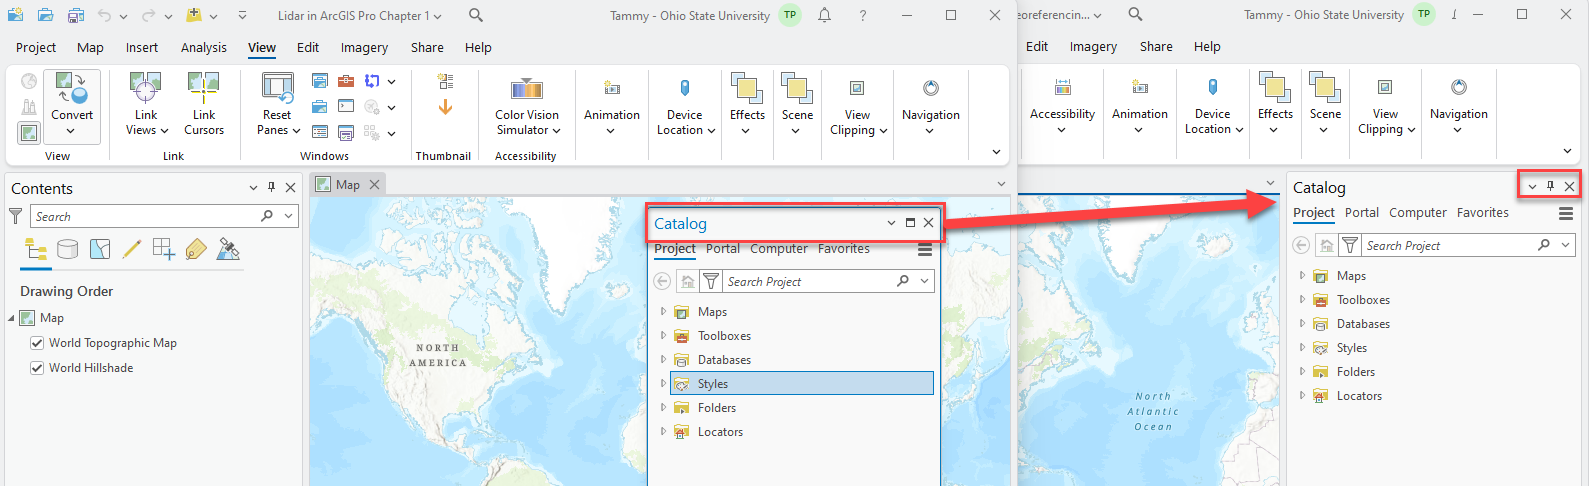
Close the Catalog Pane by clicking the X in the upper right corner of the Catalog pane (red box in Figure 2.3).
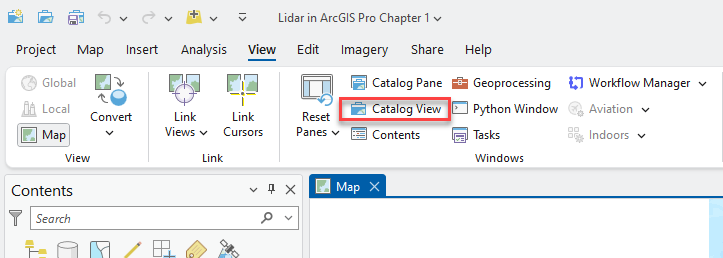
For the second way to open Catalog, go back to the View tab on the ribbon and choose Catalog View (Figure 2.4).
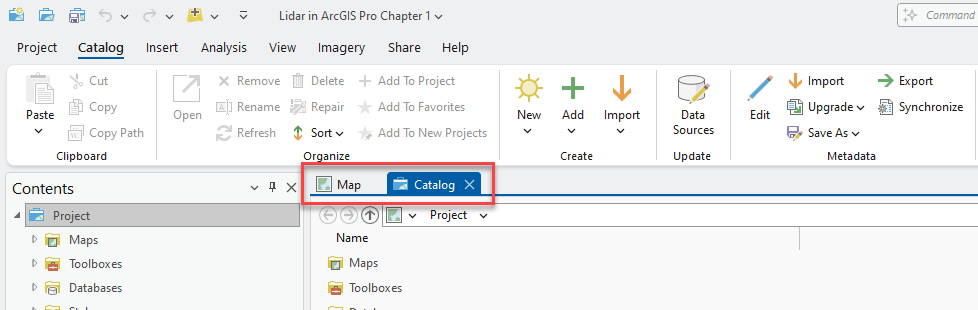
Choosing Catalog View adds a second tab to the right of the Map tab. Catalog View allows toggling back and forth between Map and Catalog by clicking on the associated tab (Figure 2.5).
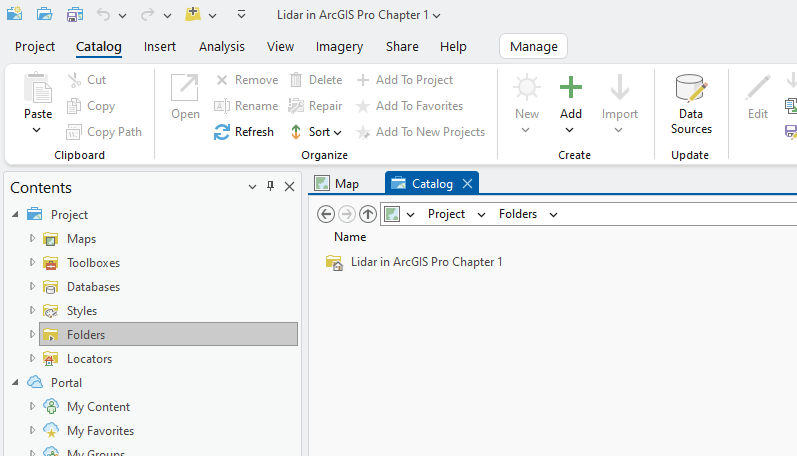
Double-clicking Folders in the Catalog pane reveals the project folder for this project (Figure 2.6). Catalog View operates like Windows® folders. Selecting a folder in the Contents pane will expose the contents of the folder in the right-hand Catalog pane, and the folders in the Contents pane can be expanded using the triangle to show additional folders that are navigable.
If metadata has been created for the project, it can be displayed by opening the project folder and choosing any of the files displayed (red rectangle in Figure 2.7). A new connection to a file folder can be added by selecting the file folder and clicking Add to Project (highlighted) in the Organize group of the Catalog tab on the ribbon.

This ends Chapter 2, Using Catalog. The next chapter will discuss adding vector shapefiles to ArcGIS Pro®.
